Day of the Ultimaker Heated Bed Upgrade
/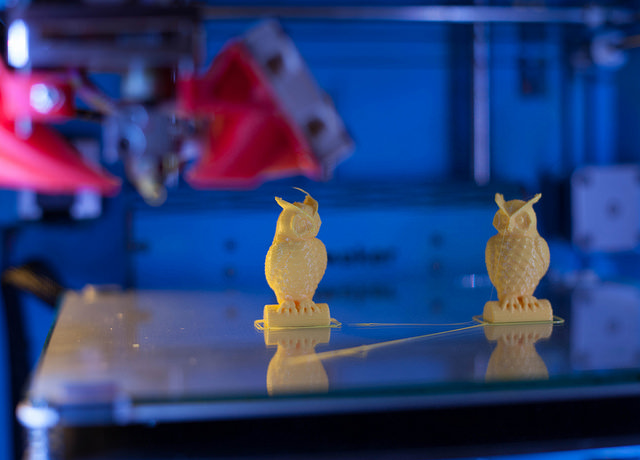
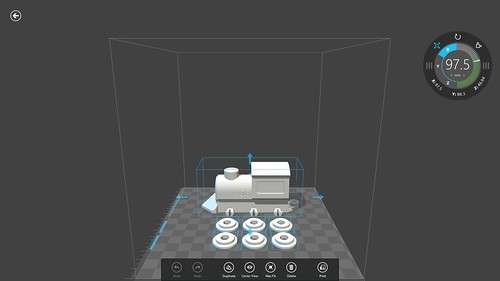
Two owls with very shiny bottoms
Less and less of Una, my Ultimaker 3D printer is how she was delivered. Since I first built her a couple of years ago I've replaced the print head, filament feed, power supply fans, print head fans and the drive pulleys. Great fun. Like Lego but with rather more chance of burning your fingers.
Anyhoo, I've just completed my latest upgrade and added a heated bed. This is actually a rather exciting development as it means I can print large items without them curling up at the edges as they cool.
I ordered the kit a while back and it arrived last week. So this morning I covered the floor with bits (there were a lot of bits) and got to work. Unfortunately a couple of things were missing from my kit (I think I must be pretty much unique in this - nobody else seems to have complained). I was short of the cable that links the new heated bed board with the controller, and a replacement micro-switch that makes contact with the new platform.
Fortunately I'm a resourceful kind of chap. I found a cable with the connector that fitted and extended that to fit. Then I discovered that by sticking a USB plug cap on the back of the print bed I could make it engage with the old microswitch and so I was in business.
Building the new bed and fitting it, along with making my own custom bits, took around the whole day. But I really like doing things like this. At the end of all the effort I now have what looks to me like exactly the same print bed as the Ultimaker 2. It is much, much nicer than the old print bed (which I didn't construct very well anyway).
As part of the upgrade you get a replacement stepper motor and drive thread which is much more positive than the original one. And the new bed is made of rigid metal, rather than the somewhat heavier and more "flappy" wooden one.
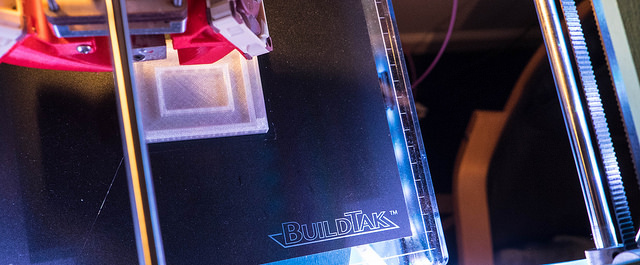
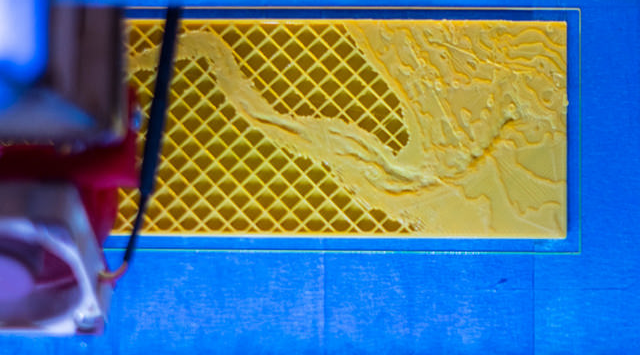
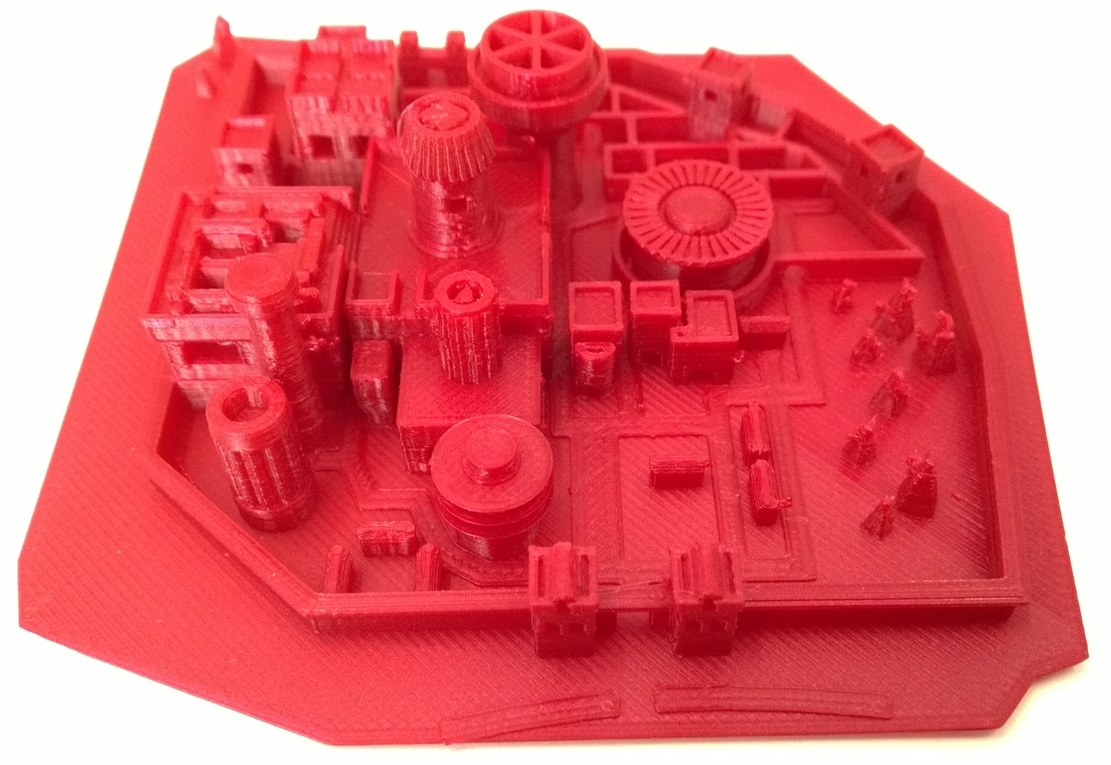
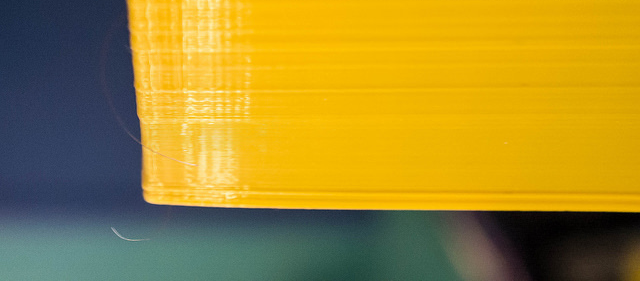
I've done some large-ish prints with it and there is now no warping at all. Plus, by printing on glass I can get a lovely smooth surface on the printed items.
The upgrade is a tad expensive, at around 250 pounds once you've paid for carriage, but I think that if you have an Ultimaker it is something you really should consider.