Microcord up town

Princes Quay looking good

We got some good weather today so I took the Microcord up town today and grabbed some shots.

There’s a bit of camera shake on this one because I keep catching the camera shutter lever on my fingers.

I really like this old camera. It forces you to move slowly when taking a picture (which can be annoying for people you are with) but I think the results are worth it.

Fun with a Microcord

It has the most amazing lens caps……

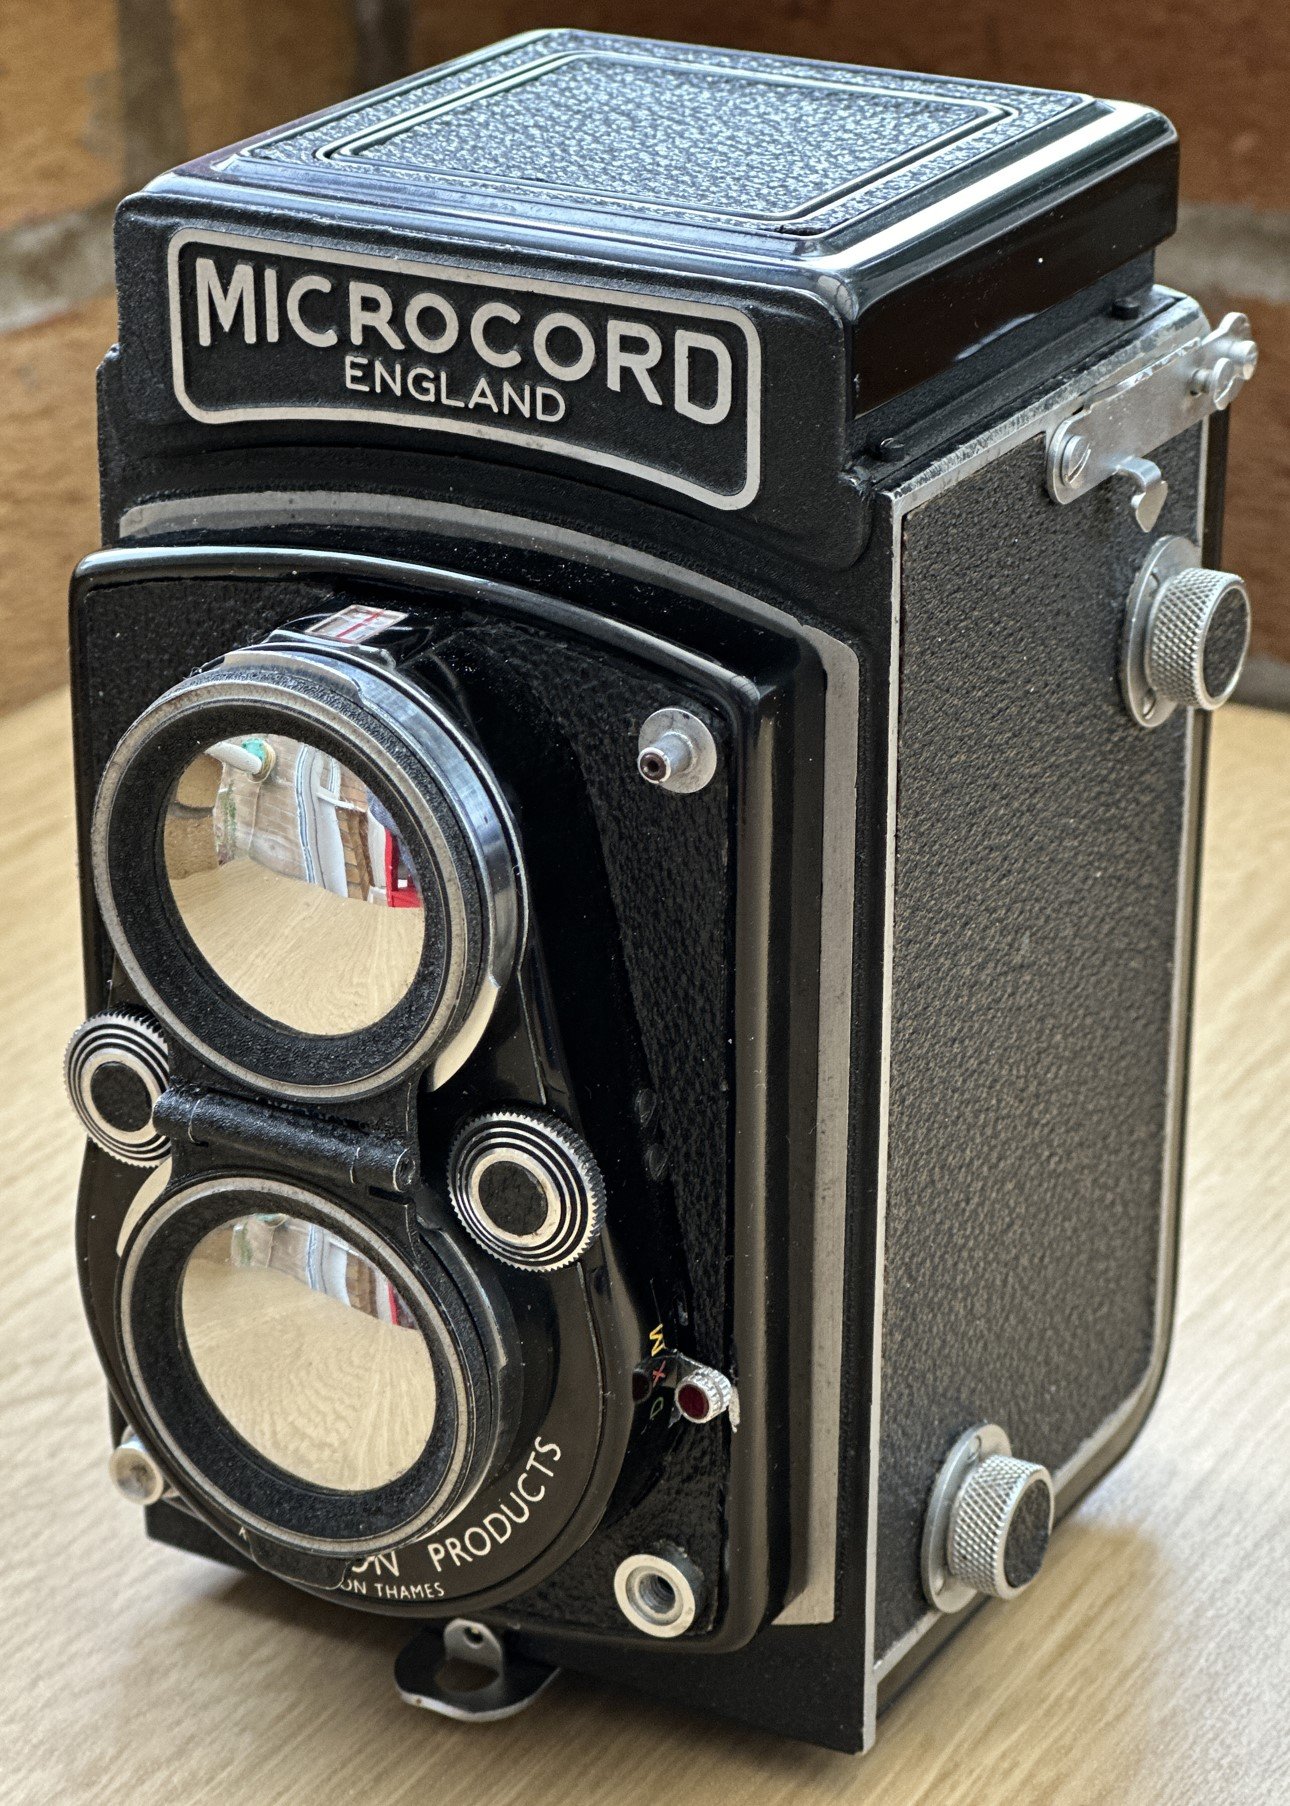
Yes, I’ve bought another camera. And yes, it is very old. Actually around the same age as me. It was made by a company called “Micro Precision Products” which started making cameras in the 1940’s and gave up in the 1980’s. They made a range of different types of cameras for press and technical use, and in the 1950s they made a couple of “twin lens reflex” cameras, of which the MicroCord was one. It is based (as in “Here’s one - see if you can copy it”) on Rolleiflex cameras which were popular at the time.

A twin lens reflex camera has two lenses. The top one is used for viewing and the bottom for photographing. You compose and focus by looking down into the top of the camera at a ground glass showing an image reflected from the viewing lens. Both lenses are mounted on a plate which is moved backwards and forwards to adjust the focus. The idea is that if the view in the viewfinder is sharp, the photograph being taken will be too. This was back in the day when you actually had to focus your photographs.

I took this shot on the university campus

I’m still getting used to it, but I’m having fun at the moment.

Close up idiocy

This might be quite artistic if I could think of a good caption…

Developed some pictures today. I’d taken them with a Yashica 124G twin lens reflex camera. I’d used close-up lenses so that I could capture intimate portraits over the table in the restaurant. The close up lenses clip on the camera lens to shorten the focus. It’s all part of my “make photography much harder than just getting out your phone” campaign.

I had two close up lenses, one for the viewfinder lens and the other for the taking lens. But, for reasons I still can’t quite comprehend, I’d clipped both of the close-up lenses on the taking lens which meant that I was taking sharp pictures of the cutlery right in front of the camera rather than the person sitting opposite. I’m not completely unhappy with the result, but I think I’d be a bit happier if it was of what I was expecting.

Scanning Minox negatives

The film got a bit scratched as I was loading it

I love my little Minox camera. It takes tiny pictures on 9mm wide film. I make the film by slicing 35mm film into strips and then loading it into Minox cassettes. Then, once I’ve developed the film I scan the negatives. I use an Epson V750 scanner that I got a while back. It’s quite an old device, but the good news is that scanners age quite well (or at least I hope they do). To hold the negatives on the scanner I use a 3D printed PENSO mask. When I started scanning I got spectacularly bad results, with black streaks everywhere.

I’ve discovered that if I rotate the holders through ninety degrees on the scanner glass, so that they are in a “portrait” rather than a “landscape” orientation they work just fine. This must be due to the way that my scanner shines the light through the film when scanning.

I have no idea why this works, but I’m rather glad it does

Lensboard a gogo

This makes the camera a lot more useful…

Today, after a trip to the dentist for a filling (am I the only person who gets to the dentist half an hour early?), it was time to print yesterday’s lensboard design for my Micro-Press camera. It just fitted. I’m very pleased with myself, even though it was actually a pretty simple design. The board seems quite light-tight and my test pictures came out fine.

The hardest part of the job was finding where I’d put my black filament - the board nearly ended up being printed in shocking pink.

I might do another one with higher infill. This will make it slightly heftier and even more lighttight, but the camera was quite usable with the first version I printed. I’ll put the design on Thingiverse later for those many readers of my blog who have a need for a lensboard for a 1950’s Micro-Press press camera.

Making a lensboard

I already had some code that made rounded cornered plates

One of the truly great things about having a 3D printer is that if you have a need for something you can just print one. My “auction packed” camera arrived last week and today I thought I’d pop a lens in it so that I can try taking some pictures. For these type of cameras the lens is mounted on a plate called a “lensboard” which is then fitted into the camera. This makes it much easier to swap lenses when you are out and about. The camera didn’t come with a lens, but it did have a lensboard.

Unfortunately it was the wrong size. The hole in the middle was too big for the lens I wanted to use. So, I decided to make my own lensboard. I’ve made a quick version in OpenScad and tomorrow I’ll print it out and discover just how wrong it is.

Auction Packed

Well, why wouldn’t you want one of these….

I now see myself as a proper camera collector. Why have one camera that will do what you want when you can have lots of them, each of which does something different? Most of my camera buying action takes place on eBay, but today I had a taste of real life auctioning courtesy of Flints who run online auctions every now and then. I’ve been in the market for a large press camera that takes 4x5 negatives and they had one for sale that appeared only slightly broken. So I fired up the browser, logged into the site and hovered the cursor over the “Bid now” button.

It was great fun to watch. The auctioneer did a splendid job of keeping the whole thing moving along at a good pace, which was kind of important as there were around 500 lots to sell. After a couple of speculative bids on things that I wasn’t that bothered about “my” camera came up in lot 117. I was holding myself to all kinds of promises about not getting carried away and set a rigorous upper price limit. However, it was all a bit of an anti-climax. Nobody else seemed that bothered about the camera and so I got it for a smidge under the suggested lowest price. And that was that.

I watched the auction for a bit longer, but I was very good and didn’t buy anything else. The prices of items did seem impressive, but you had to remember that each item attracts a 30% premium that you had to pay on the sale price, plus VAT and carriage. My camera ended up costing me quite a bit more than the price I bid, but I reckon it is still a bit of a bargain. I’m rather looking forward to it arriving.

Bridlington Comicon

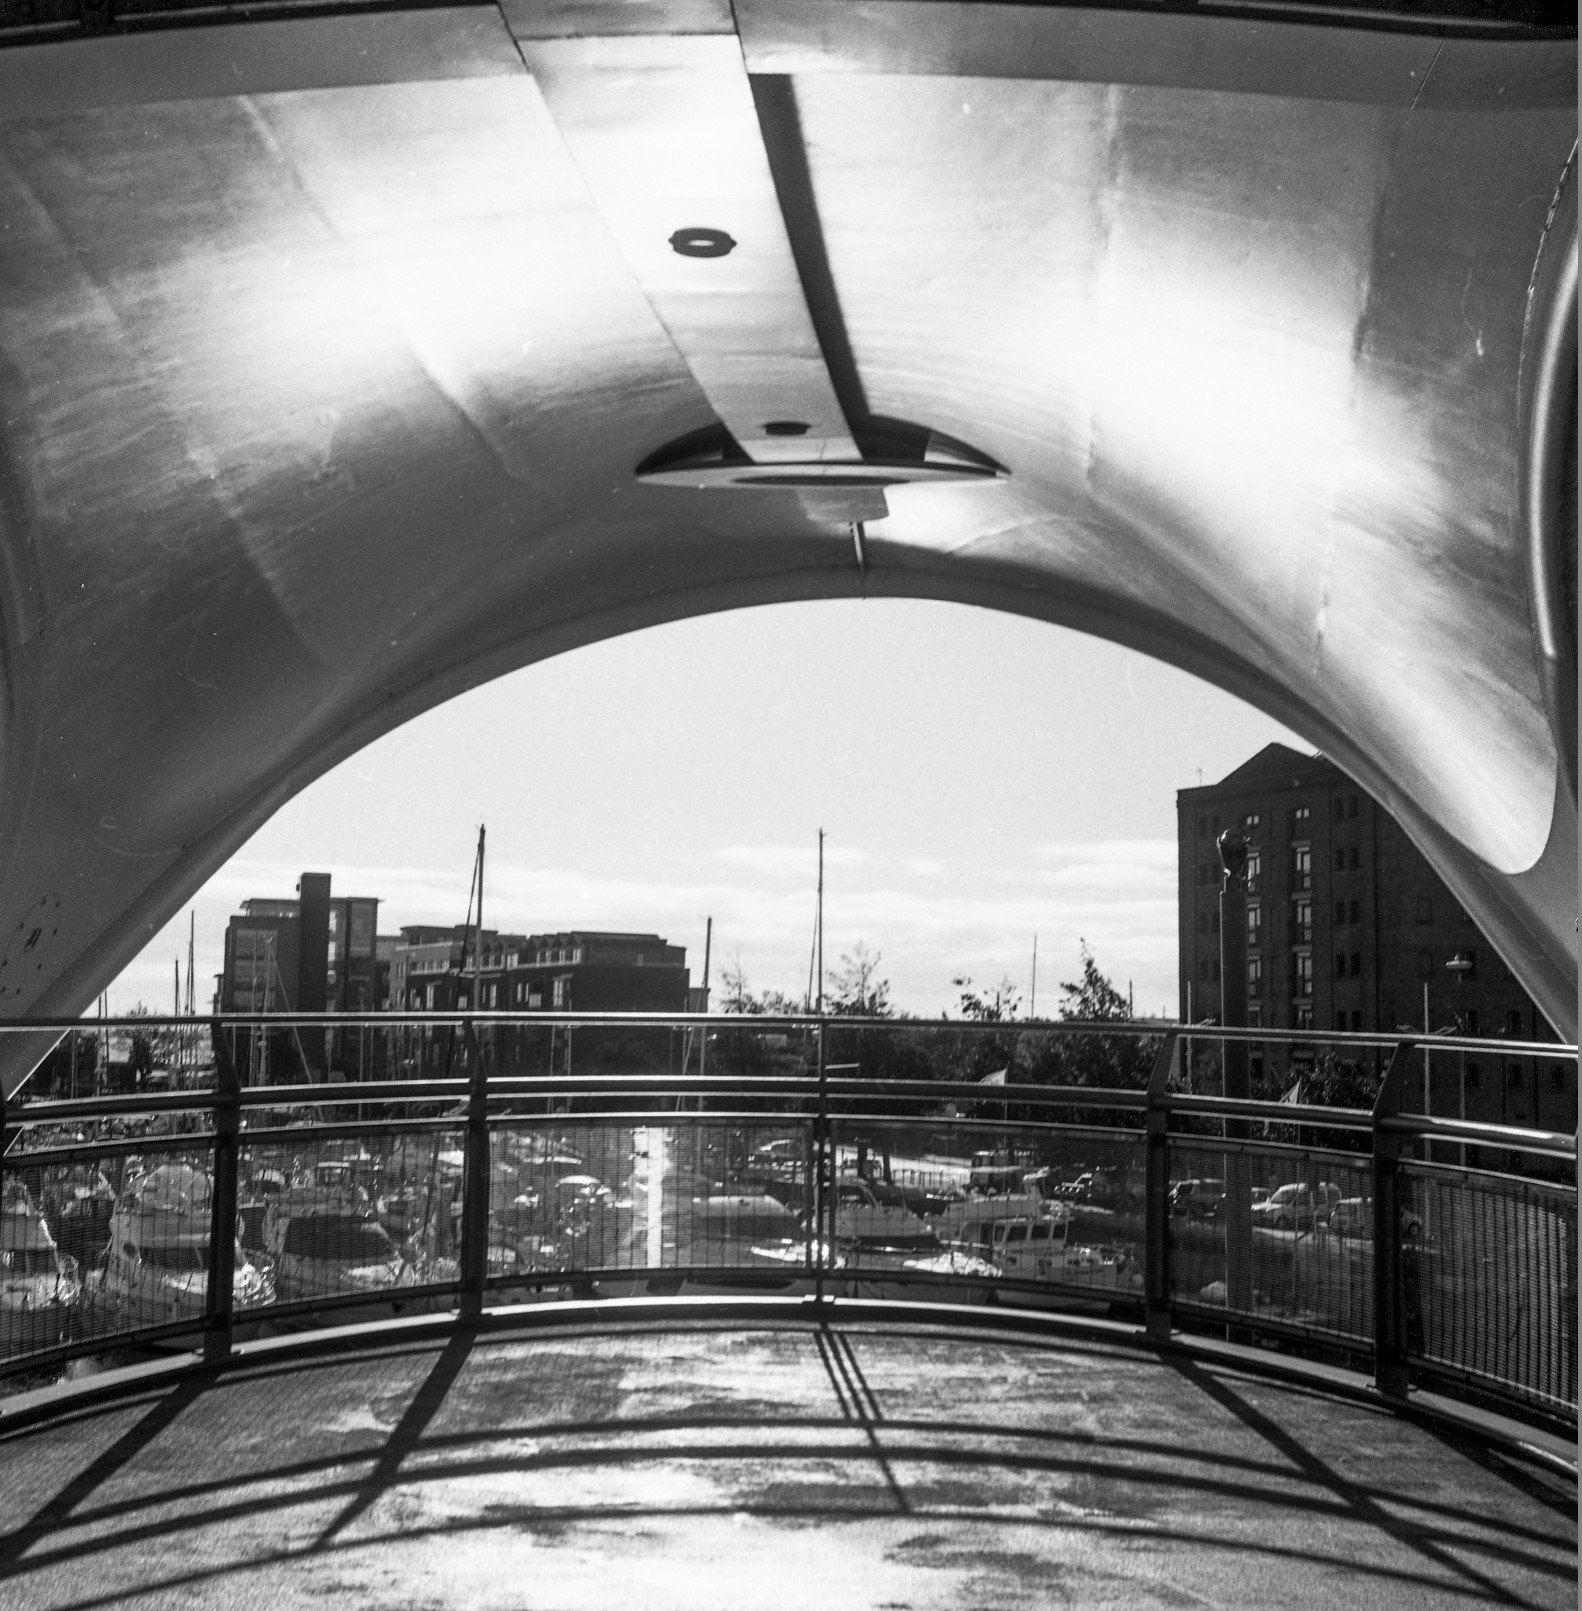
I’ve been to Comicon in Birmingham before. But I’ve never been to the one in Bridlington. Today I fixed that. It was wonderful. I took along a camera (of course) in this case the Mamiya 645. This is a medium format roll film camera that weighs a ton. It weighs even more when you add a large flash gun to it. The good news is that the folks in cosplay were very impressed with the camera. The better news is that some of the pictures came out quite well. I’m really taken with these two heroes of the rebellion.

I also rather like this shot of Gotham’s finest. The whole event was great. There were some lovely stands selling really nice stuff, along with some great artists. It’s obviously very popular, by mid afternoon the Spa Hall in Bridlington was packed. My tip, arrive a little before the start and grab a coffee and “the scone of the day” (so named because it looks like it will take you around a day to eat it). We’ll be there next year. Wonderful stuff.

Cheap film

That should last the month….

Film photography is expensive. Unless you compare its price with things like beer, at which point it starts to look like quite good value. If you want a good place to get cheap inexpensive film stock I can recommend S&J Foto who have Fomapan black and white film at rather good prices (although you do have to remember that the prices shown on their pages don’t include 20% vat).

Getting better all the time...

I’m very pleased with how this turned out

After the mild disappointment of the pictures I took on Monday I was pleased to find that the second roll of pictures I developed today have come out a lot better. I’ve no idea why this is; although I suspect I might be getting better at working out the exposure. Or some days I’m lucky and some days I’m not. Either theory works with the evidence to hand.

Coming to a project near you soon…

I really like the idea that these images were created by chemicals and physics. And they pop out of the page in a most satisfactory way. At least for me.

Taking pictures of cameras is a thing

For your information (and so I don’t forget) I used 1+50 dilution and developed for 7.5 minutes at 21 degrees which is supposed to be for 50 ASA exposure. This seems to have produced some very tidy looking negatives though. Alternatively, it might just be that FP4+ is nicer film than the first roll I was using.

Camera Mystery Solved

Turns out mum had a pretty good eye for a good picture

Got the pictures back from the mystery camera today. Some shots were taken by my mum around 20 years ago. So the camera must have belonged to her, and then found its way to me mixed in with a bunch of bits and bobs passed down by dad.

I’m amazed that they could still be developed today, and look pretty good. Next thing to do is put another film in and see if the camera still works.

Blurs in the woods

This is one of the better pictures

I took one of my lovely lenses for a walk today. We were celebrating being married for an unfeasibly long time and we went to Dalby Forest, one of my favourite places in all the world. I was hoping to take lots of pin sharp pictures of the scenery but when we got back and I developed the negatives I was a bit disappointed. I need to work on my exposure, and remember that wildly different colours might all end up looking grey when rendered into black and white.

The return of the sticky lenses

A while back I sent a couple of lenses to have them fixed. They both kind of worked, but one had a bit of fungus growing inside (never nice) and the other had super-slow iris blades so it was impossible to pictures at anything other than maximum aperture. I think someone had thought they could improve its performance by adding oil. Which is never a good idea where lenses are concerned.

They came back today and they seem to be quite splendid now. I’m looking forward to taking them out and grabbing a few pictures with them.

Found a camera...

It’s a very neat device

I think my camera collection has grown to the point where it has its own gravitational pull and attracts other cameras. Which is a good thing. This morning I was tidying up the garage so that we could find the car (or something) and I found the camera above. It is a very neat little thing, but I’ve no idea where it came from. It has a nearly completed film in it, so I’m going to have it processed and see what we get.

Working with old film

I only did a tiny bit of post processing

A few years ago I bought some cheap film. It was cheap because at the time film photography was in what looked like terminal decline. Things have changed. Film is now popular and also super expensive. So I’ve dug out some of my old cheap stuff and I’ve been using in an old Pentax that I also bought a few years ago.

Today I took the exposed film into Max Spielman in Beverley to get it processed. When I picked it up they told me that the printing hadn’t worked too well for some of the shots and gave me a CD-ROM with the pictures on it by way of apology. I had a look at the negatives and they were very, very “thin”, which means that they didn’t get enough light to expose properly. This might be because the film is old, or perhaps my ancient Spotmatic has got the exposure wrong. Kudos to the Max Spielman folks for being so helpful. Back in the day all you used to get was a sticker on badly exposed prints telling you that it wasn’t a processing problem….

I’m getting to really like film photography.