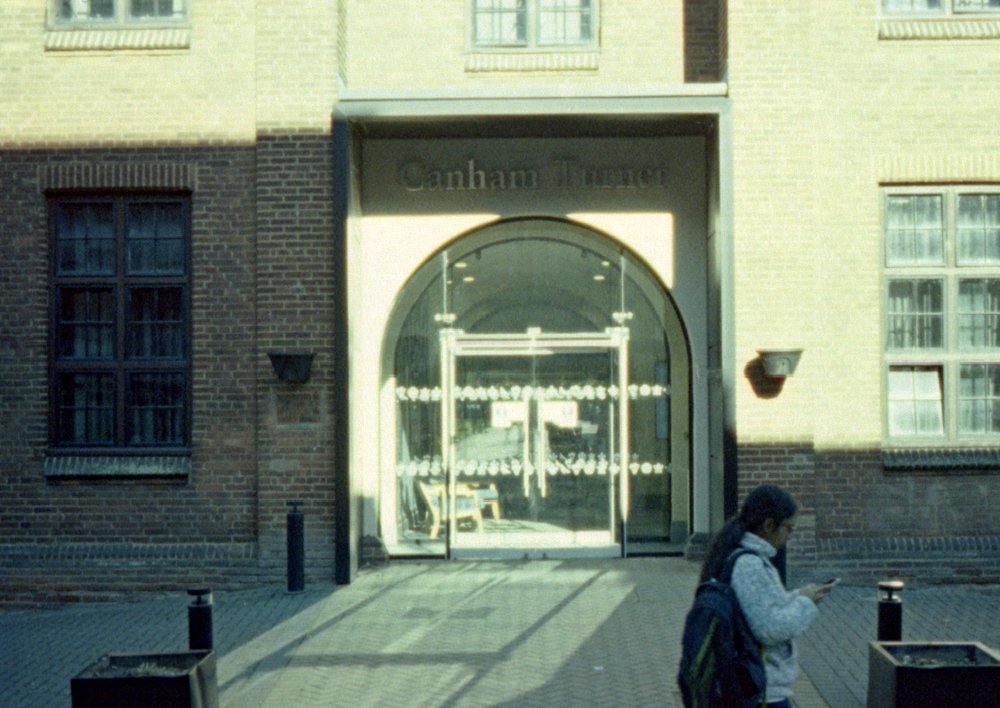
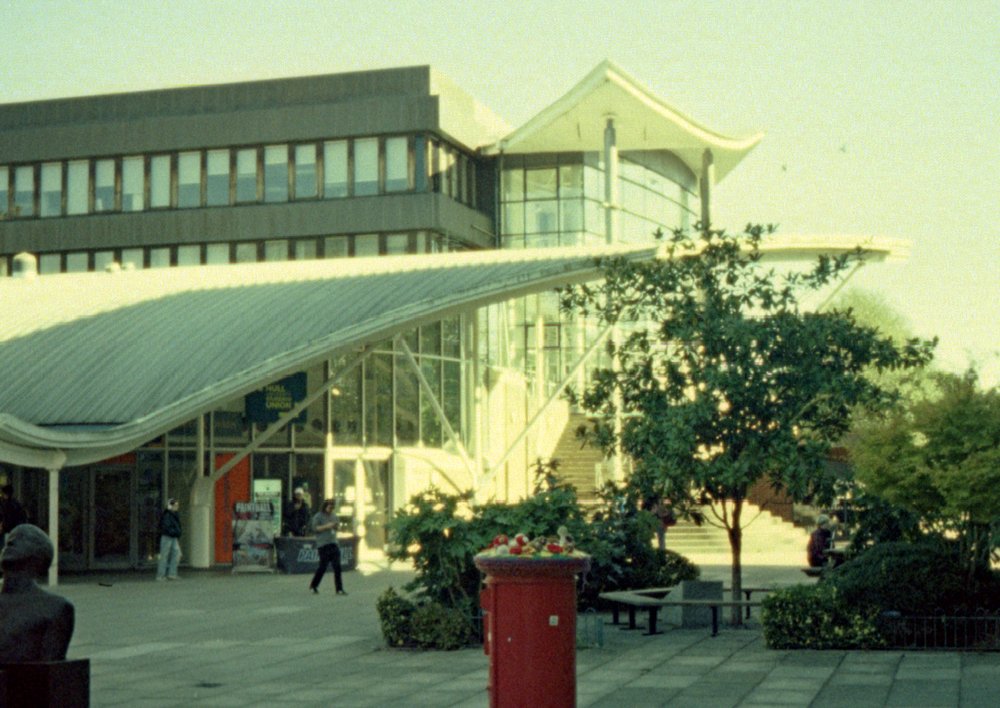
Minox Photos of Hull University
/

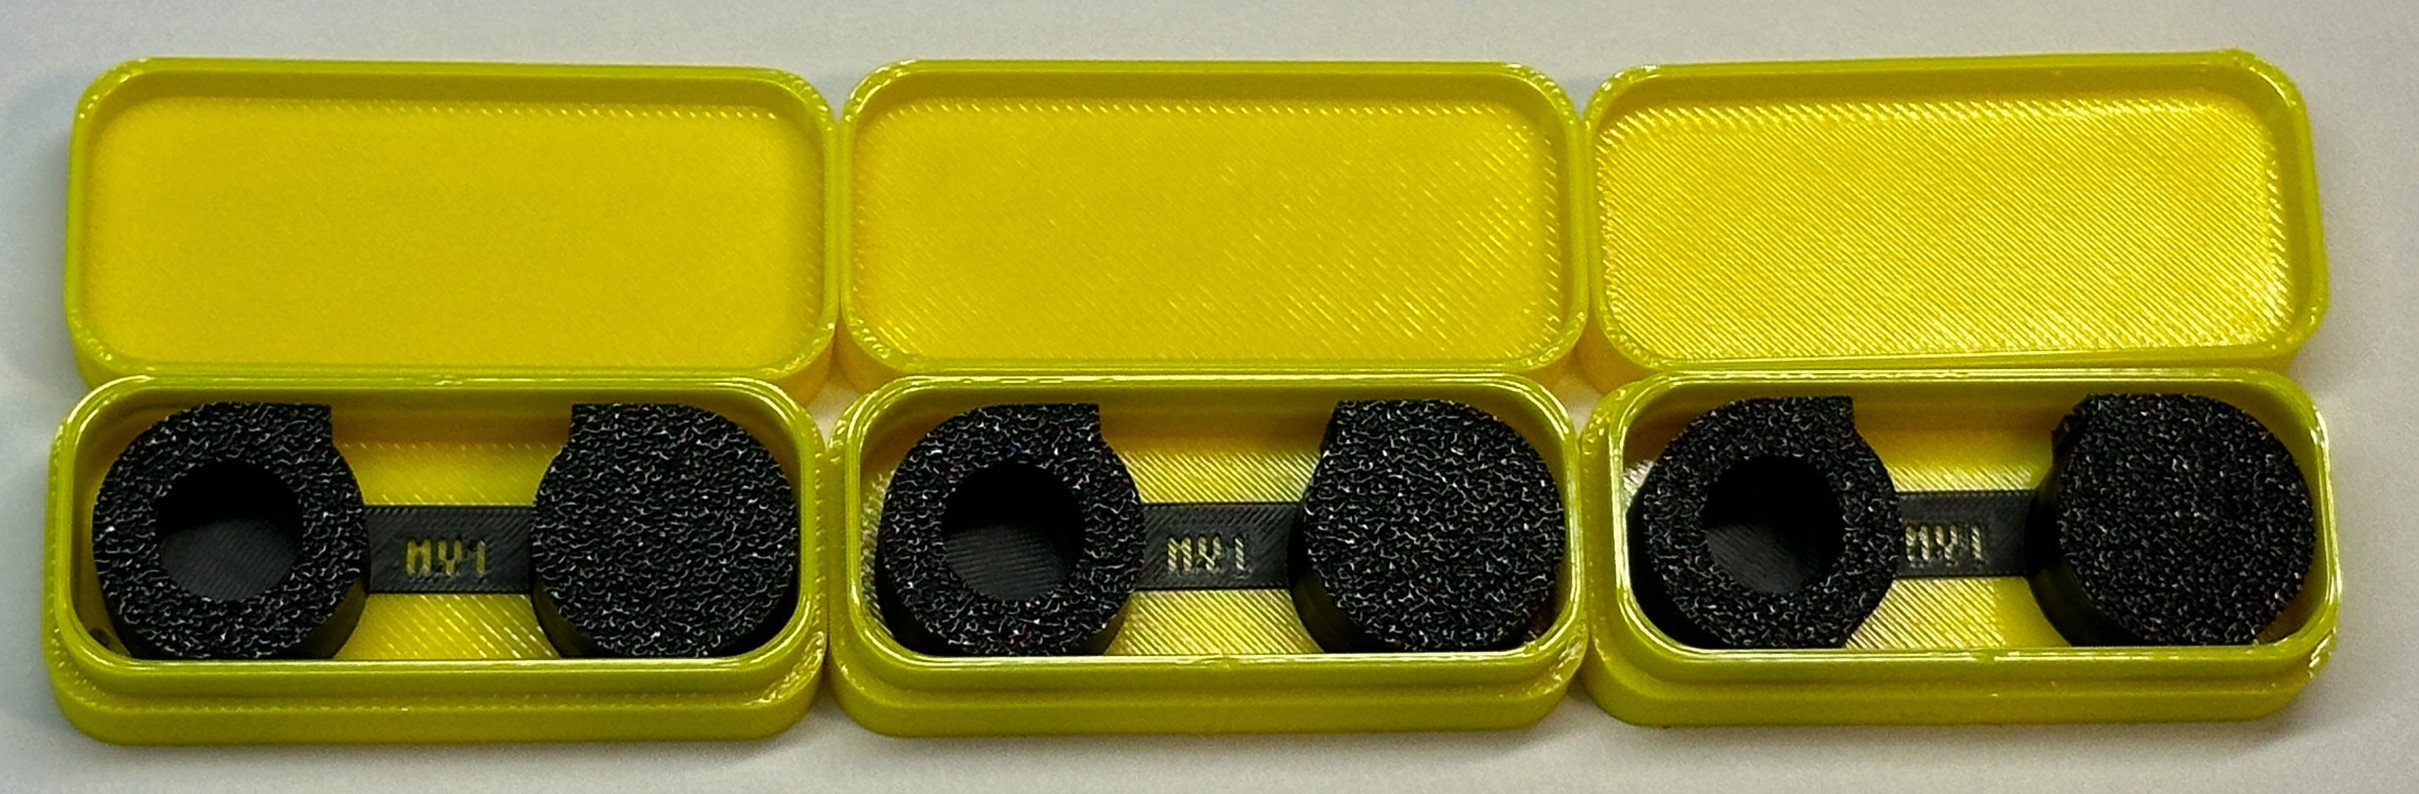
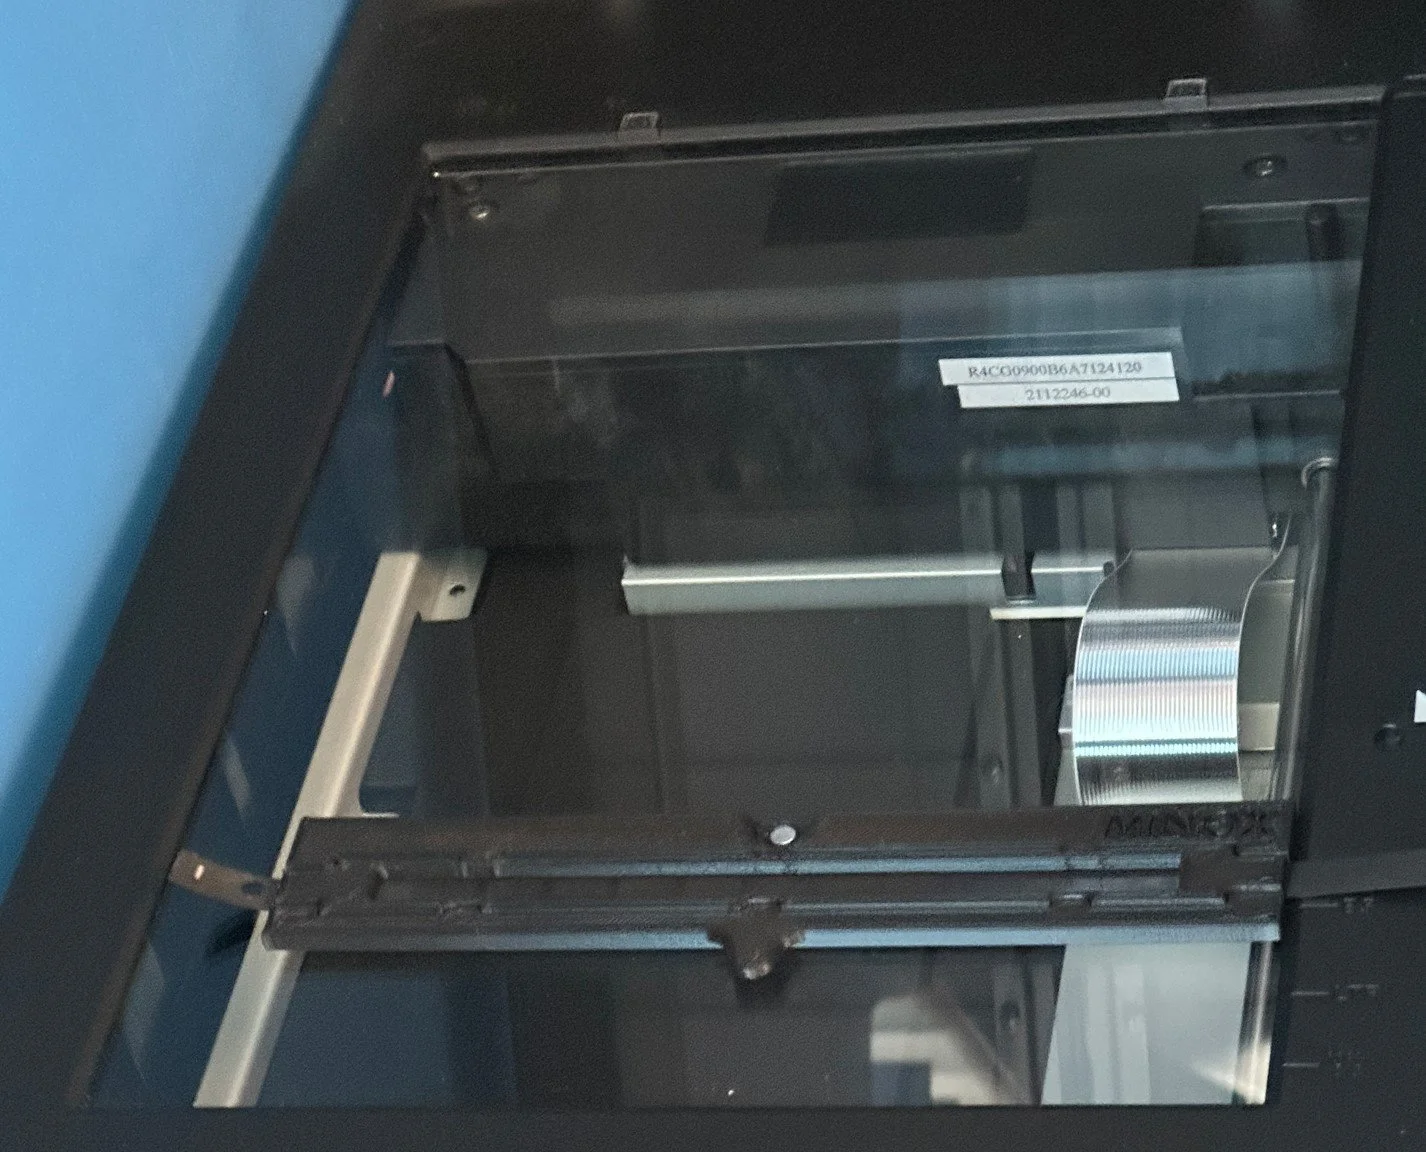
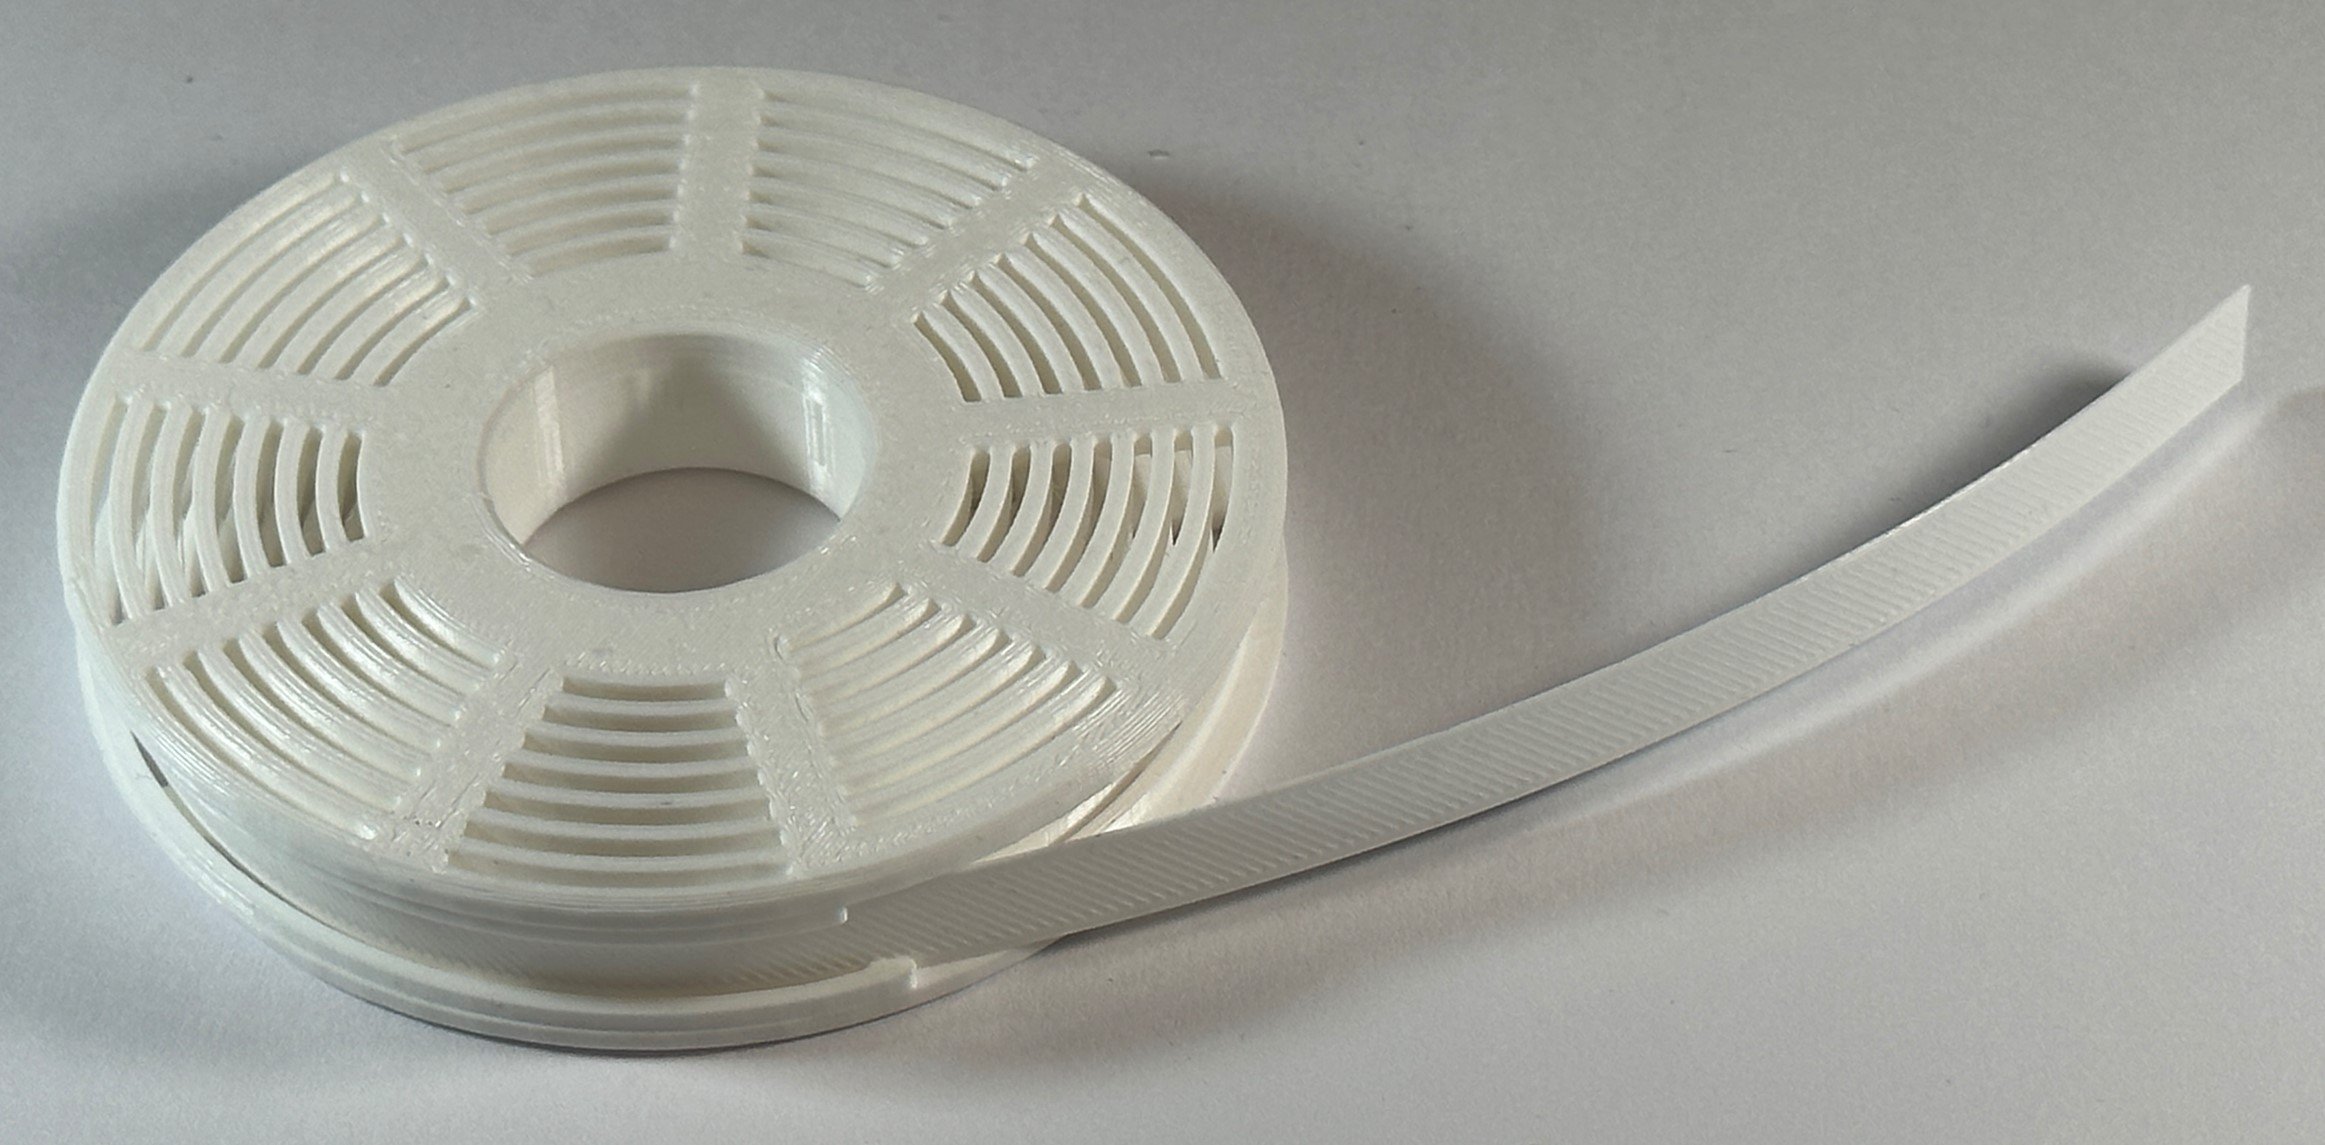
Last week I sent MSHobbies film processing a cannister containing a strip of Kodak Ultramax colour film I’d run through my tiny Minox camera. The film preparation process had been a bit of a faff. I had to slice some film from a 35mm cassette into 9mm wide strips and then load them into Minox cassettes that fit inside the camera.
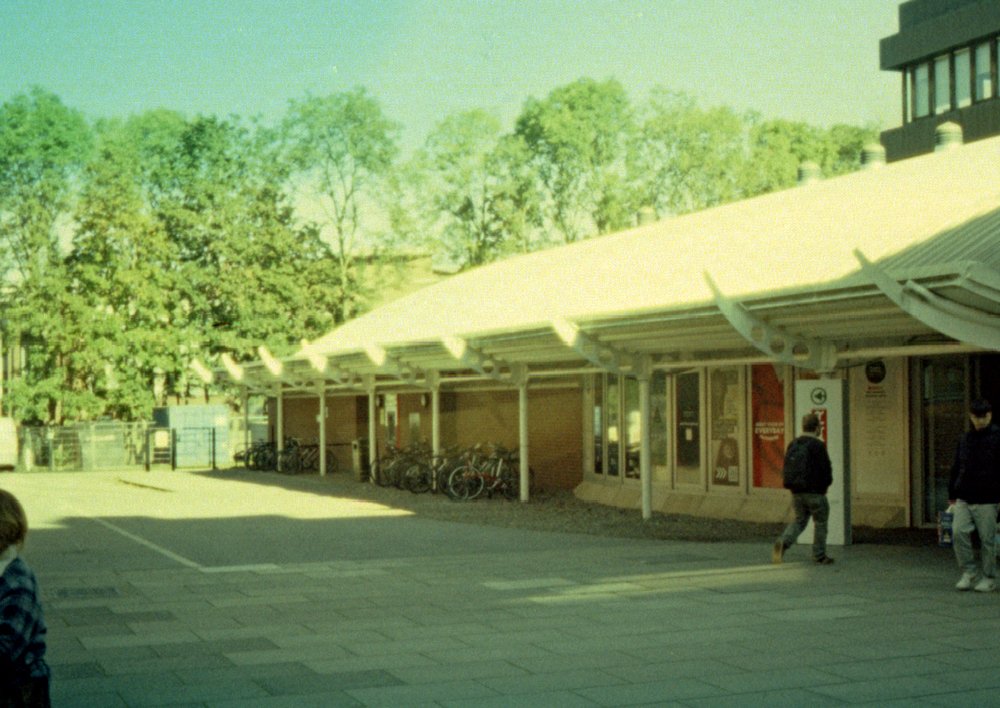
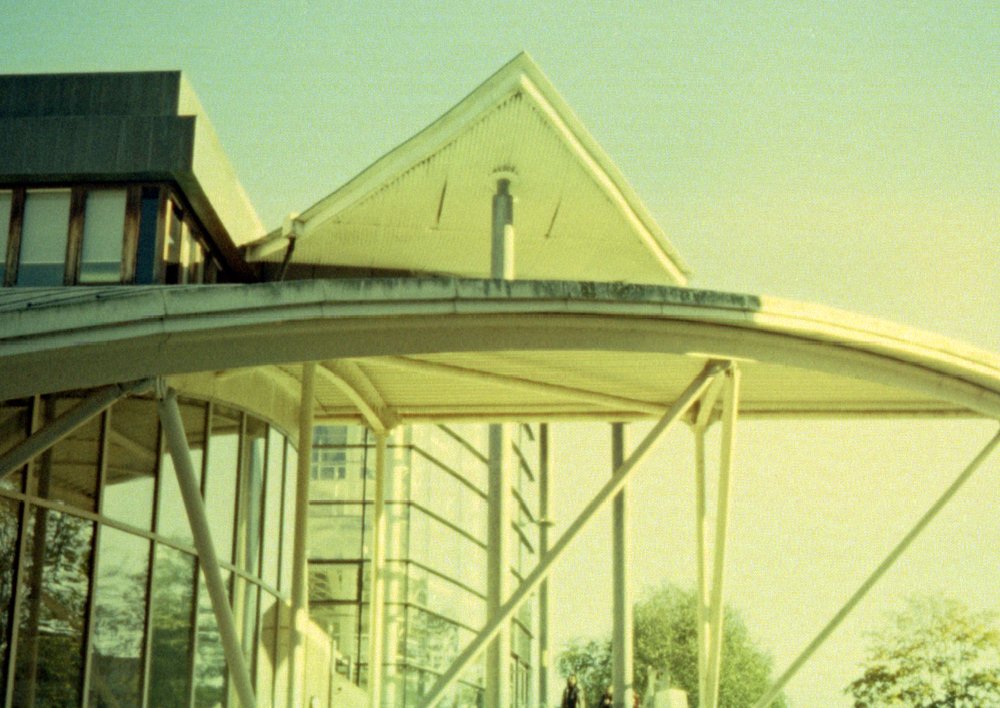
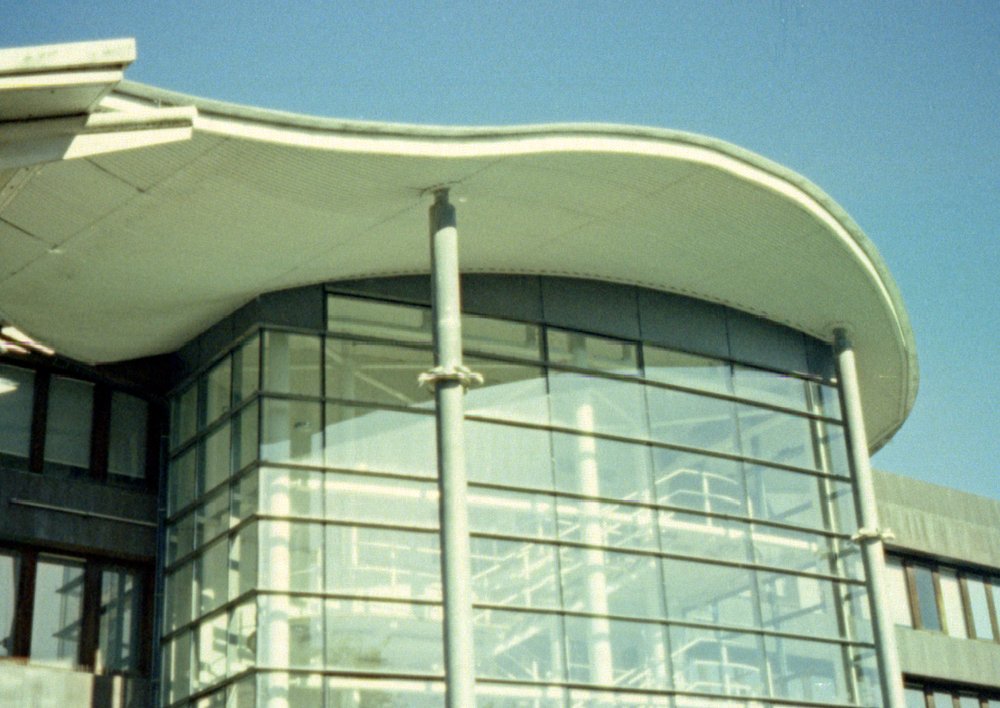
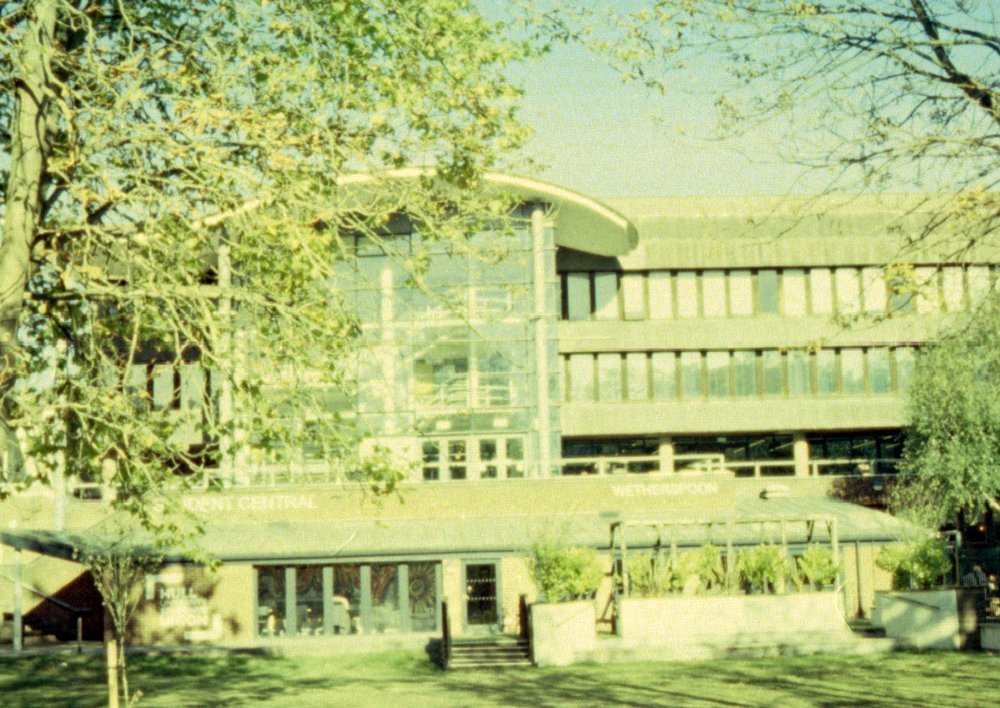
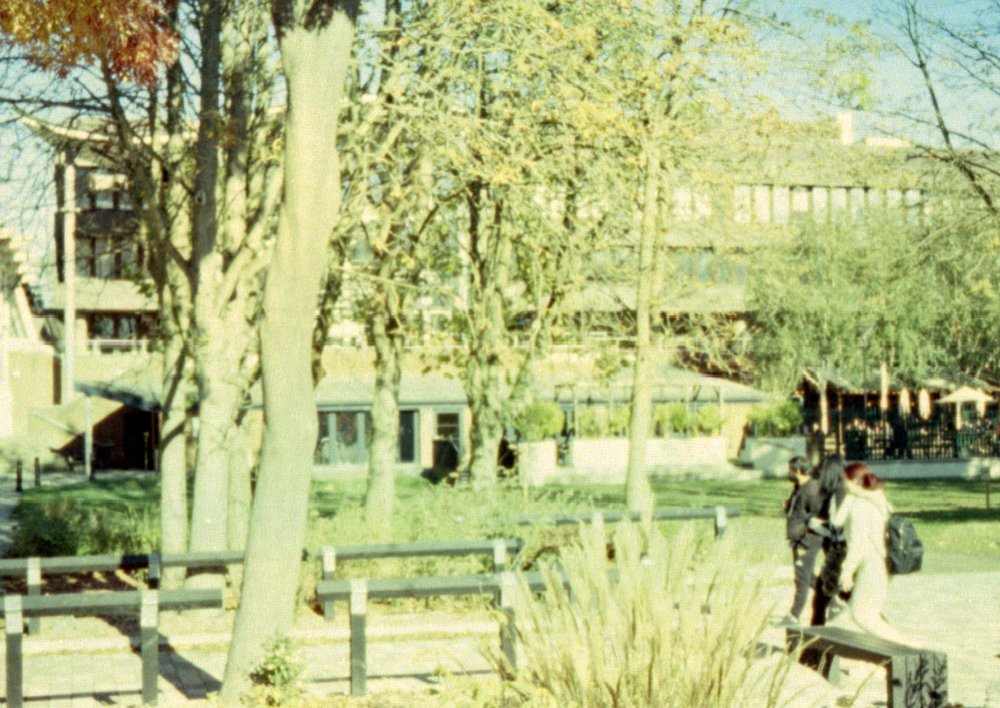
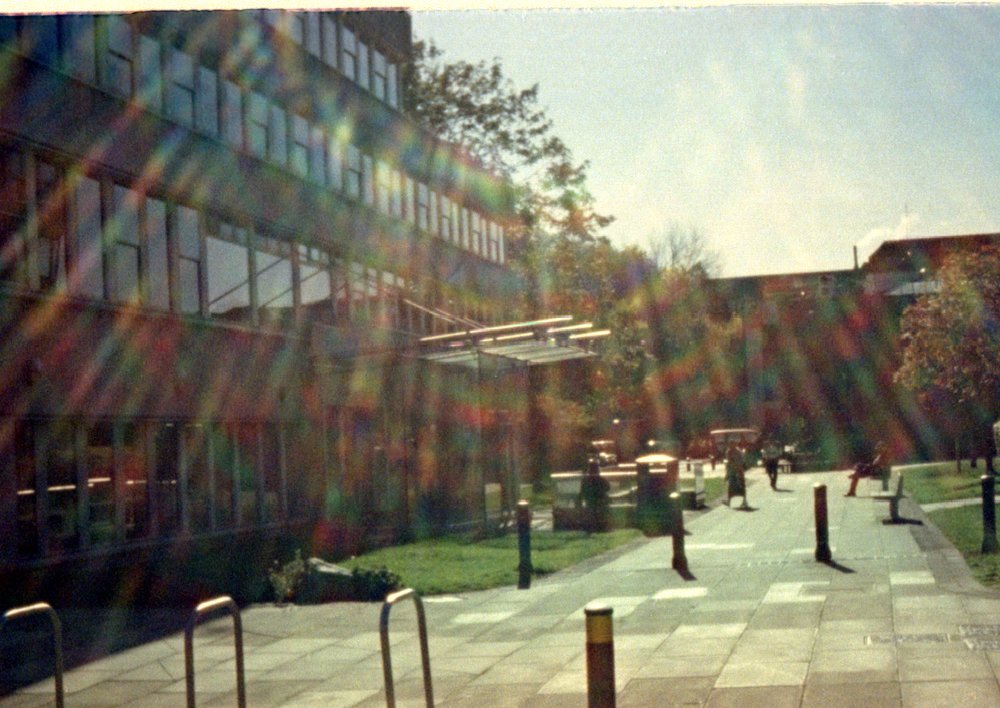
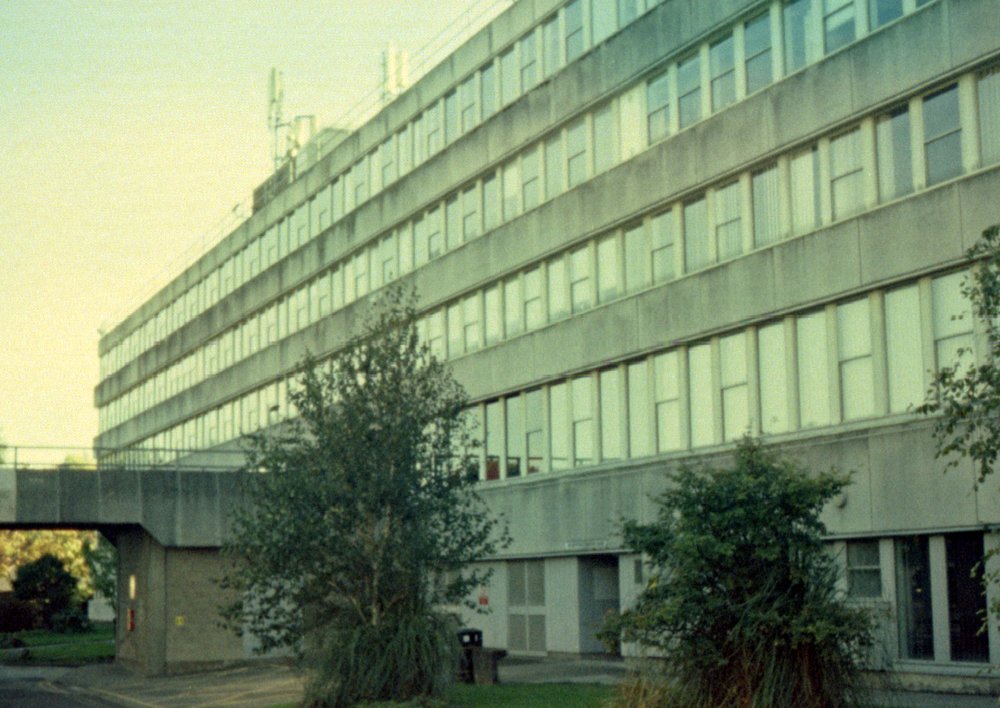
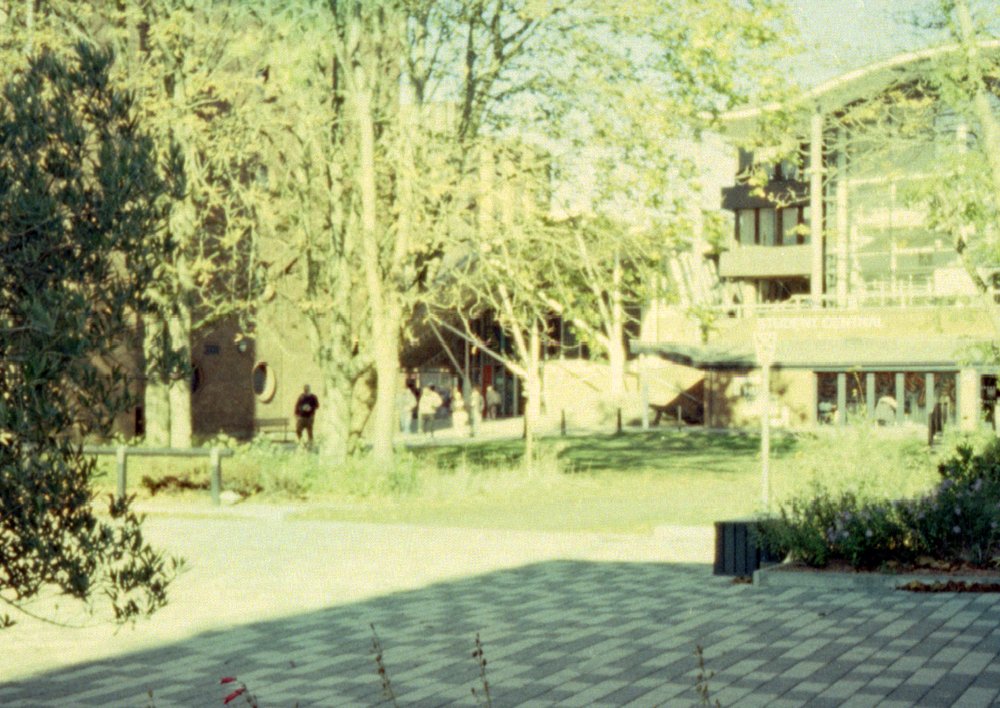
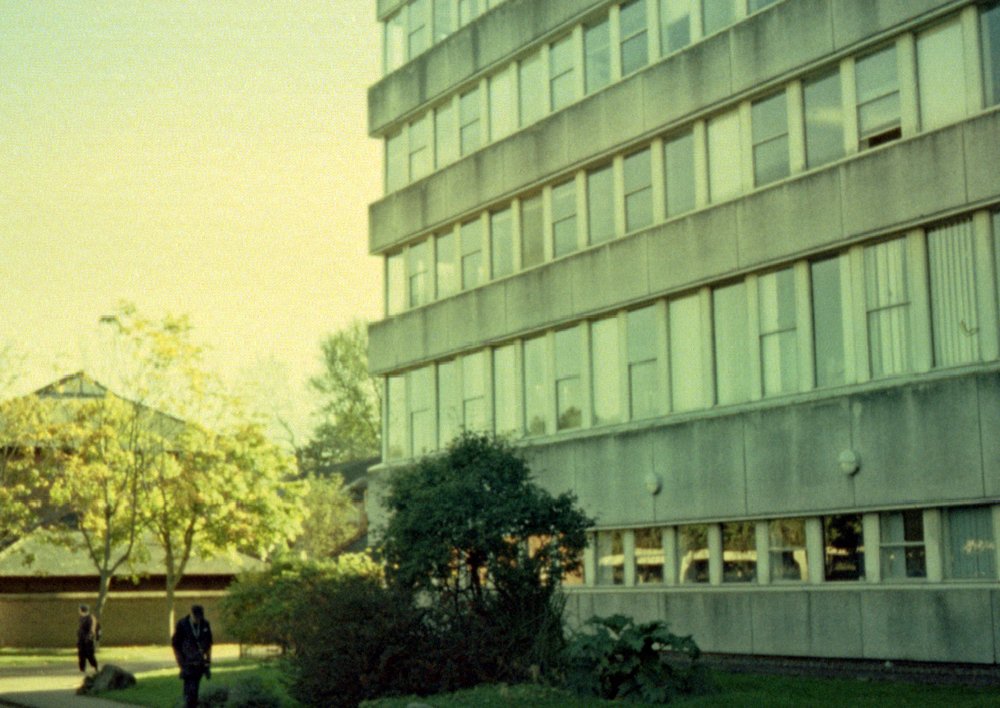
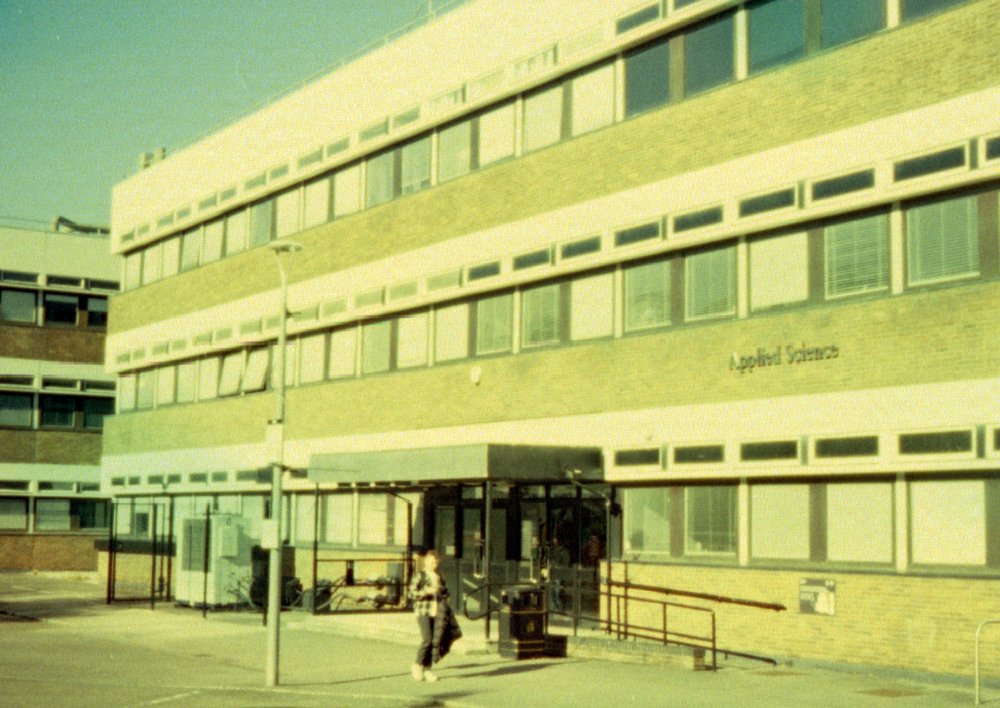
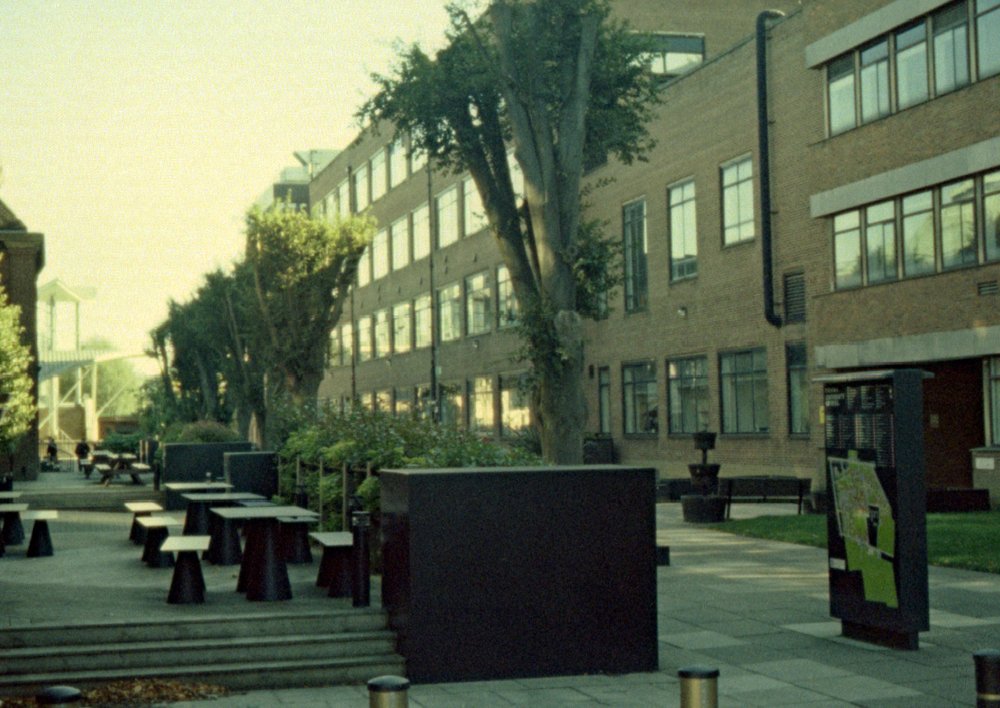
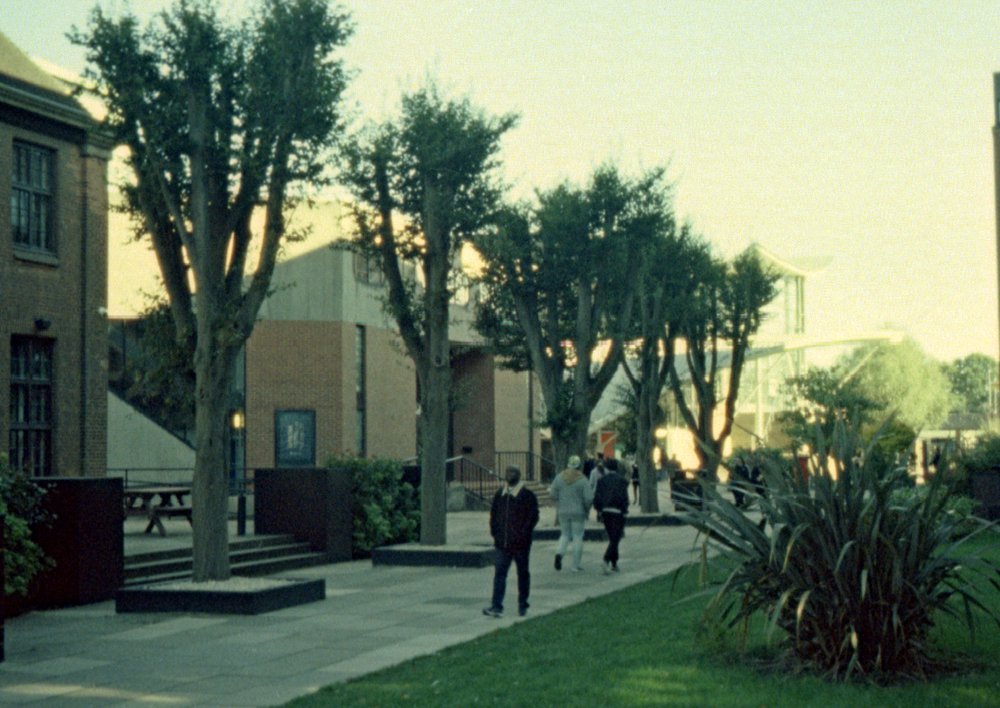
The film I used is probably a bit too fast for the lighting conditions (which is why things look a bit over exposed and washed out here and there) but I’m very happy with the results.

Camera with glasses for scale
I’m looking forward to taking the camera around with me and grabbing some more shots in the future. If you fancy the genuine film look from a proper design classic you could do worse than get hold of one of these cameras and have a play. If you don’t fancy loading and unloading your own cassettes you get pre-loaded ones which can be sent off for processing and reloaded. Great fun.