EMF Day 1

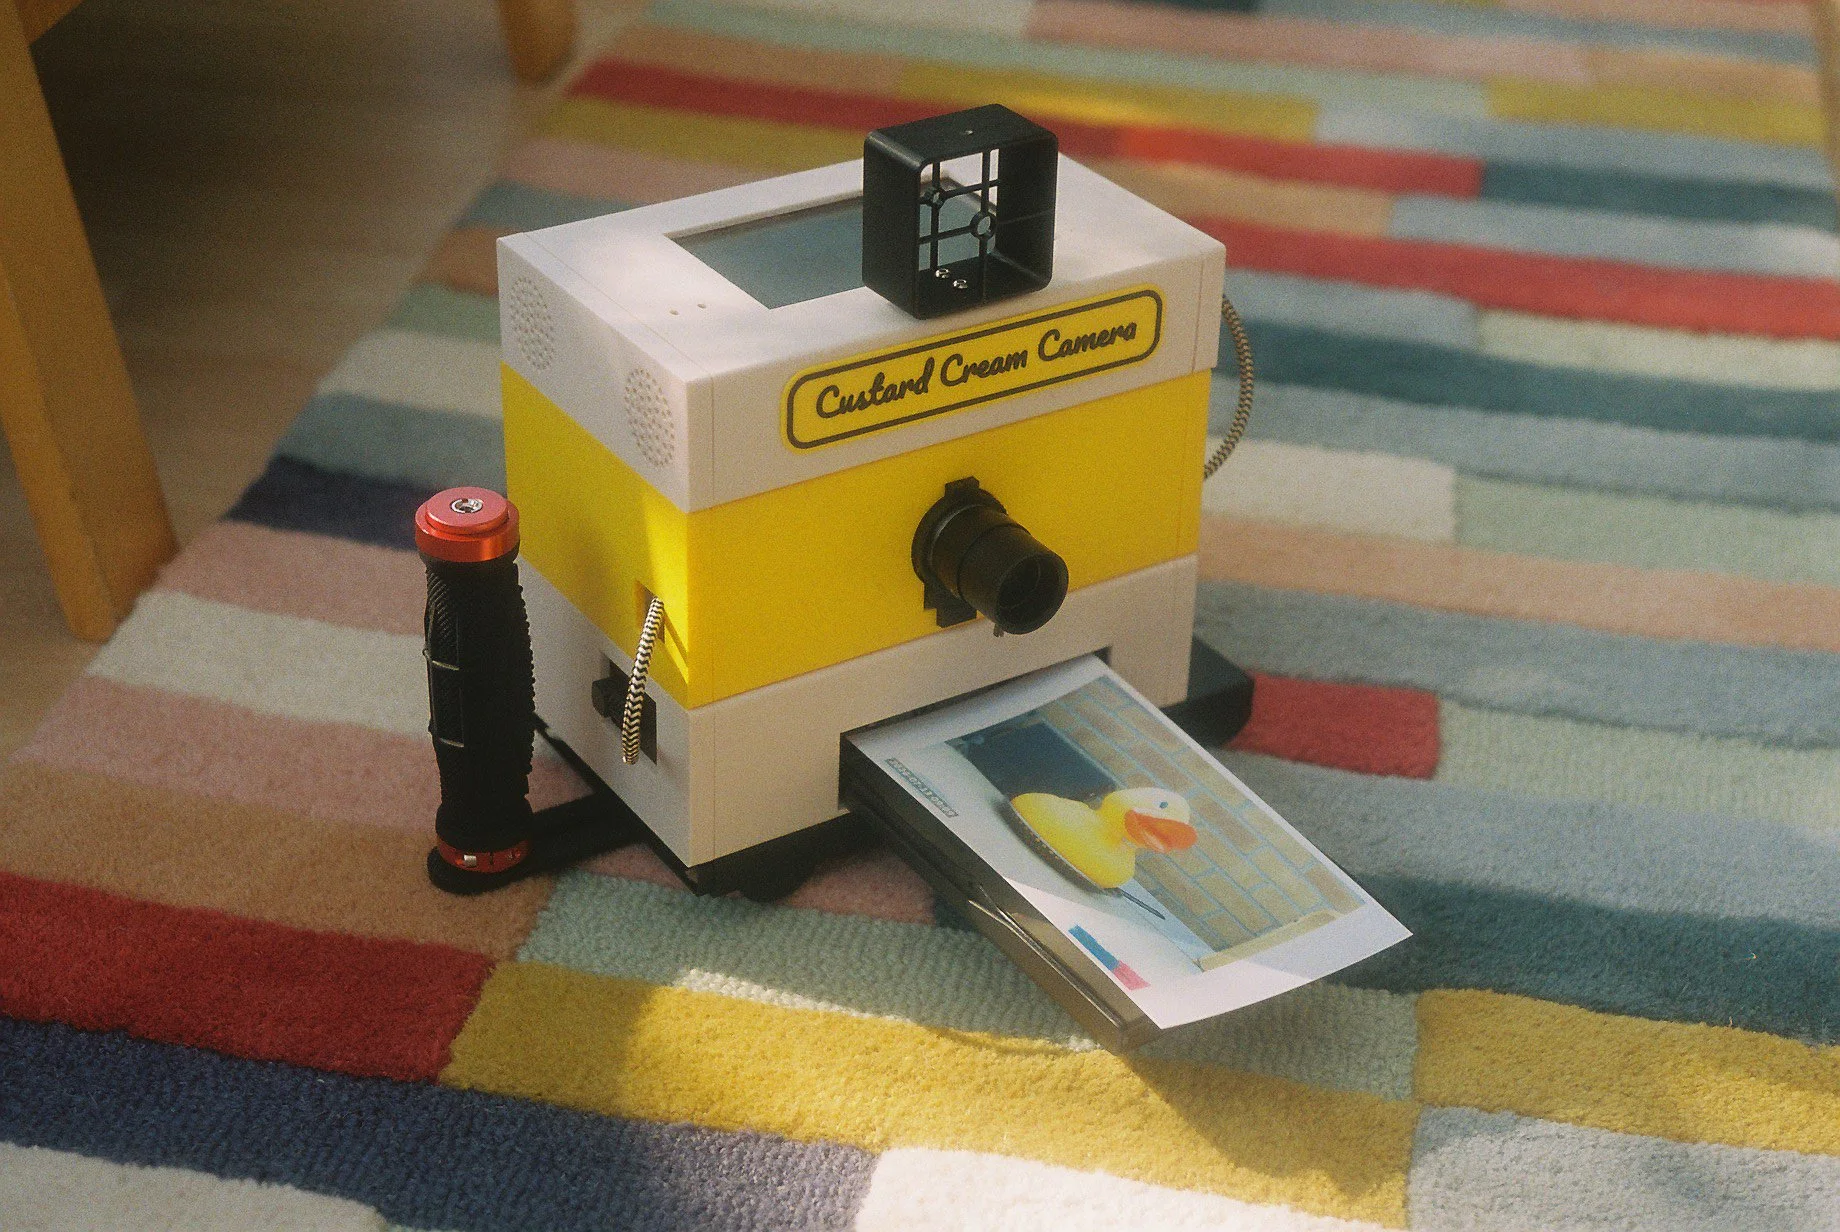
We got up bright and early today and headed off down the motorway to Electromagnetic Field. The motorways were mostly clear, the weather was mostly very warm. Just the temperatures for carrying tents, groundsheets and Custard Cream Cameras around. Once we had the tent up and everything in place we went out for a walk and to take some pictures. Then we repaired to the Lounge to take a look at what we had, and fiddle with it a bit.

EMF has this rather nice sign. I asked the Custard Cream Camera to put it on the moon.

Then I added a bit more cheese to the event…

…before turning one lucky person into Lego…

Then we headed back to the tent to get things ready for tomorrow. If you want to see these and many other pictures from the event you can go to: https://custardcream.cam/ Just hit the “See a random picture” link to, er, see a random picture.

Using AI to make Rubber Duck Frying Pan Cartoons

One of the reasons that I created the Custard Cream Camera was to make a device that had built in AI filters. I was inspired by Banamera to create something you could speak commands to. I’ve got it working now. Above is the first ever image processed result. It took a photograph of a large rubber duck in a frying pan and turned it into a cartoon of a large rubber duck in a frying pan.

This is going to go down well at EMF….

The Custard Cream Camera Lives!

The camera with a duck and a printed picture of the duck

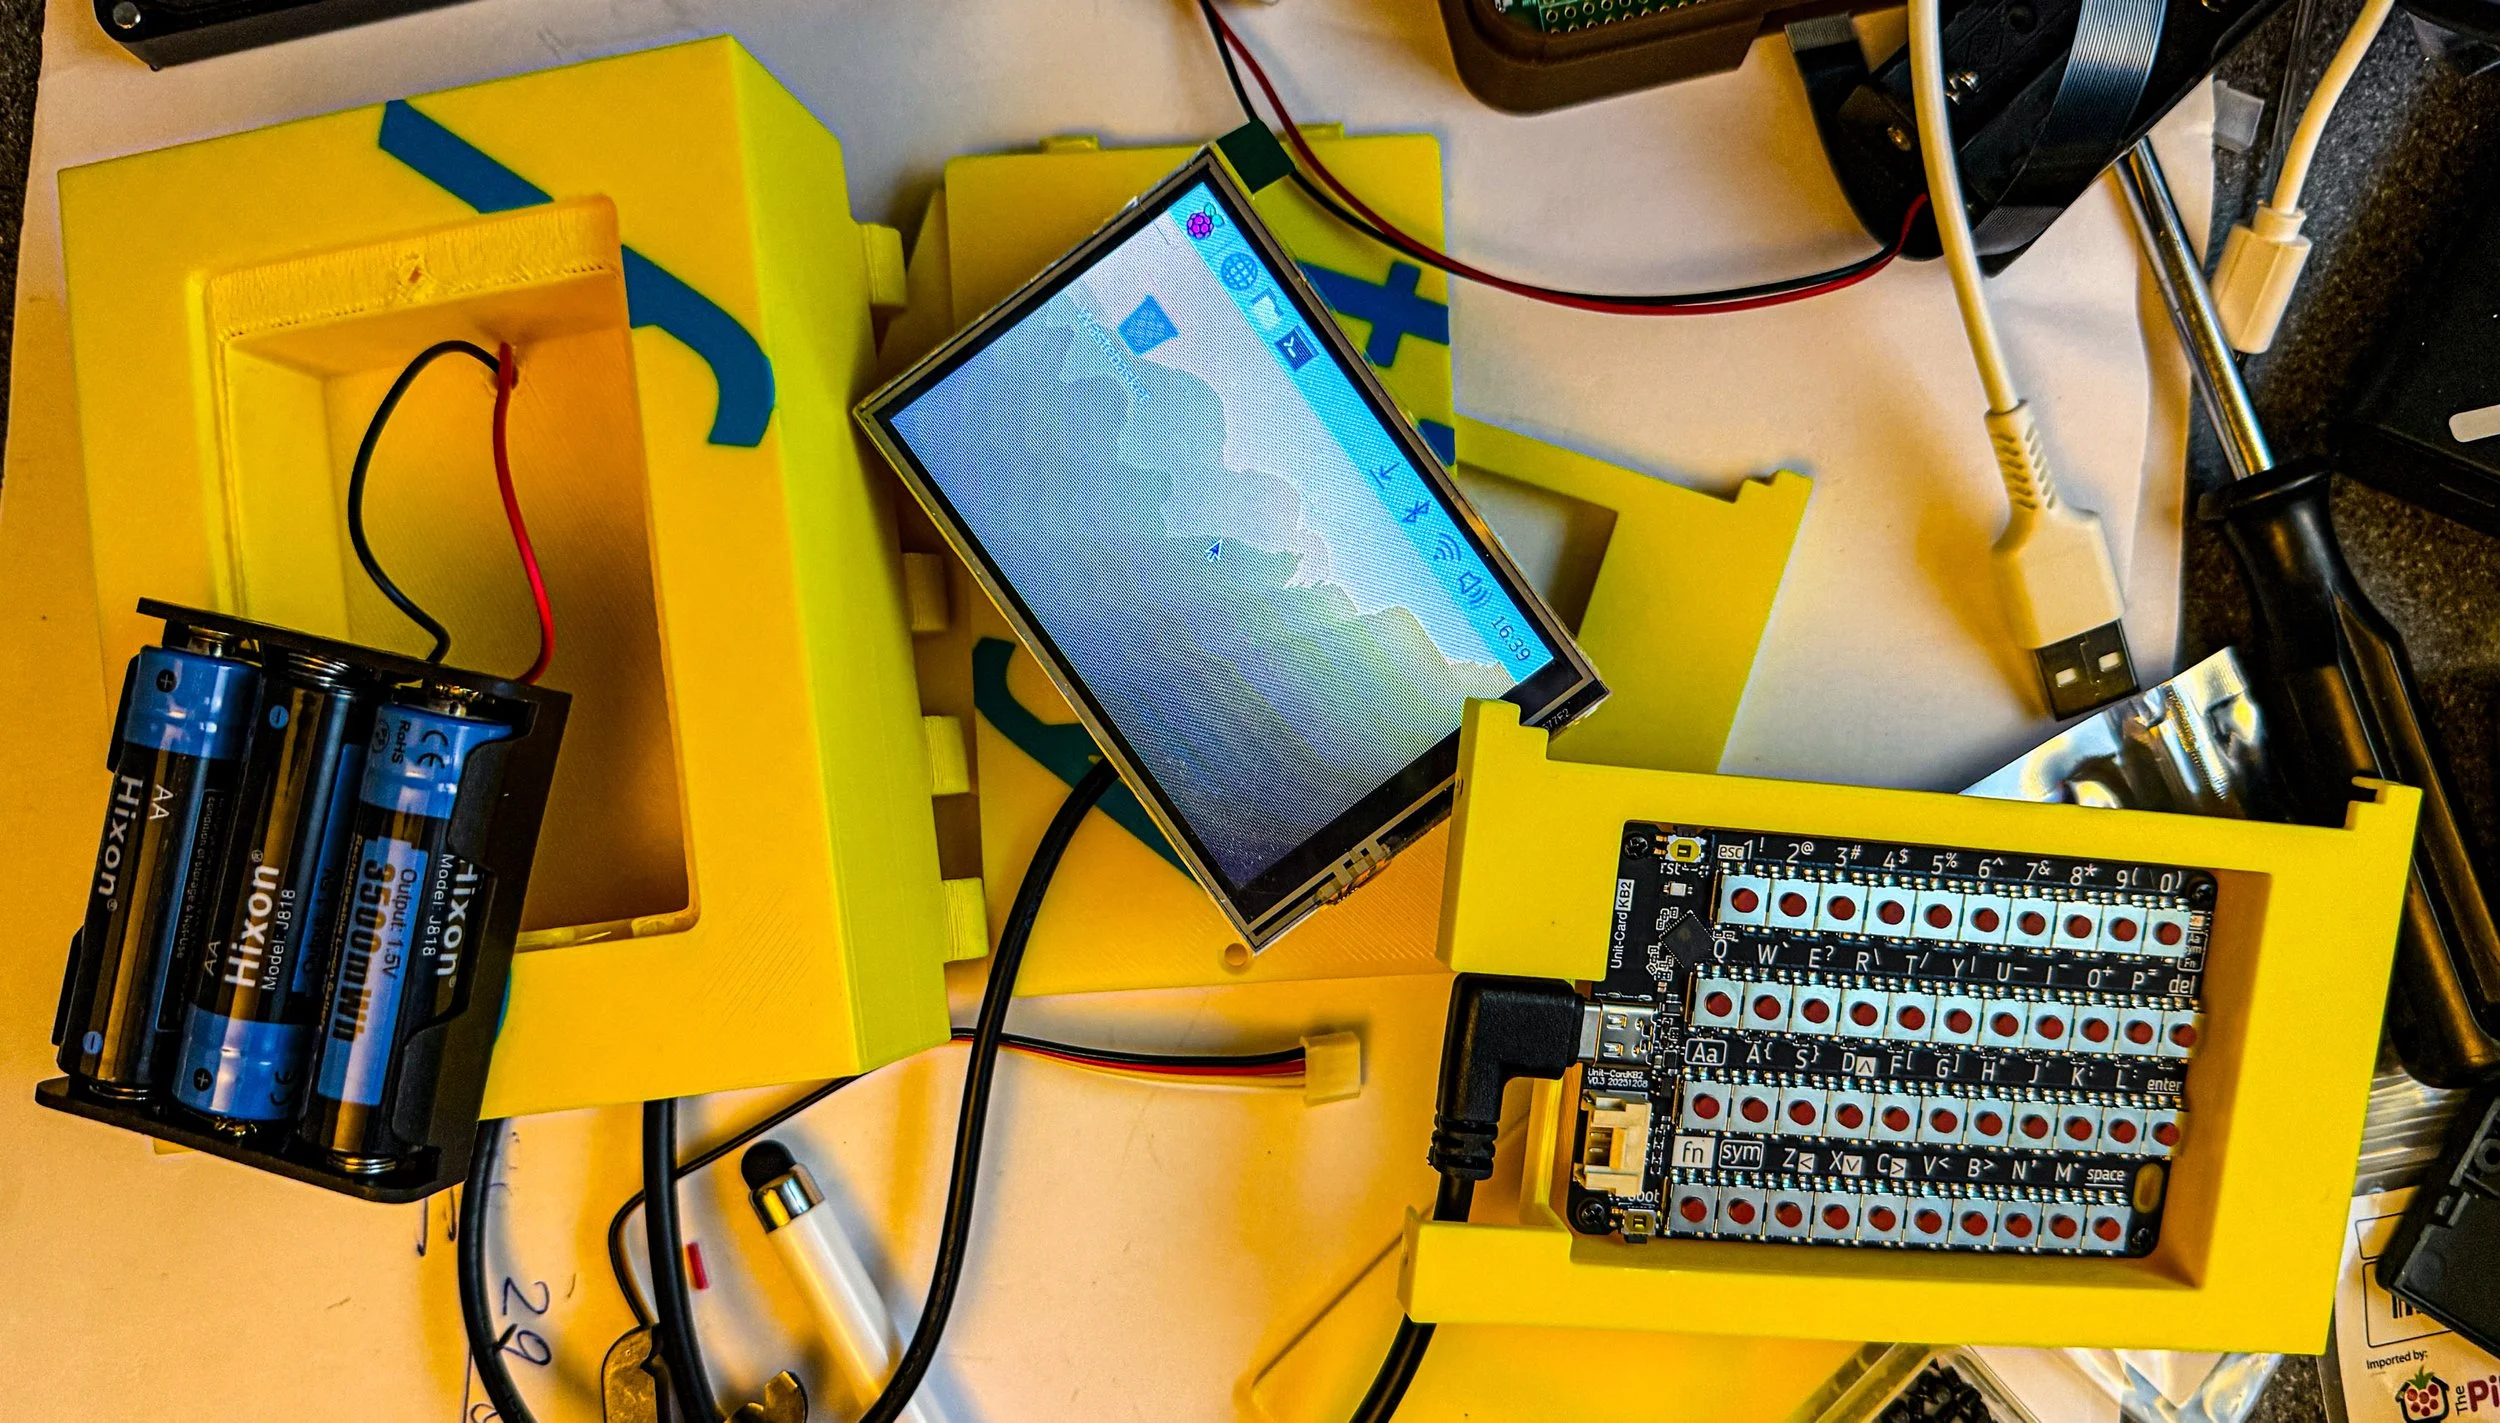
Please don’t ask me why it is called the “Custard Cream Camera”. Just take a look at the box and use your imagination. Anyhoo, it is now mostly complete and working. I’ve no idea how reliable it is or what will happen when I throw it in a tent and then go round taking snaps of happy festival goes.

But we’ll find out later this week.

It has a user interface and everything

Printing Trees

I thought the support trees that you get when 3D printing looked too good to throw away….

This is how the centre box of the Custard Cream Camera case was printed. The amazing thing is that the camera hole and the camera supports (which you can see at the back of the picture) came out perfectly in spite of the way that the supports were printed as horizontal objects. This experience has cured me of any concerns about using support in prints. It really does just work. Very impressed.

Hoxe Airtag clones are good value with one Achilles Heel

Each tag is around 40mm across

We’ve used Apple Airtags to keep track of our stuff for ages. They work very well but they are a bit pricey. Hoxe Tracker Tags do the same job and you can get eight of them for the silly price of ten pounds (or sometimes even cheaper). On Apple you use them in exactly the same way. Add them to the Find My app and they pop up on your map and away you go. They contain a CR2032 battery which you’ll have to change every now and then. I can’t speak for how well they work on Android, but I’d expect them to be fine.

What’s not to love? Well, there is the way that they use a tiny little button (you can see it on the picture above) to control their reset behaviour. Hold the button down for a few seconds and the tag goes into “pairing mode” and waits for something to talk to it. Put a tag in your back pocket with a bunch of keys and then sit down and you might also activate the pair behaviour which stops the tag working. I must admit I’ve not had a problem with this myself. I pop the tags into bags where it is unlikely to happen. If I want to put one on a keyring I might make a little case which covers the button.

Wheely Good Time at the Hardware Meetup

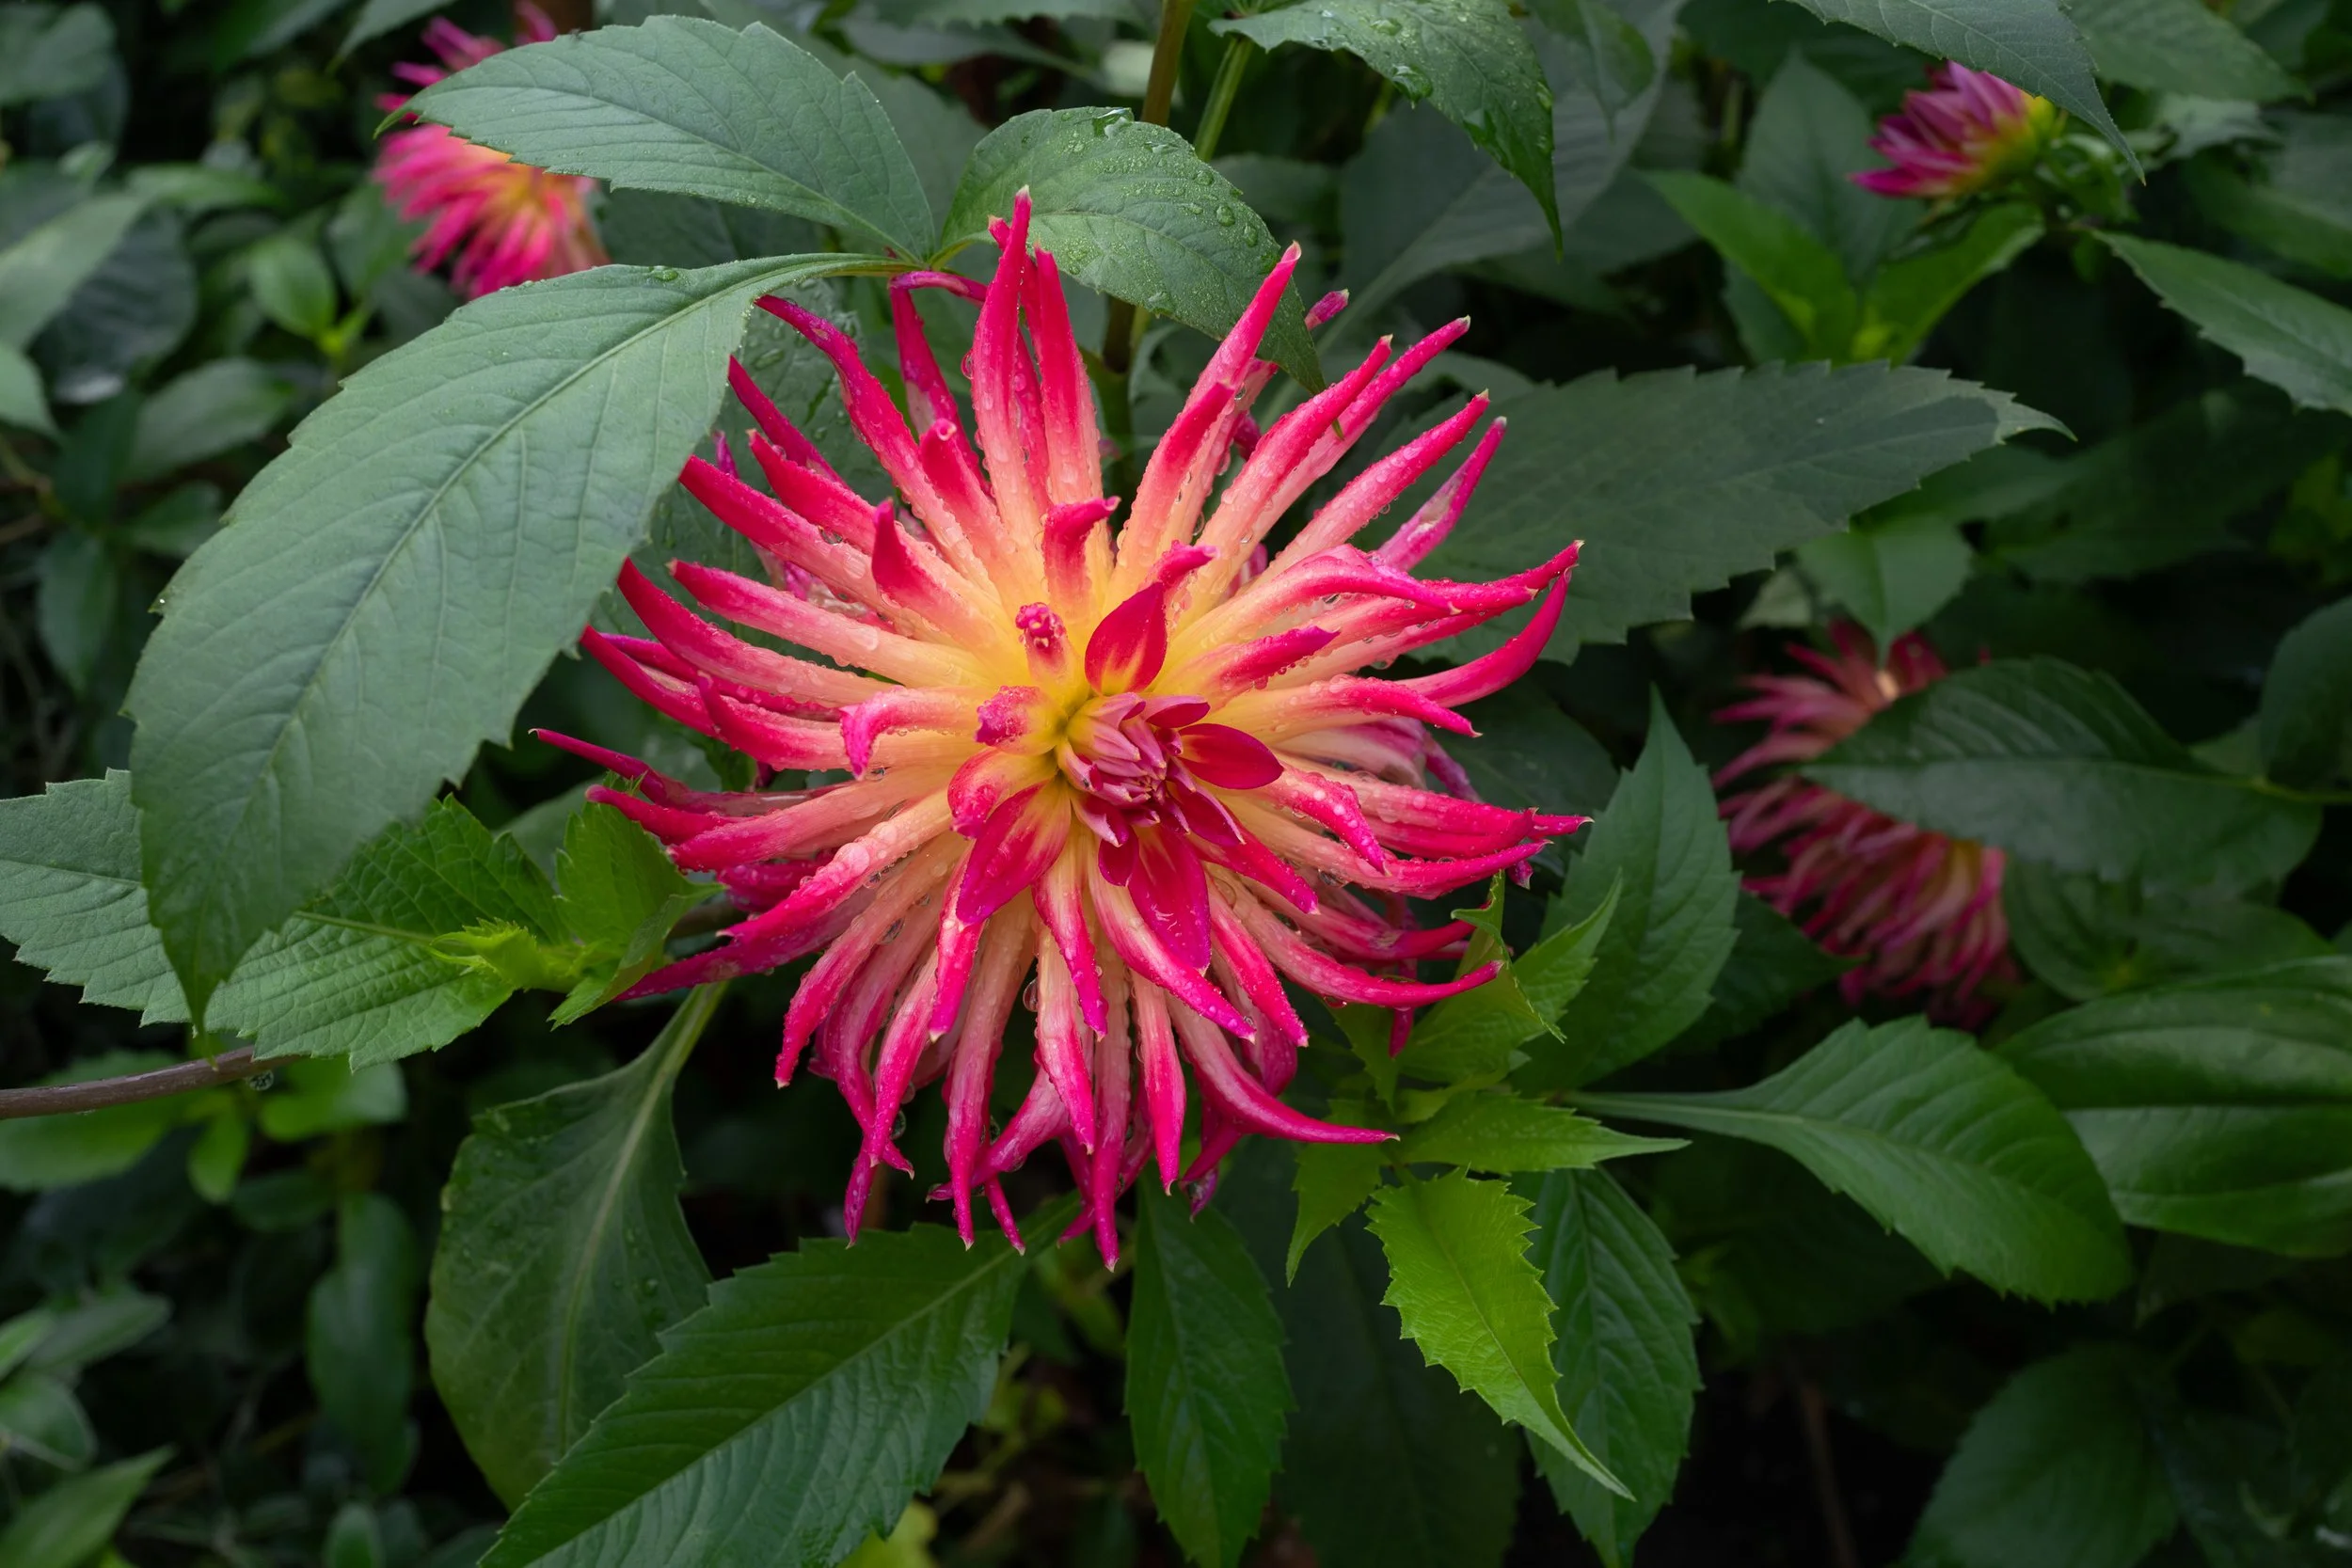
Here are some flowers in place of hardware meetup pictures

I’ve done it again. Taken a camera to the Hardware Meetup and totally failed to take any pictures. So there is no evidence that we had a great time (despite me bringing the wrong robot parts along). Nice to see new folks turning up and we did manage to get robot wheels fitted and turning, which is a great start.

Next time we will be adding a distance sensor so that the robot can move around without bashing into things.

Cheap Handles

I can make two camera handles with just one set

I’m making a big camera. In a big box. With a printer. It’s going to be quite heavy. And it will need a handle. I’ve managed to find these on Amazon. They are supposed to be used for underwater photography. You put a camera in the middle and some lights on the top. But they come to pieces to leave you with two handles and two fairly sturdy base plates, which are the bits I’m going to be using. I managed to get mine “nearly new” for the princely sum of fourteen pounds. If you are building anything that needs a handle, they are well worth a look.

Turning Black and White

I need to work on my focus

I’m getting back into black and white analogue photography. I think I’ve found the cheapest way to do it: process at home and use bulk rolls of film that you load into reusable cassettes. This drops the price significantly, although you do have to deal with films that tell fibs about their speed (I’m looking at you Fomapan 400) and leave you with very thin, underexposed negatives. Either that, or I got the developing time wrong.

Anyhoo, the results are always interesting and would be very difficult to replicate on a digital camera or phone.

Got my Leeds Photo walk pictures back

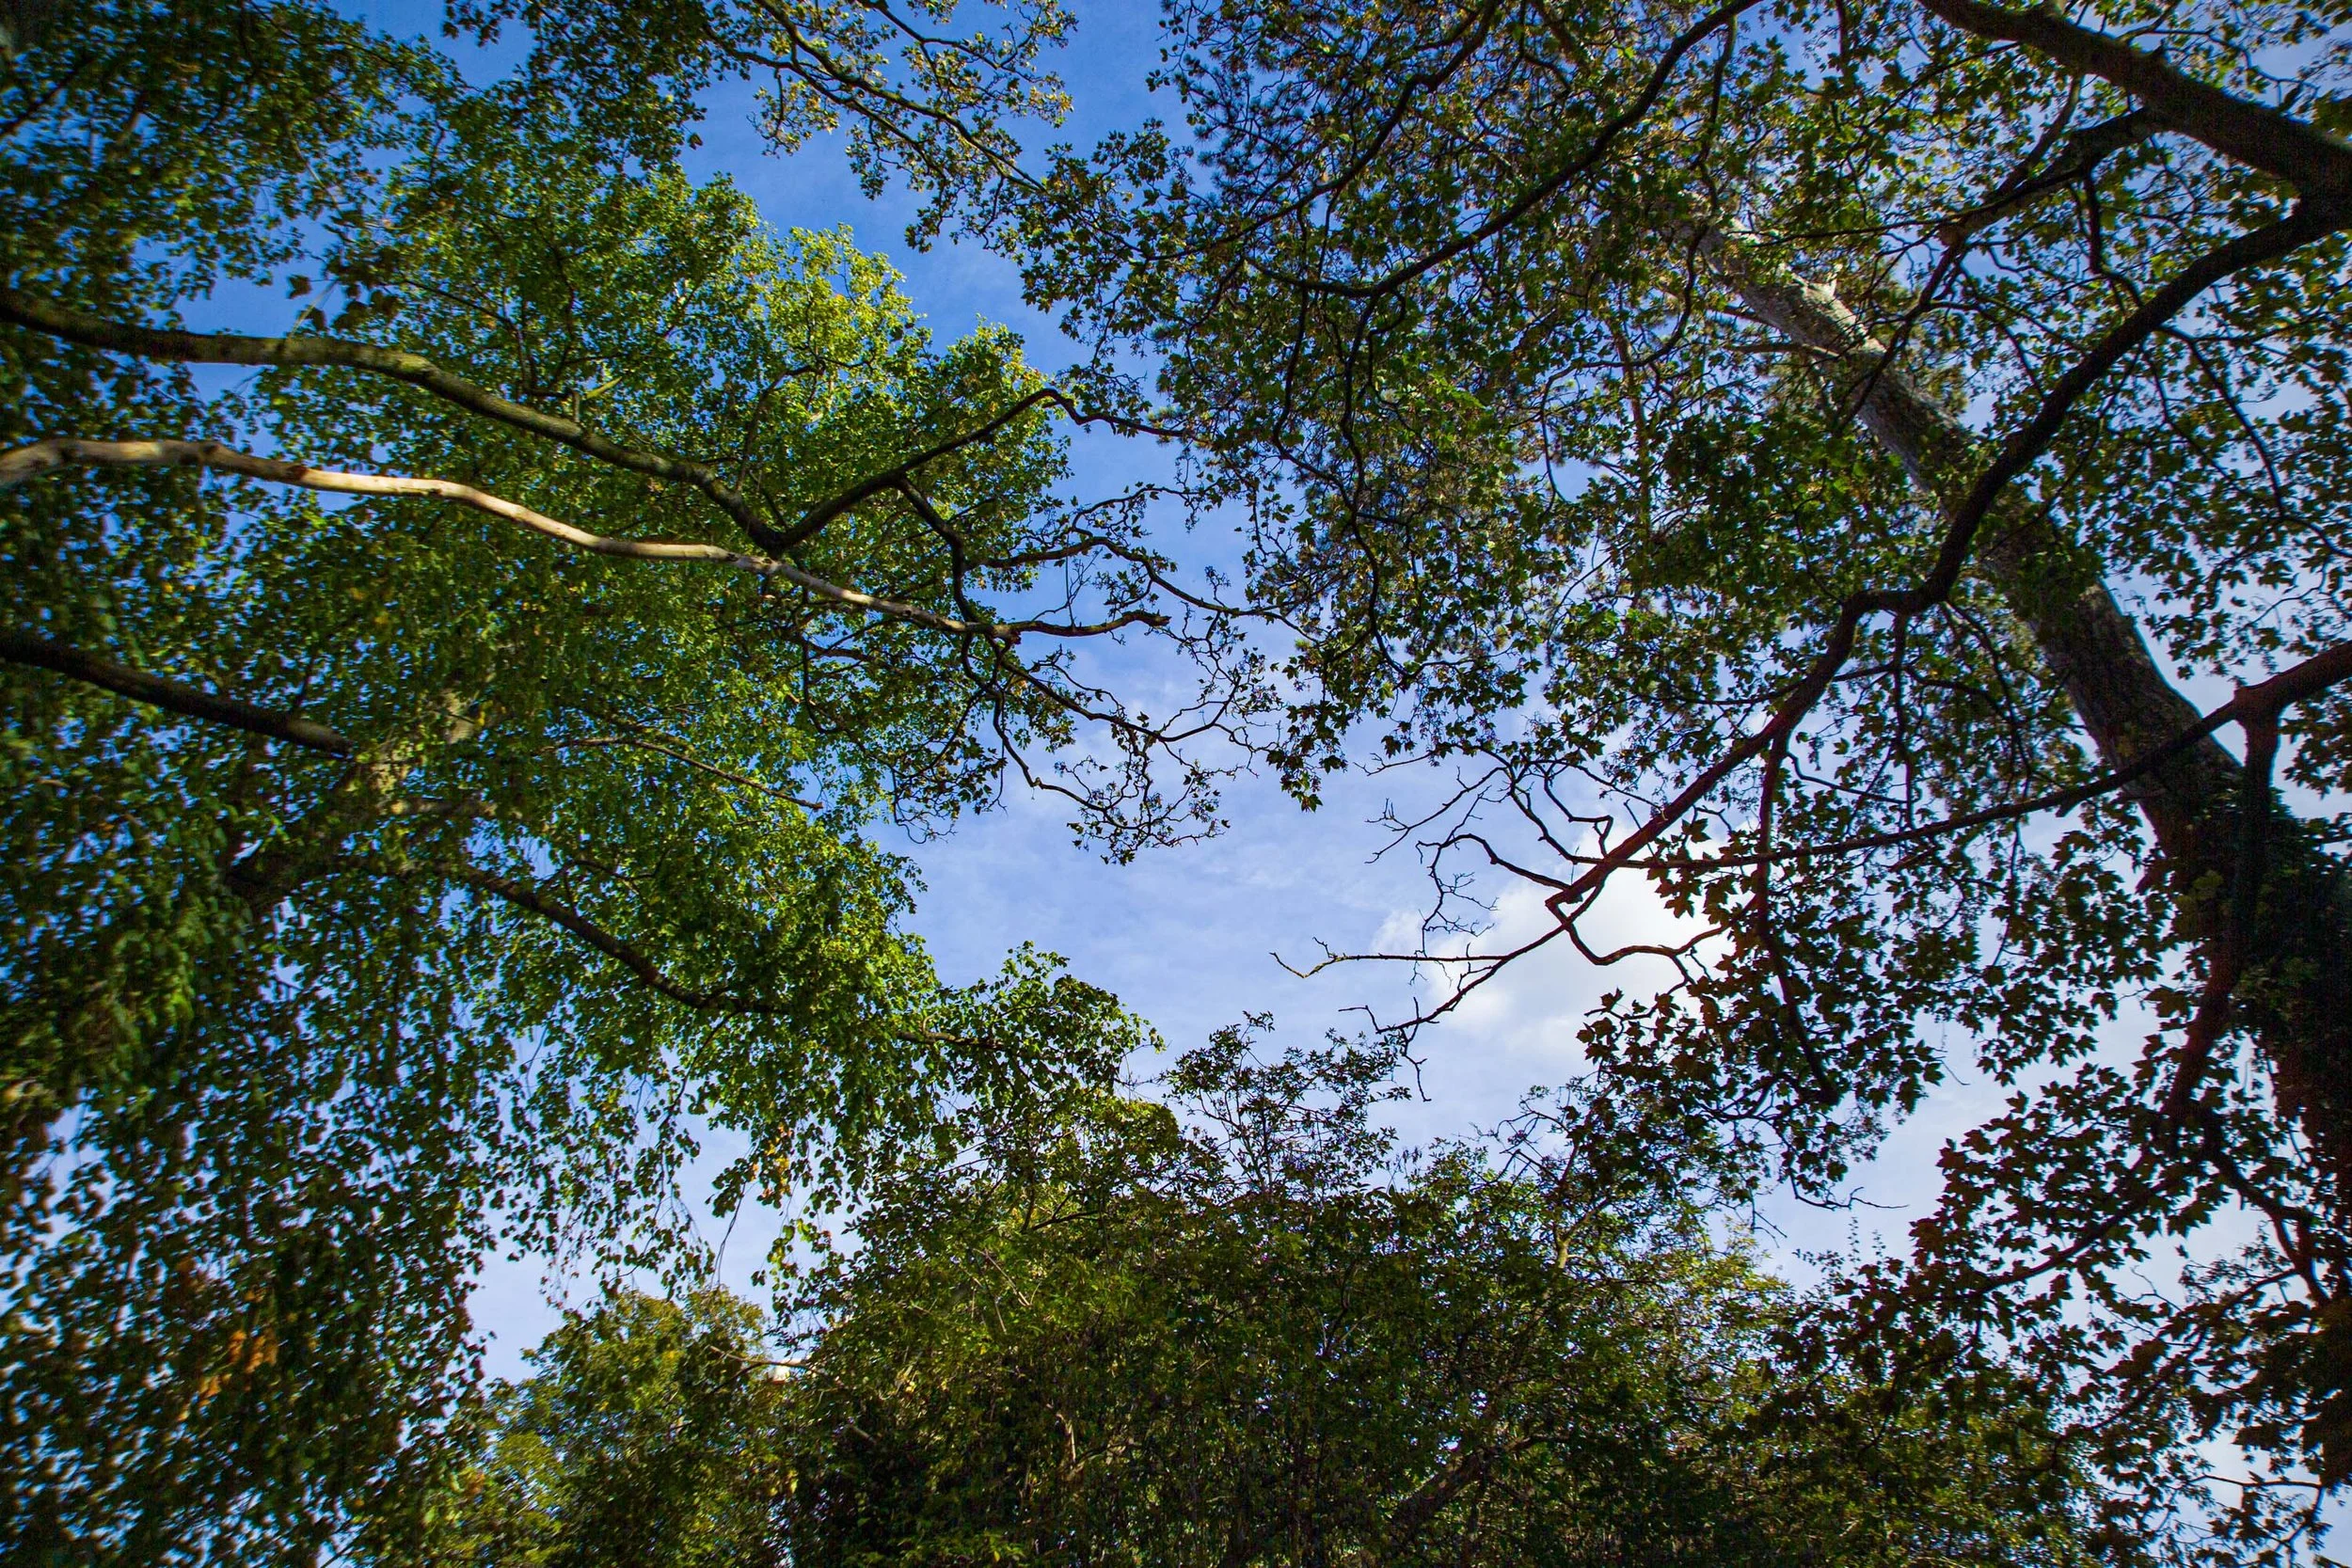
We’ve got back the pictures we took on the photo walk last Saturday. Kudos to Analogue Wonderland for turning them around so quickly. My favourite shot is above. I took it in the Victoria Shopping Centre in Leeds. We’d gone in there to cool down in the air-conditioning and I noticed the skylight.

I had a few duds, mainly because I forgot to focus the camera. But all in all I’m very pleased with the results. If you’ve not done a photo walk before, I strongly recommend them.

Bendy printing

I think I needed more support underneath it.

A cunning 3D printing trick is to print at an angle. The thinking is that a printer can quite happily print at 45 degrees, so if you have lots of overhangs in your design (which is the printer case I made yesterday) they will all print at 45 degrees and there will be much less need for support. I have actually done this and it worked well. But not today. It was probably because I was printing on one of the hottest days of the year.

The print went all bendy and dipped below the print head so that the printer started printing in thin air, and just produced some very fine spaghetti. This is the first time the Bambu printer has let me down. It’s my fault really, the print was a bit ambitious. In the end I stood the design on its side, printed a bit of support and it came out just fine.

Making a printer cutter

Last time I went to the Electromagnetic Field Festival I took along a converted Polaroid camera that produced Fujifilm Instax Wide pictures. This time I’m going a bit bigger. I’m making a Raspberry Pi powered camera that uses a Canon Selphy CP400 dye sublimation printer. These printers produce super high quality prints which are around a third of the price of the Instax ones. And you can pick them up for around twenty quid on ebay. They work fine on Raspberry Pi (and Windows 11 PCs) too. The downsides. They are quite big. They run on 22 volts DC. And they are quite big.

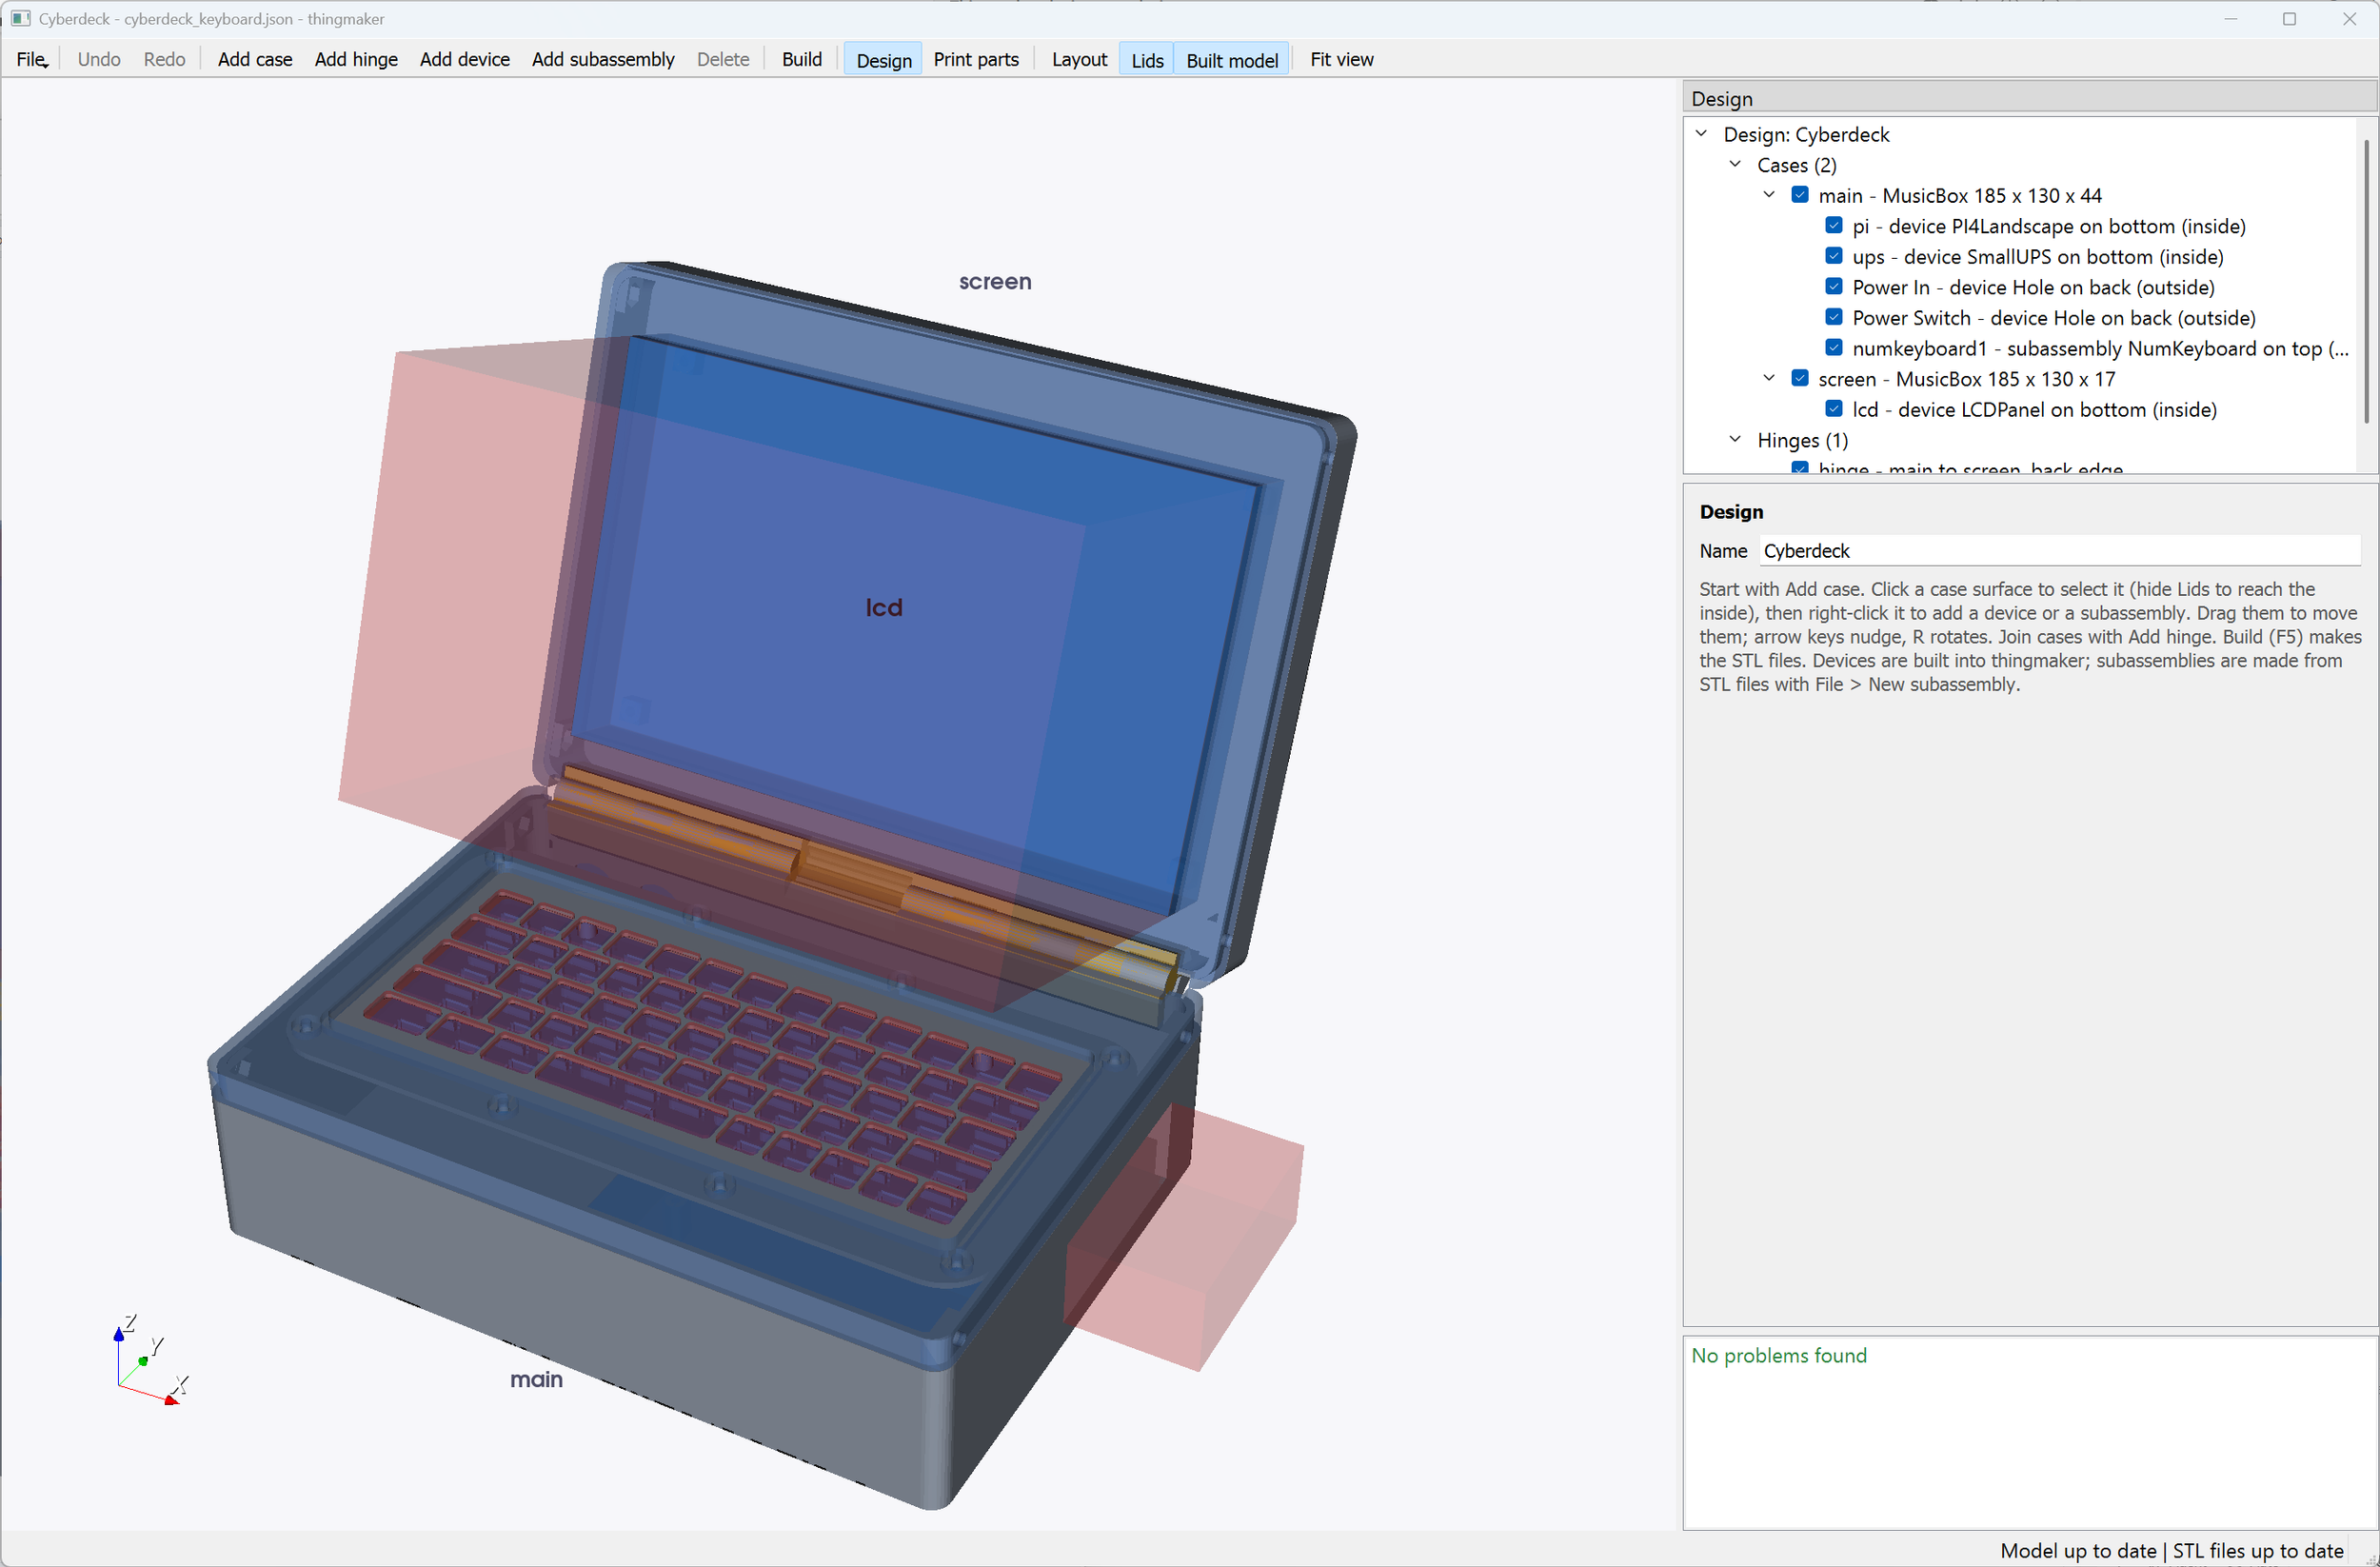
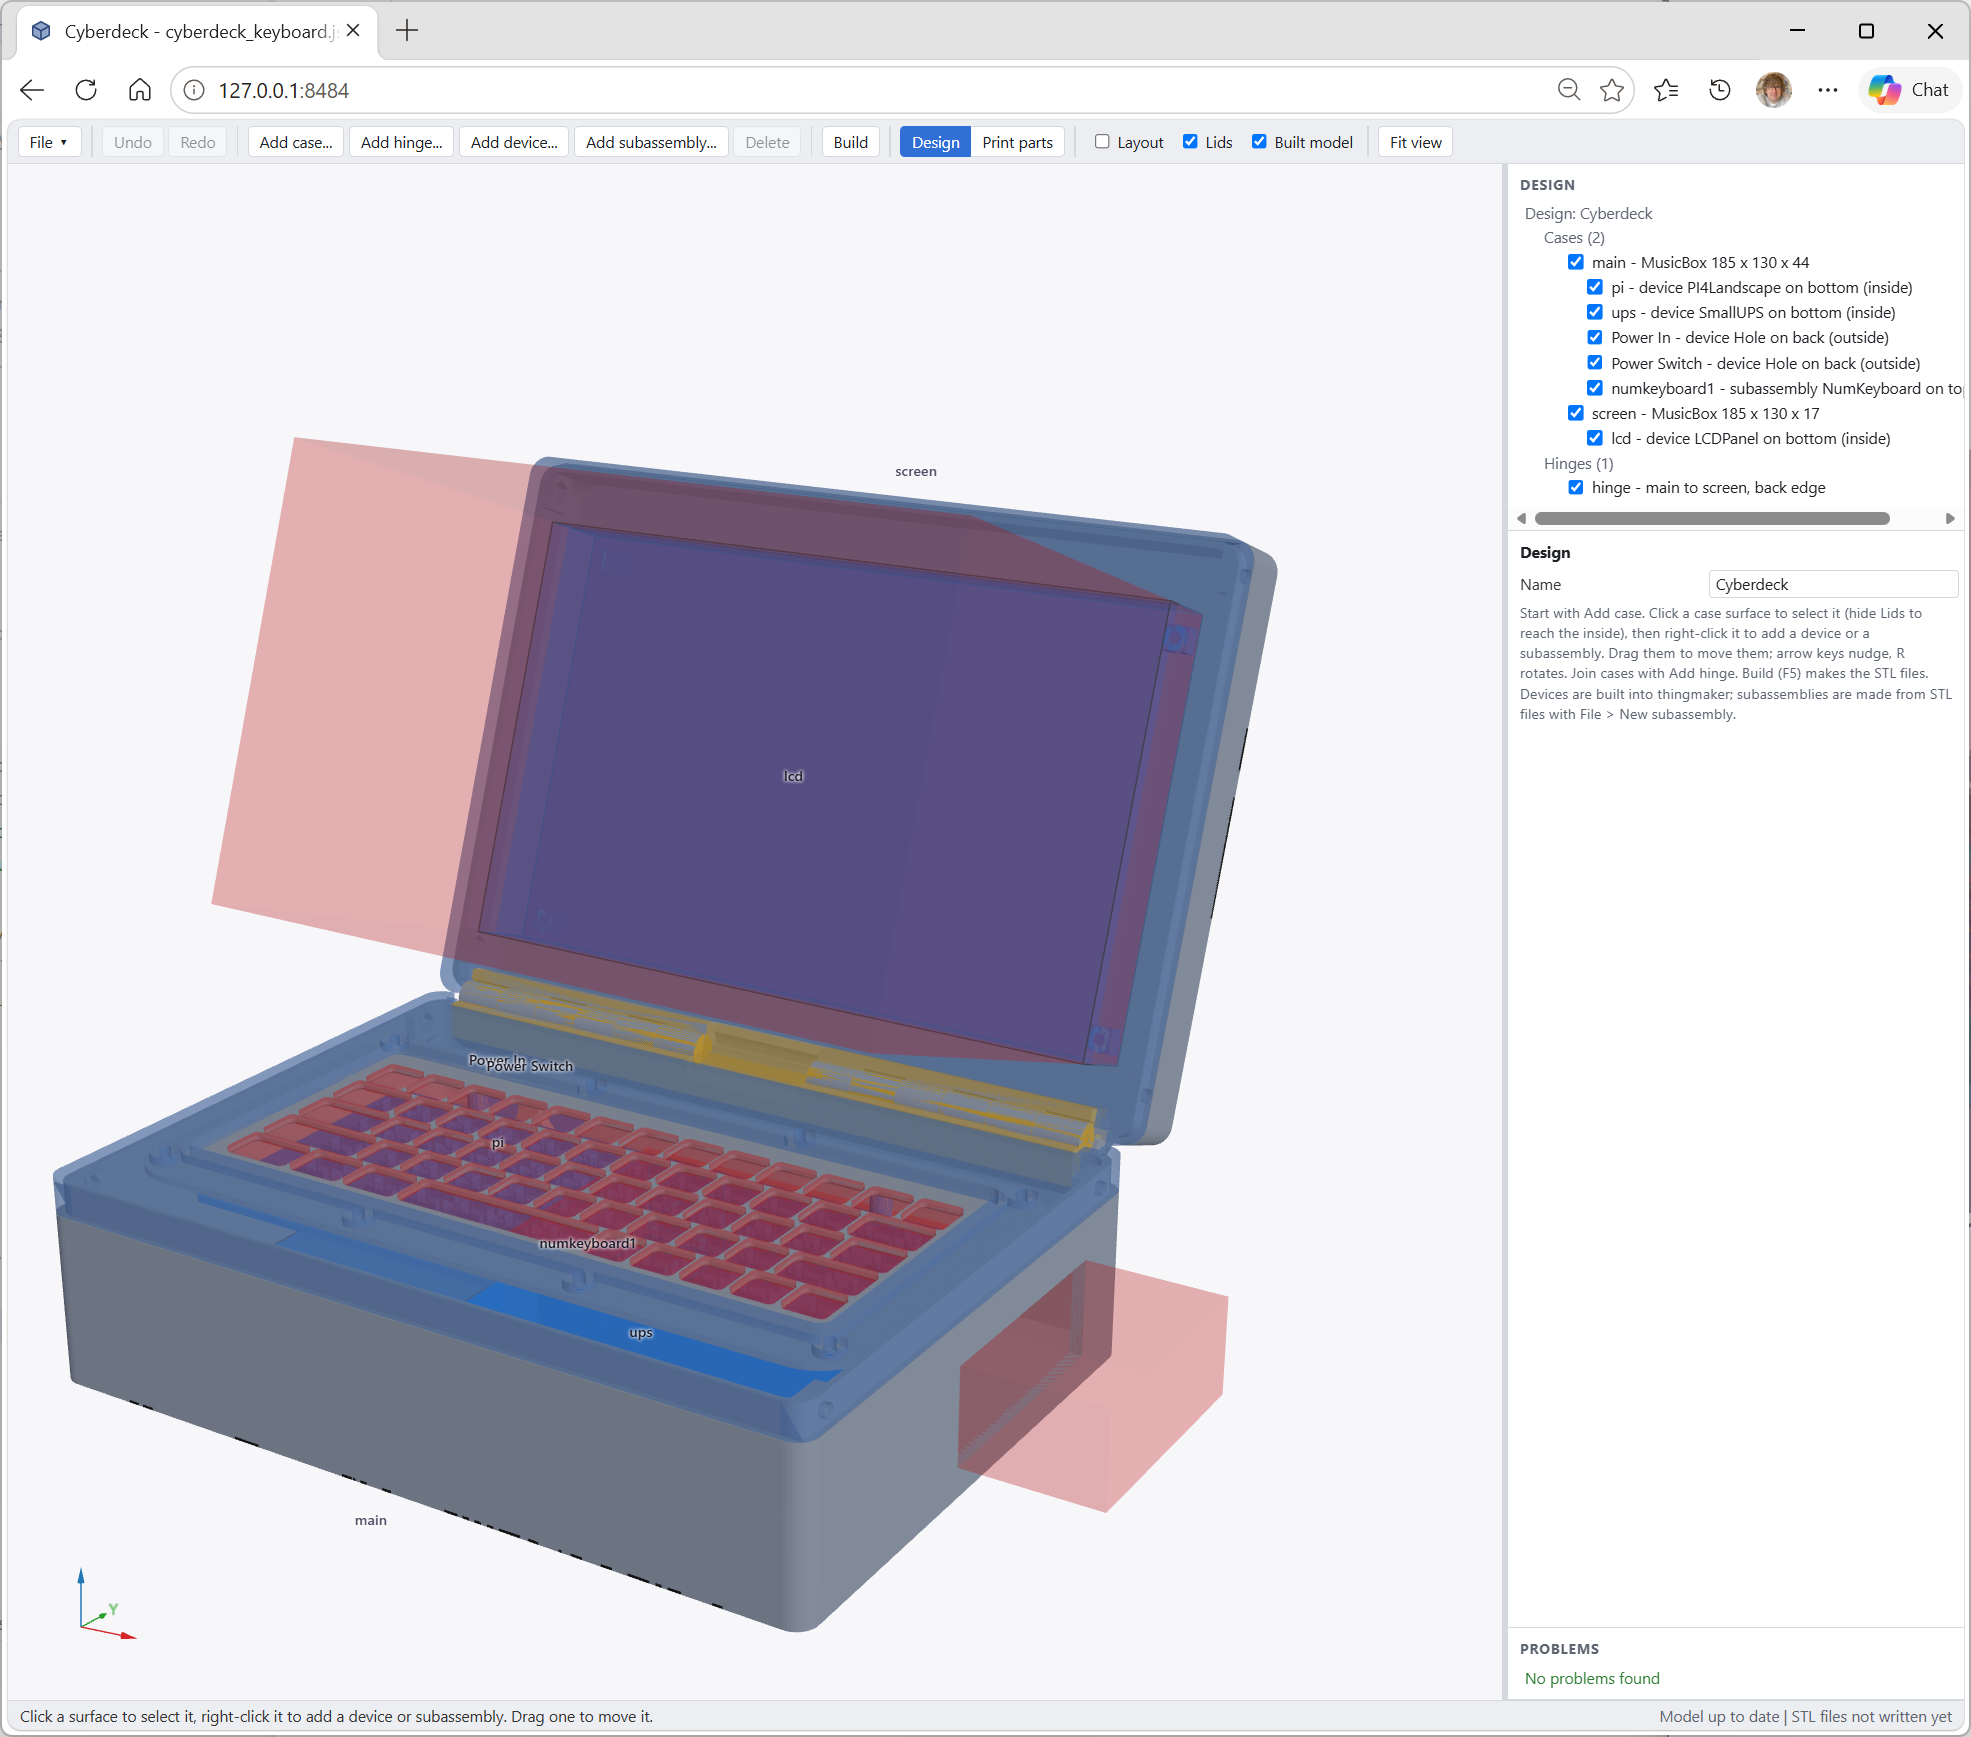
I’m designing the camera box and I have to leave room for the printer and the battery pack. The Pi and the electronics will be at the top and I’ll have room for quite a big screen. I’m using a new design technique (to me). Rather than try and place fixing and access holes in the case that I have designed, I’ve instead created a model of the printer and all the cut-outs and mounting holes that it needs.

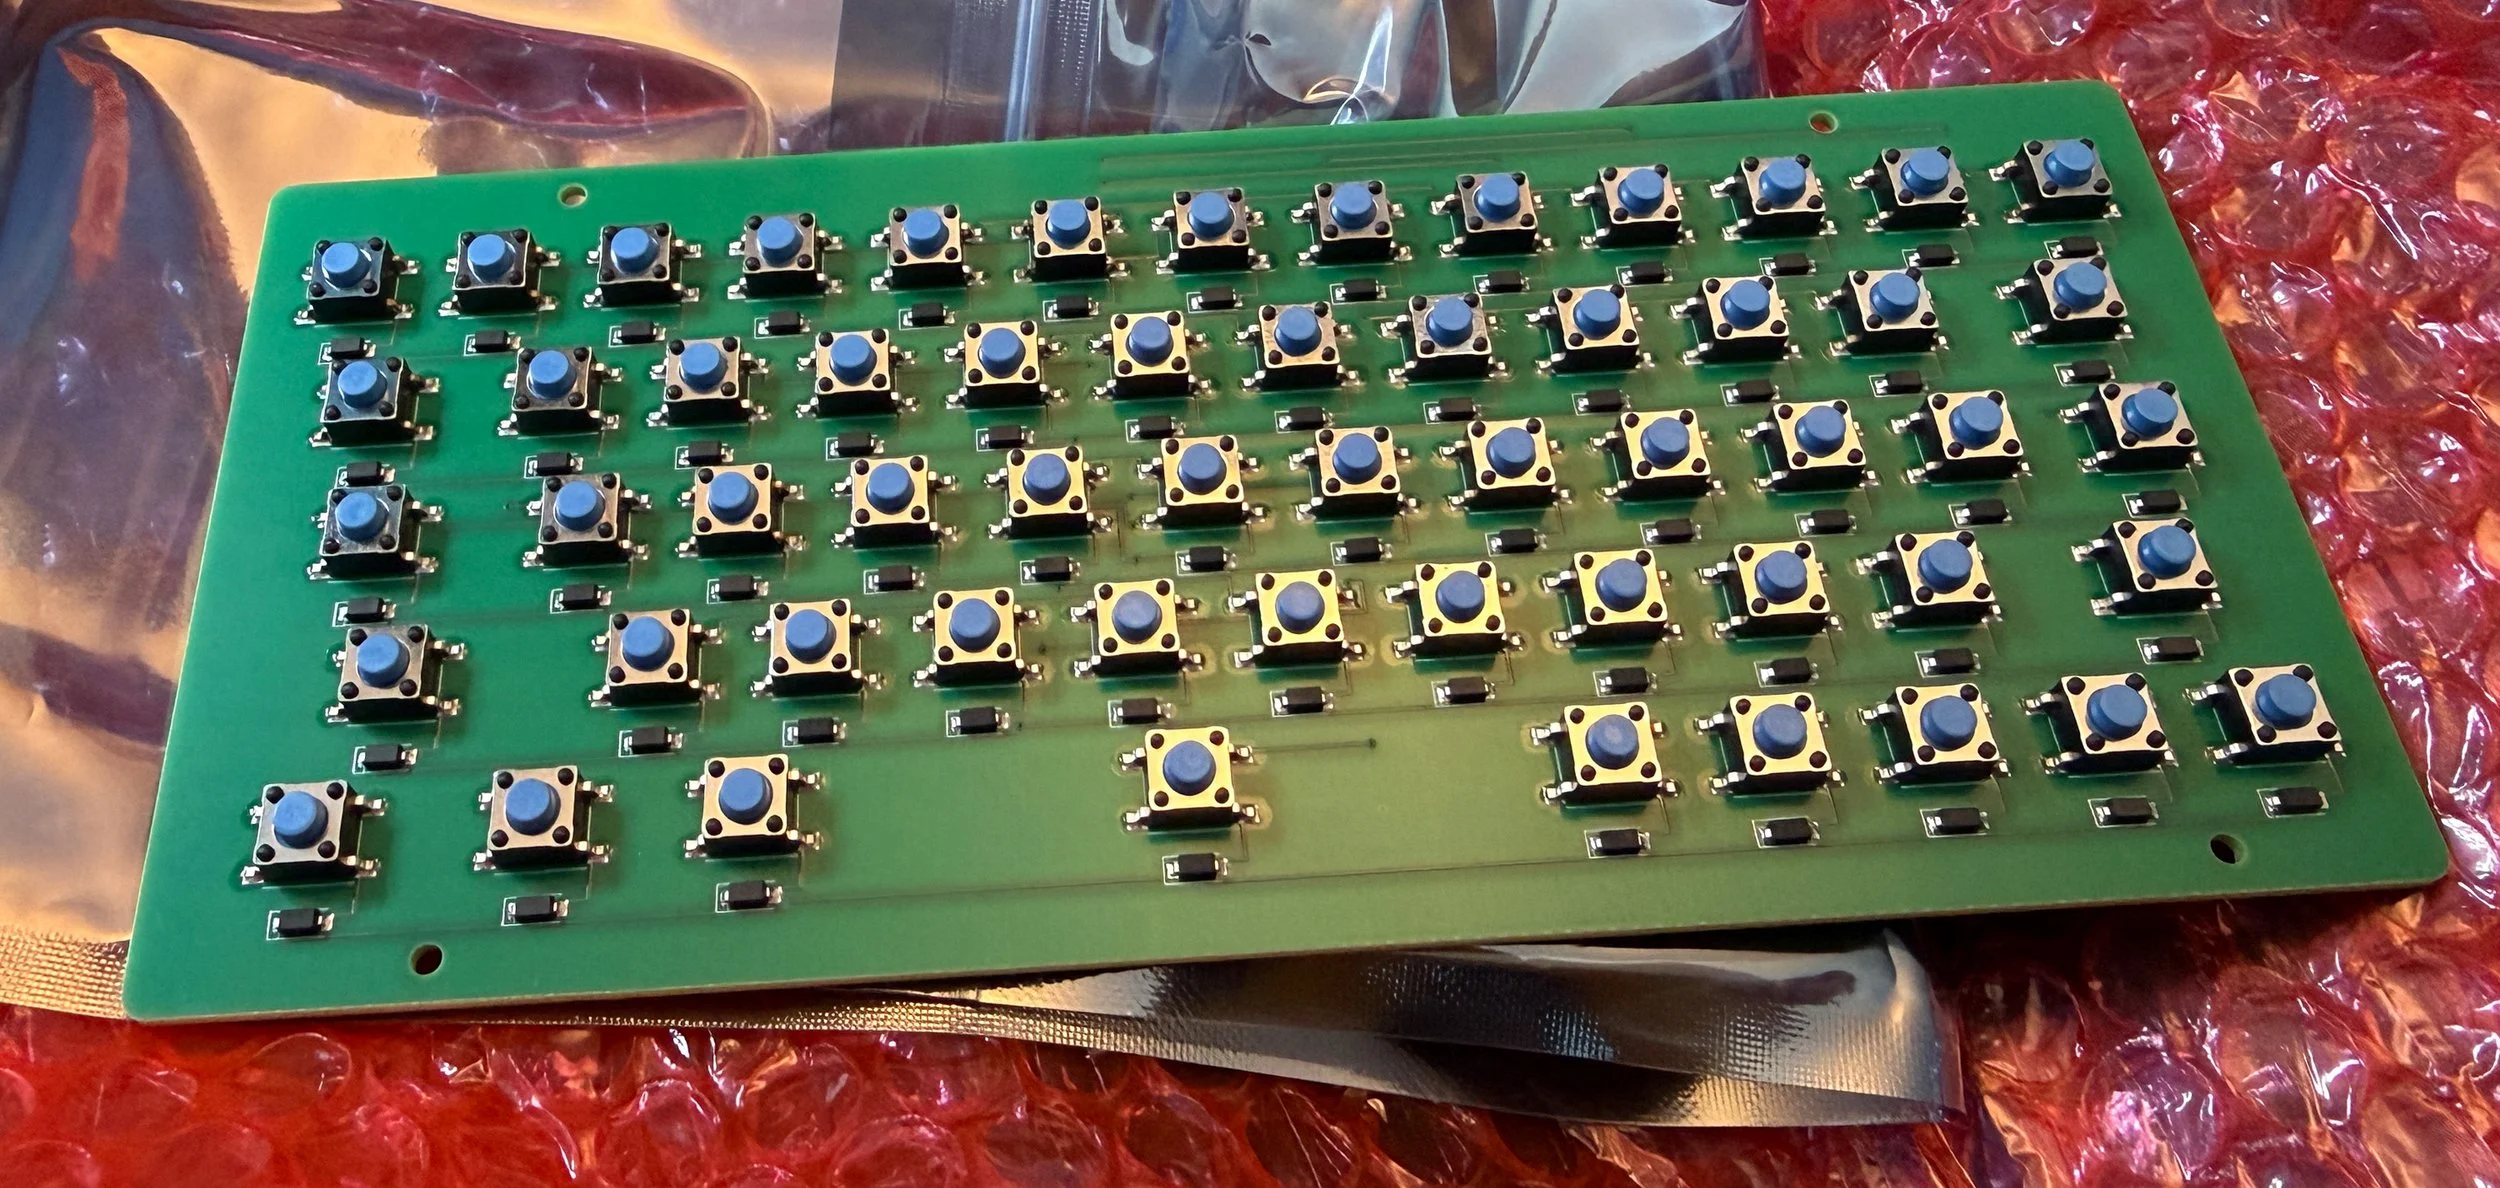
The long thin bits are the mounting holes

This is the printer cutter. I just design the box, position my model inside it and use cut to remove the printer from the box.

This is the box with the cutter cut out of it. You can just see the mounting holes at the bottom. All I have to do now is print it and hope that my model is correct….

Cottingham Fair in Great Weather Shock

The last few days have been a target rich environment from a photographic point of view. In the morning I took a camera around Cottingham Show. I was hoping they would have some old motorbikes and I wasn’t disappointed. At the moment I’m getting back into analogue photography in black and white.

I developed the pictures this afternoon and I’m really pleased with the results. The only problem I had was that the temperature of the developer is supposed to be 20 degrees centigrade and at the moment the water coming out of the taps here is at 22 degrees. Rather than fetch some ice cubes I just developed the film for a bit less time. The camera I used is older than me. I think results are pretty darned good.