Cleaning a camera sensor

cleaning.jpg

When I was processing the picture tor yesterday’s post I realised that my camera sensor was absolutely filthy. The good news is that Lightroom is pretty good at getting rid of the resulting spots, but I don’t want to have to do this for every picture.

So today I cleaned up my sensor a bit. One of the problems with a mirrorless camera is that there is nothing between your precious sensor and the outside world when the lens is removed. Which means that your sensor will get dusty. If you want to find out where all the spots are, here’s how I do it.

  1. Open Notepad on your computer and expand it to fill the screen.

  2. Turn on your camera and set your the exposure to Aperture priority. Then set the aperture to the highest possible value (I go for F22).

  3. If you point the camera at the white screen you should see any dust particles show up as black dots.

  4. Turn the camera off.

  5. Take the lens off and use a dust blower to blow the dust off the sensor. Do not blow into the camera yourself. And definitely don’t sneeze into it. And don’t get the blower so close to the sensor that it touches. If you hold the camera upside down while you do this the dust should fall out. I got a dust blower shaped like a rocket that I rather like.

  6. Pop the lens on, power up the camera and check to see if the dots have gone. They should have. You can always repeat the the process a few times. If you have some tiny ones that won’t go away there my advice would be to leave them put. Definitely don’t try to wipe the sensor yourself, either get a proper kit or someone else to do it. I think (he said optimistically) that camera sensors are covered with quite a strong protective cover, but I’ve no desire to test this theory and risk totalling my camera.

  7. Oh, and one other tip. Make sure your monitor screen is clean. Otherwise you’ll spend ages trying to remove spots that aren’t there..

Foveon Sensor Fun

sigma.png

Every now and then I take an old camera for a walk. Well, it hasn’t any legs of its own. Today I took out one of my old Signa cameras. These are interesting because they use a Foveon sensor. Rather than having adjacent red, green and blue receptors and using software to interpolate their values and come up with colours, the Foveon sensor stacks red, green and blue receptors on top of each other. This means that the primary colour intensity values all come from the same place and it should make for a more accurate image. They do still look rather good.

Taking photos onto a floppy disk

mavica1.jpg

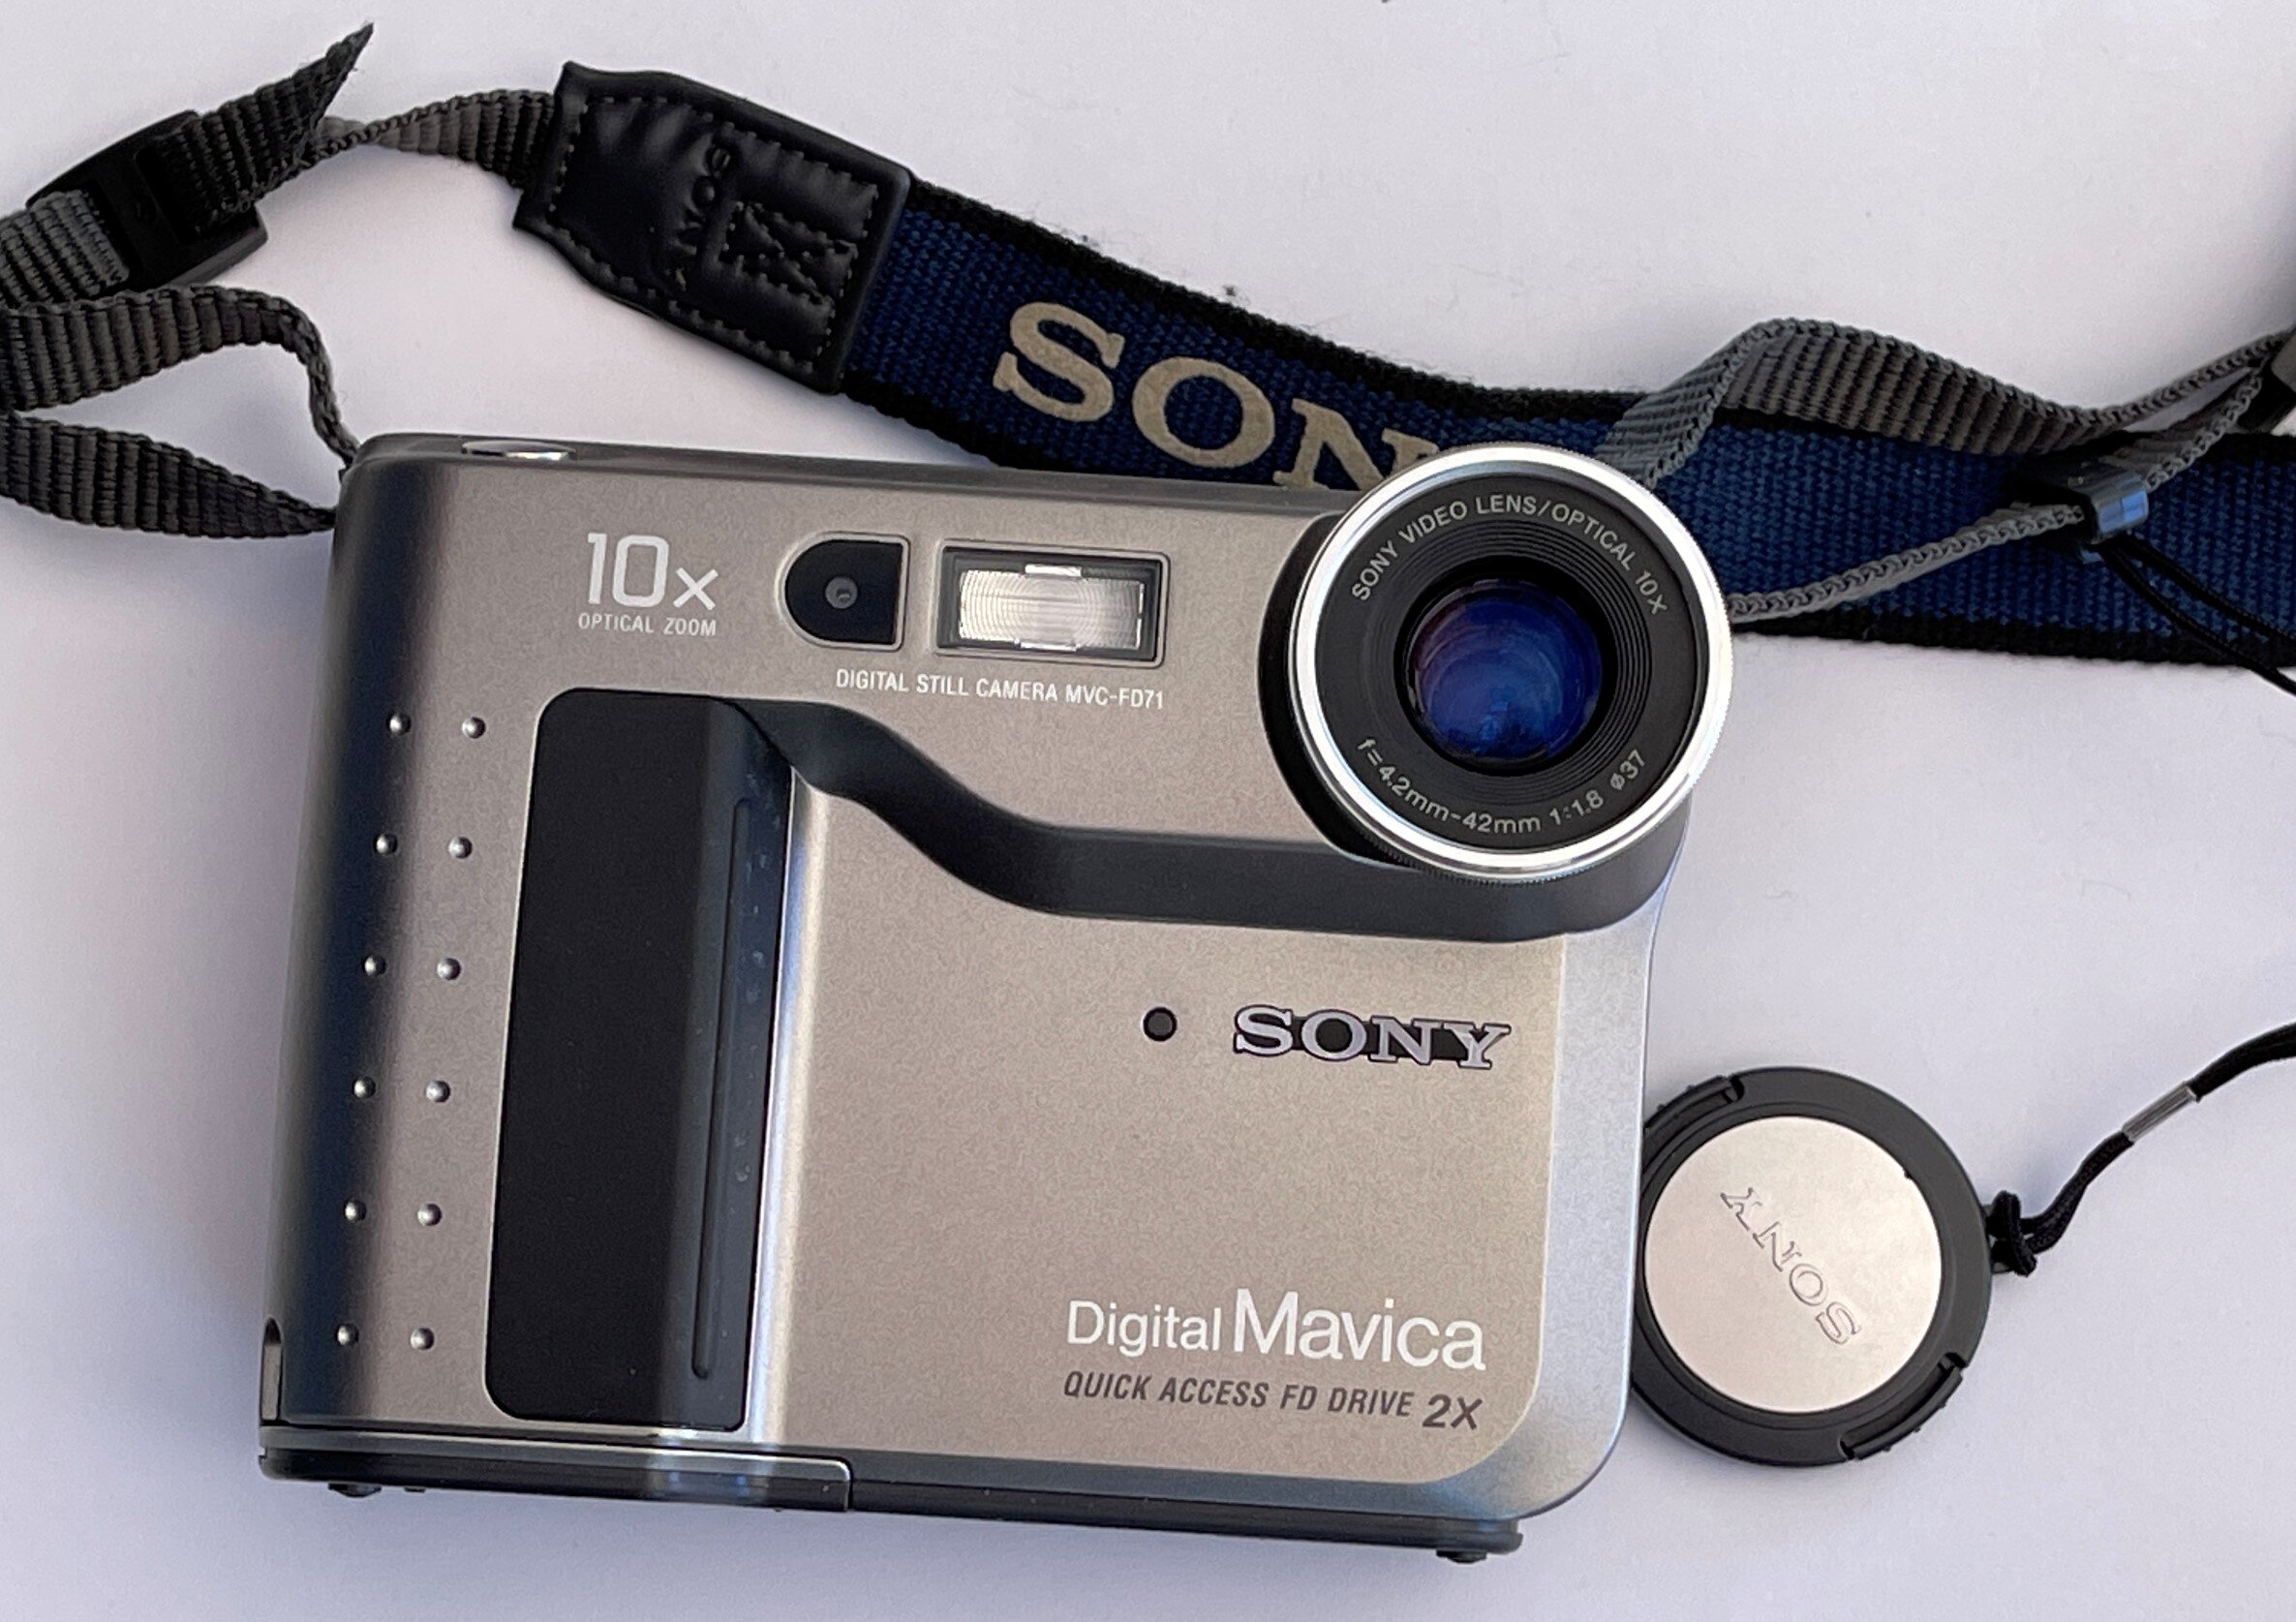
I’ve wanted one of these for ages. And now, thanks to the magic of ebay and the resilience of consumer electronics, I’ve got one. It’s a Sony Mavica and it cost me less than 20 quid, as opposed to the hundreds I’d have to pay back when it was released in 1998. And it works. Very exciting (at least for me).

mavica2.jpg

It takes pictures onto a floppy disk. You can get around 12 or so pictures on one disk. The resolution is not great, but at the time this was amazing. Particularly as you could then just put the disk in your computer and read the pictures straight off it. The camera arrived today with the case and all the documentation. For a device that is over 20 years old it’s in fine fettle. Everything works and the battery seems to hold charge.

mavica4.jpg

..and I’ve found a use for all those floppy disks I’ve been hoarding over the years. I’m really looking forward to taking it out and grabbing some pictures.

Making high dynamic range pictures from one photograph

dalby2.png

I’ve always liked making High Dynamic Range photographs. These are created by merging several different pictures with different exposures. The idea is that the combined picture has a great range of light and dark. However, making the images can be a bit of a pain. You have to take three or more shots and then use a program to combine them. And if things in the picture move, for example a tree blown by the wind, you can get some annoying artefacts.

So yesterday I tried a simpler approach. I deliberately under exposed each picture to make sure that I captured the sky detail and then made the dark parts of the picture lighter using Lightroom. I’m quite pleased with the results.

Day out in Dalby Forest

Today we actually went somewhere other than upstairs. We went to Dalby Forest. This is one of my favourite places in the whole wide world and today it was on fine form. Plenty of room for social distancing and facilities that were the cleanest I’ve ever seen them. We had a smashing time. I took a lens that I got just before lockdown that I’ve been waiting to play with for ages. The weather was kind to us, with interesting clouds in the sky and I’m very happy with the way the pictures came out.

I’m starting to like the outdoors again….

Free Sony Photo Editing with Capture One Express

If you want a really good way to edit pictures, and you happen to have a Sony camera, then I can strongly recommend Capture One Express from Phase One. You can download it for free and it works very well with the raw format from Sony cameras.

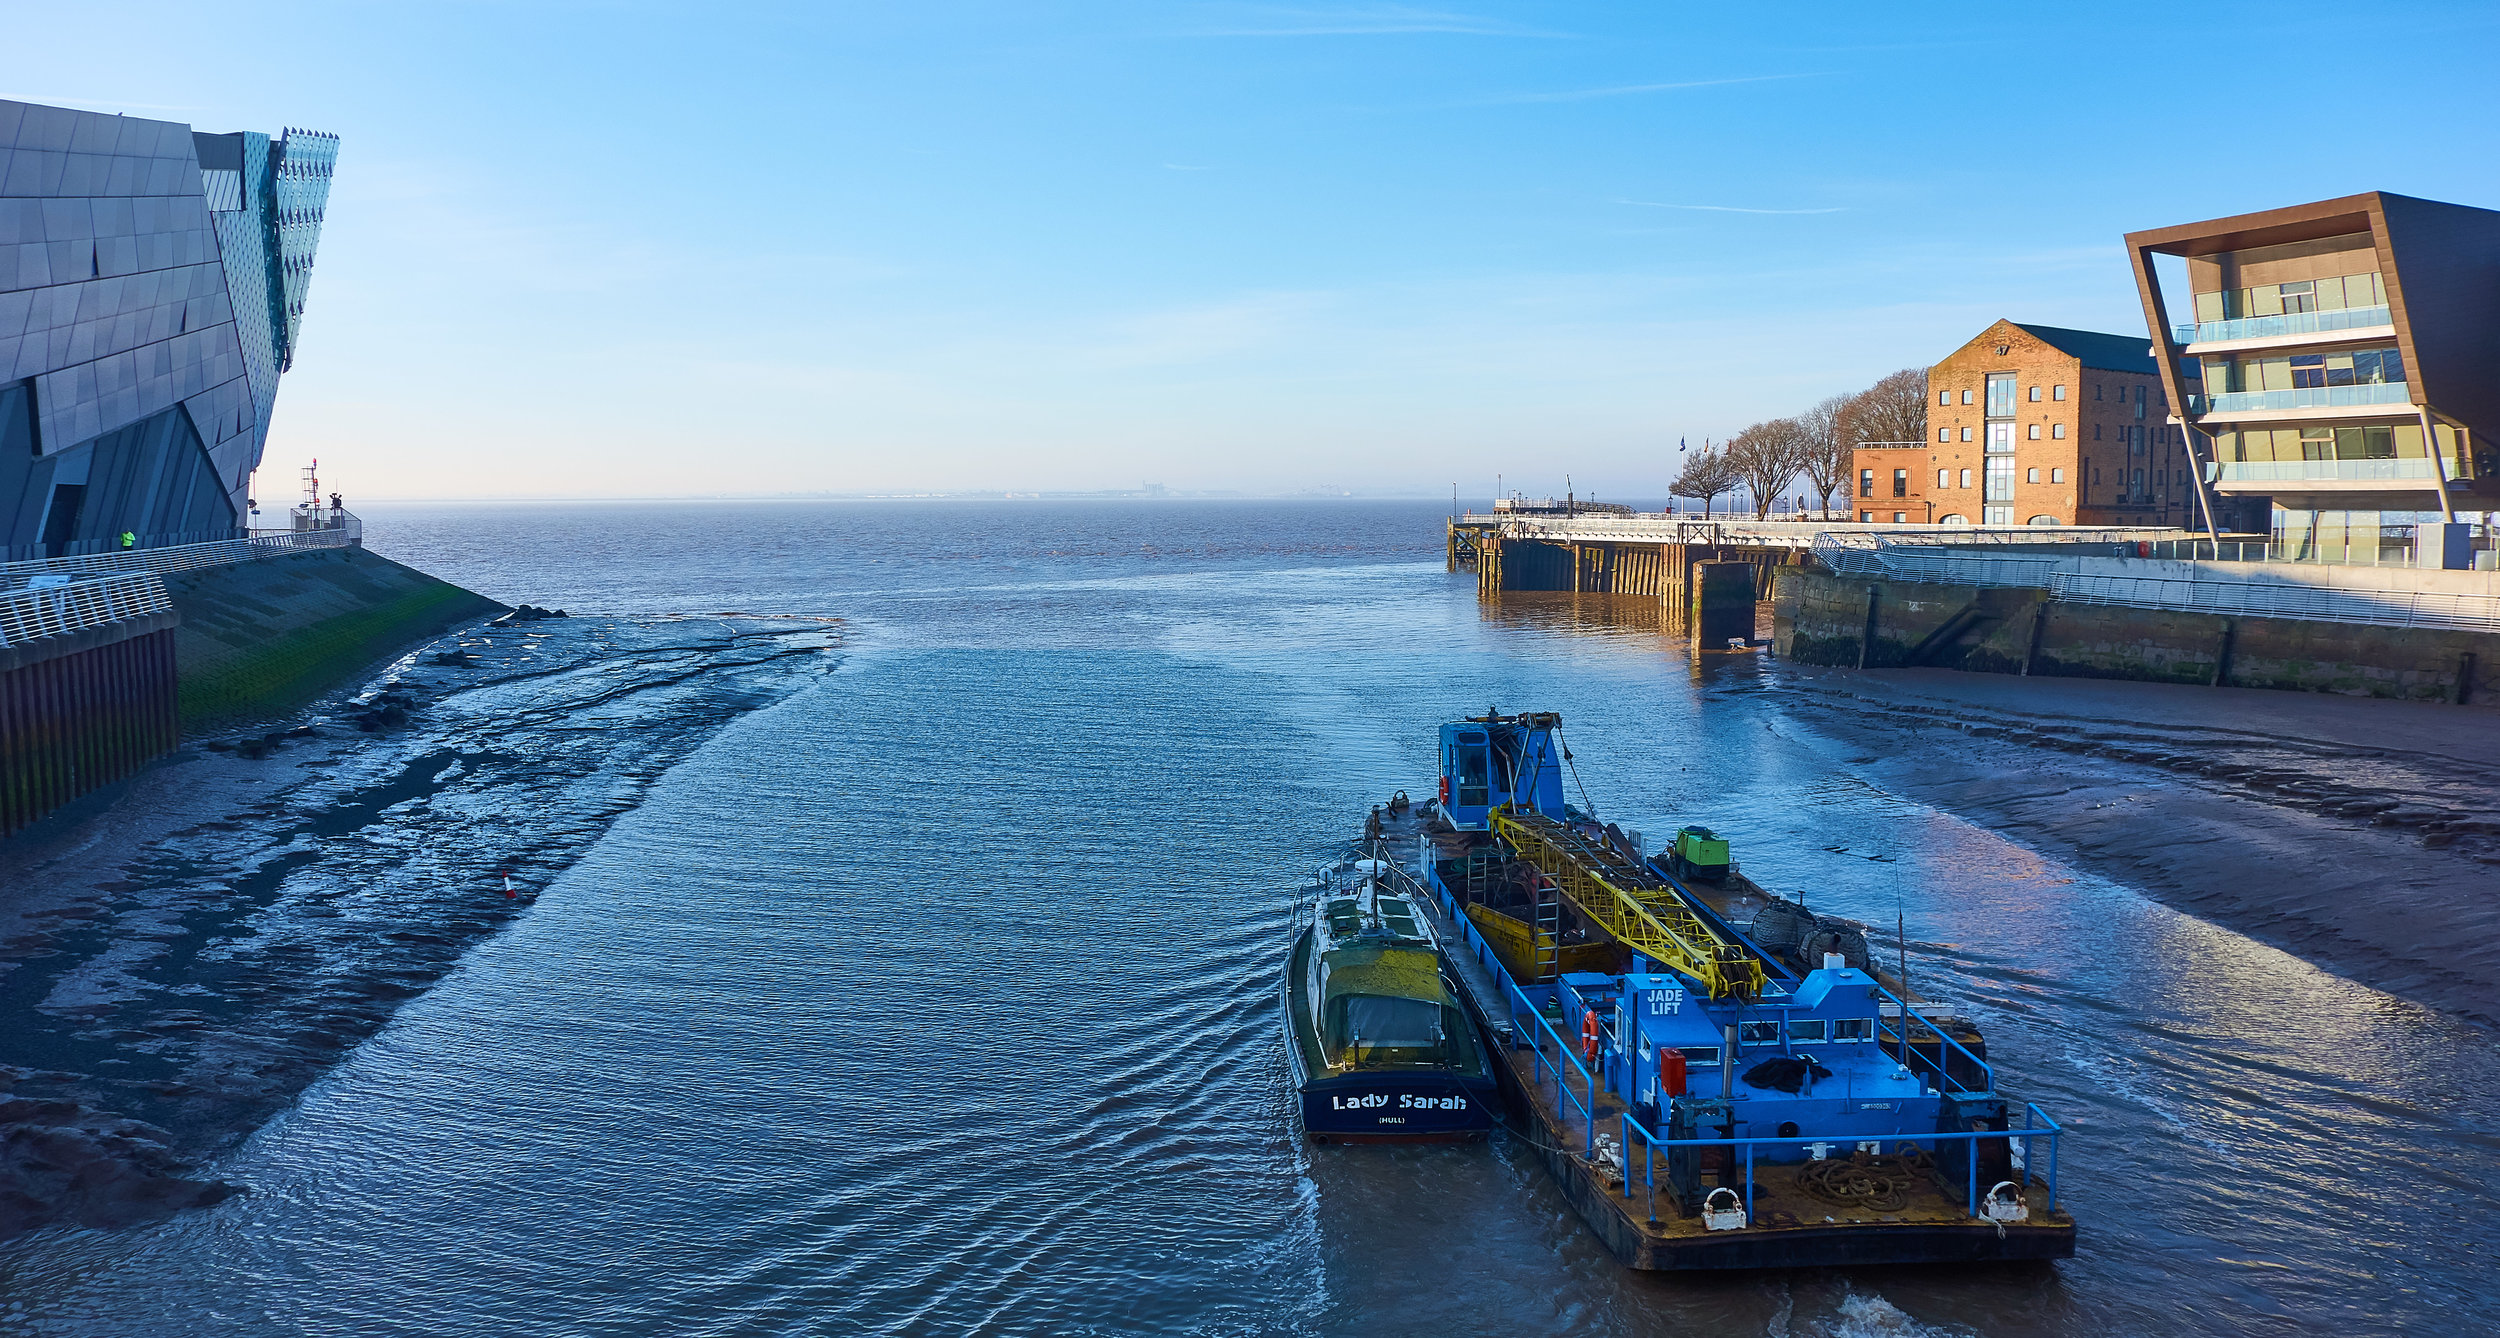
I took the picture above on the way into c4di with my venerable old RX100 this morning and used Capture One to straighten it, light up the foreground a bit and sharpen some of the edges. I’m really very happy with the result.

One other neat trick, is that if you’ve got a camera like the RX100. It is very interesting to search a place like Thingiverse for your camera type. I’ve just done that and turned up a whole bunch of bounce flash adaptors, filter rings and cases that look like they might be worth printing out and using.

To the Moon!

Today we went to see the moon in Hull Minster. Awesome. It hangs from a large steel structure that they’ve set up . I don’t really want to know how it fits together inside or how they printed it. I just want to marvel at it.

We actually saw the moon for the first time last week, when I took along my expensive cameras and fancy lenses to try and get a nice picture. Today I just had my smartphone with me and I ended up with what I consider better pictures - which is an interesting comment on the state of photography.

Lensbaby at Castle Howard

A while back I bought a LensBaby lens. It's great fun. To adjust the aperture you fit little metal disks with different sized holes in them. And you can move the entire lens about on the front of the camera to get strange focusing effects. 

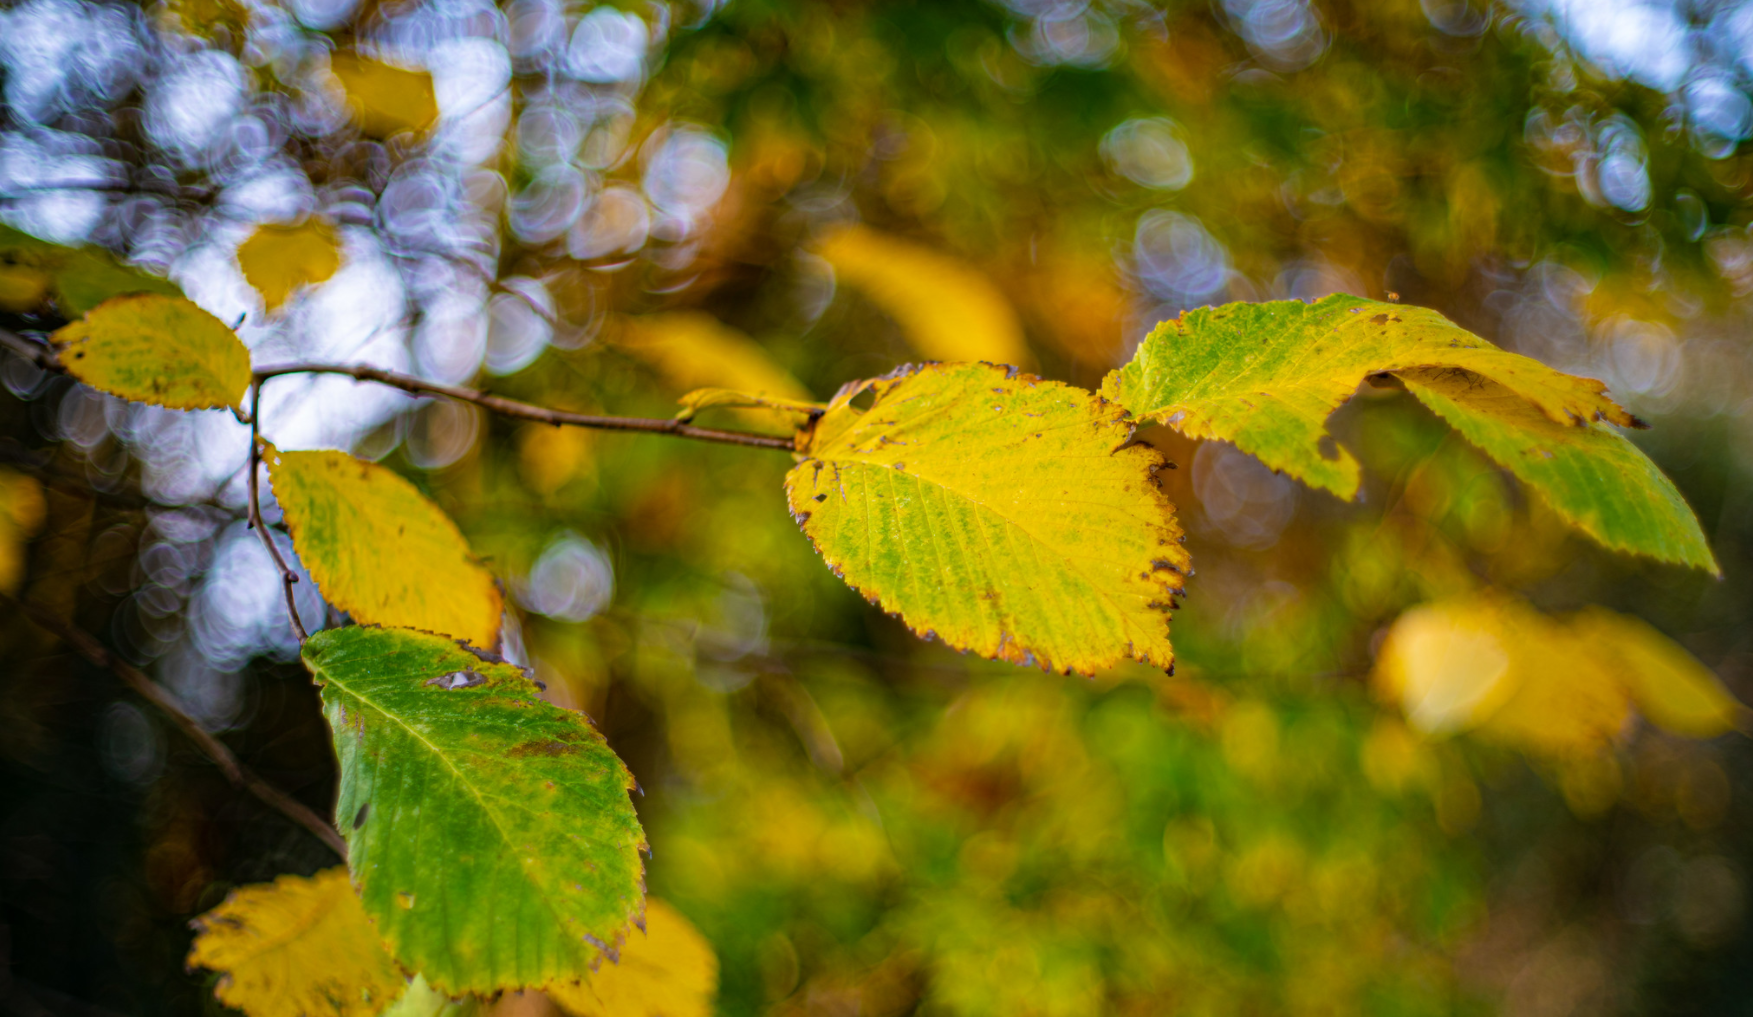
We went to Castle Howard today. Lovely place. I decided to leave the LensBaby on the camera to see what kind of results I got. Quite fun.