Mirror Selfie
/
Apparently mirror selfies, where you take a picture of yourself in a mirror, have been all the rage on the internet for what, the last twenty years or so. I thought I’d have a go with one of my old cameras.
Apparently mirror selfies, where you take a picture of yourself in a mirror, have been all the rage on the internet for what, the last twenty years or so. I thought I’d have a go with one of my old cameras.
Today it was up bright and early and off to Leeds to pick up the thing I bought on Tuesday which will make it much easier to get pictures into my computer. I got it home, opened the box and a whole bunch of furry creatures with wings flew out of the box and disappeared. I rang up the seller and told him what had happened. “That’s fine.” he said “You did buy the bat-fled scanner didn’t you?”
Apologies. But I couldn’t resist it. Anyhoo, the scanner is now back home and I’ve been scanning some of the shots I took with the new camera I got last week. It turns out that I can use it to take pictures of leaves.
One takeaway from this is that black and white is not the same as colour. Duh. Two things with different colours might be rendered as similar shades of grey. Another takeaway is that with film photography dust is definitely a thing. You get spots and stray hairs all over your negatives and keeping them at bay is a constant struggle. But it is all great fun. Next step is home processing.
Very excited. Managed to bag myself a flat bed scanner that can handle large images. This is a big thing. It turns out that you don’t get optimal photographic goodness by photographing negatives lying on your iPad screen. The new (to me but actually around 15 years old) device is huge and I’m going to have to drive over to Leeds and pick it up because I’m scared of what might happen if it is posted. But still, yay!
Today I have taken a bunch of photographs. It’s been great. I’ll post them off tomorrow. By the end of the week I’ll should have something back. A lot of them will not be very good. But they will be my kind of “not very good” which works for me.
Hmmm. I wasn’t expecting that. Or perhaps I was. Anyhoo, I’ve bought another camera. I seem to be converting my gadgets from musical instruments into cameras. Expect some frantic synthesizer selling soon.
Anyhoo, I only went into the shop to talk about this and that. Then I might have asked them to show me a Mamiya 645 that I’d seen on their website. And they produced this. It looked awesome. Like new. Only around fifty years old. And that was that. It takes 15 pictures on 120 roll film. Each picture is around 2.5 times the size of a 35 mm negative. The body is solid metal with leather stuck on and it is beautifully made. It also takes photographs. There’s a hugely satisfying “clunk” when you press the shutter release. I’ve popped a film in and I’m going to run through it as fast as possible so that I can get the pictures processed and make sure all is well.
Been walking round the house with a camera taking pictures of Lego. This is part of my camera testing program. The nice thing about taking pictures of Lego figures is that generally speaking they are already smiling.
Took some pictures today with a really old Polaroid camera. I thought I knew best, and twiddled the dial to increase the exposure and brighten things up a bit. Then the pictures turned out over-exposed. Oh well.
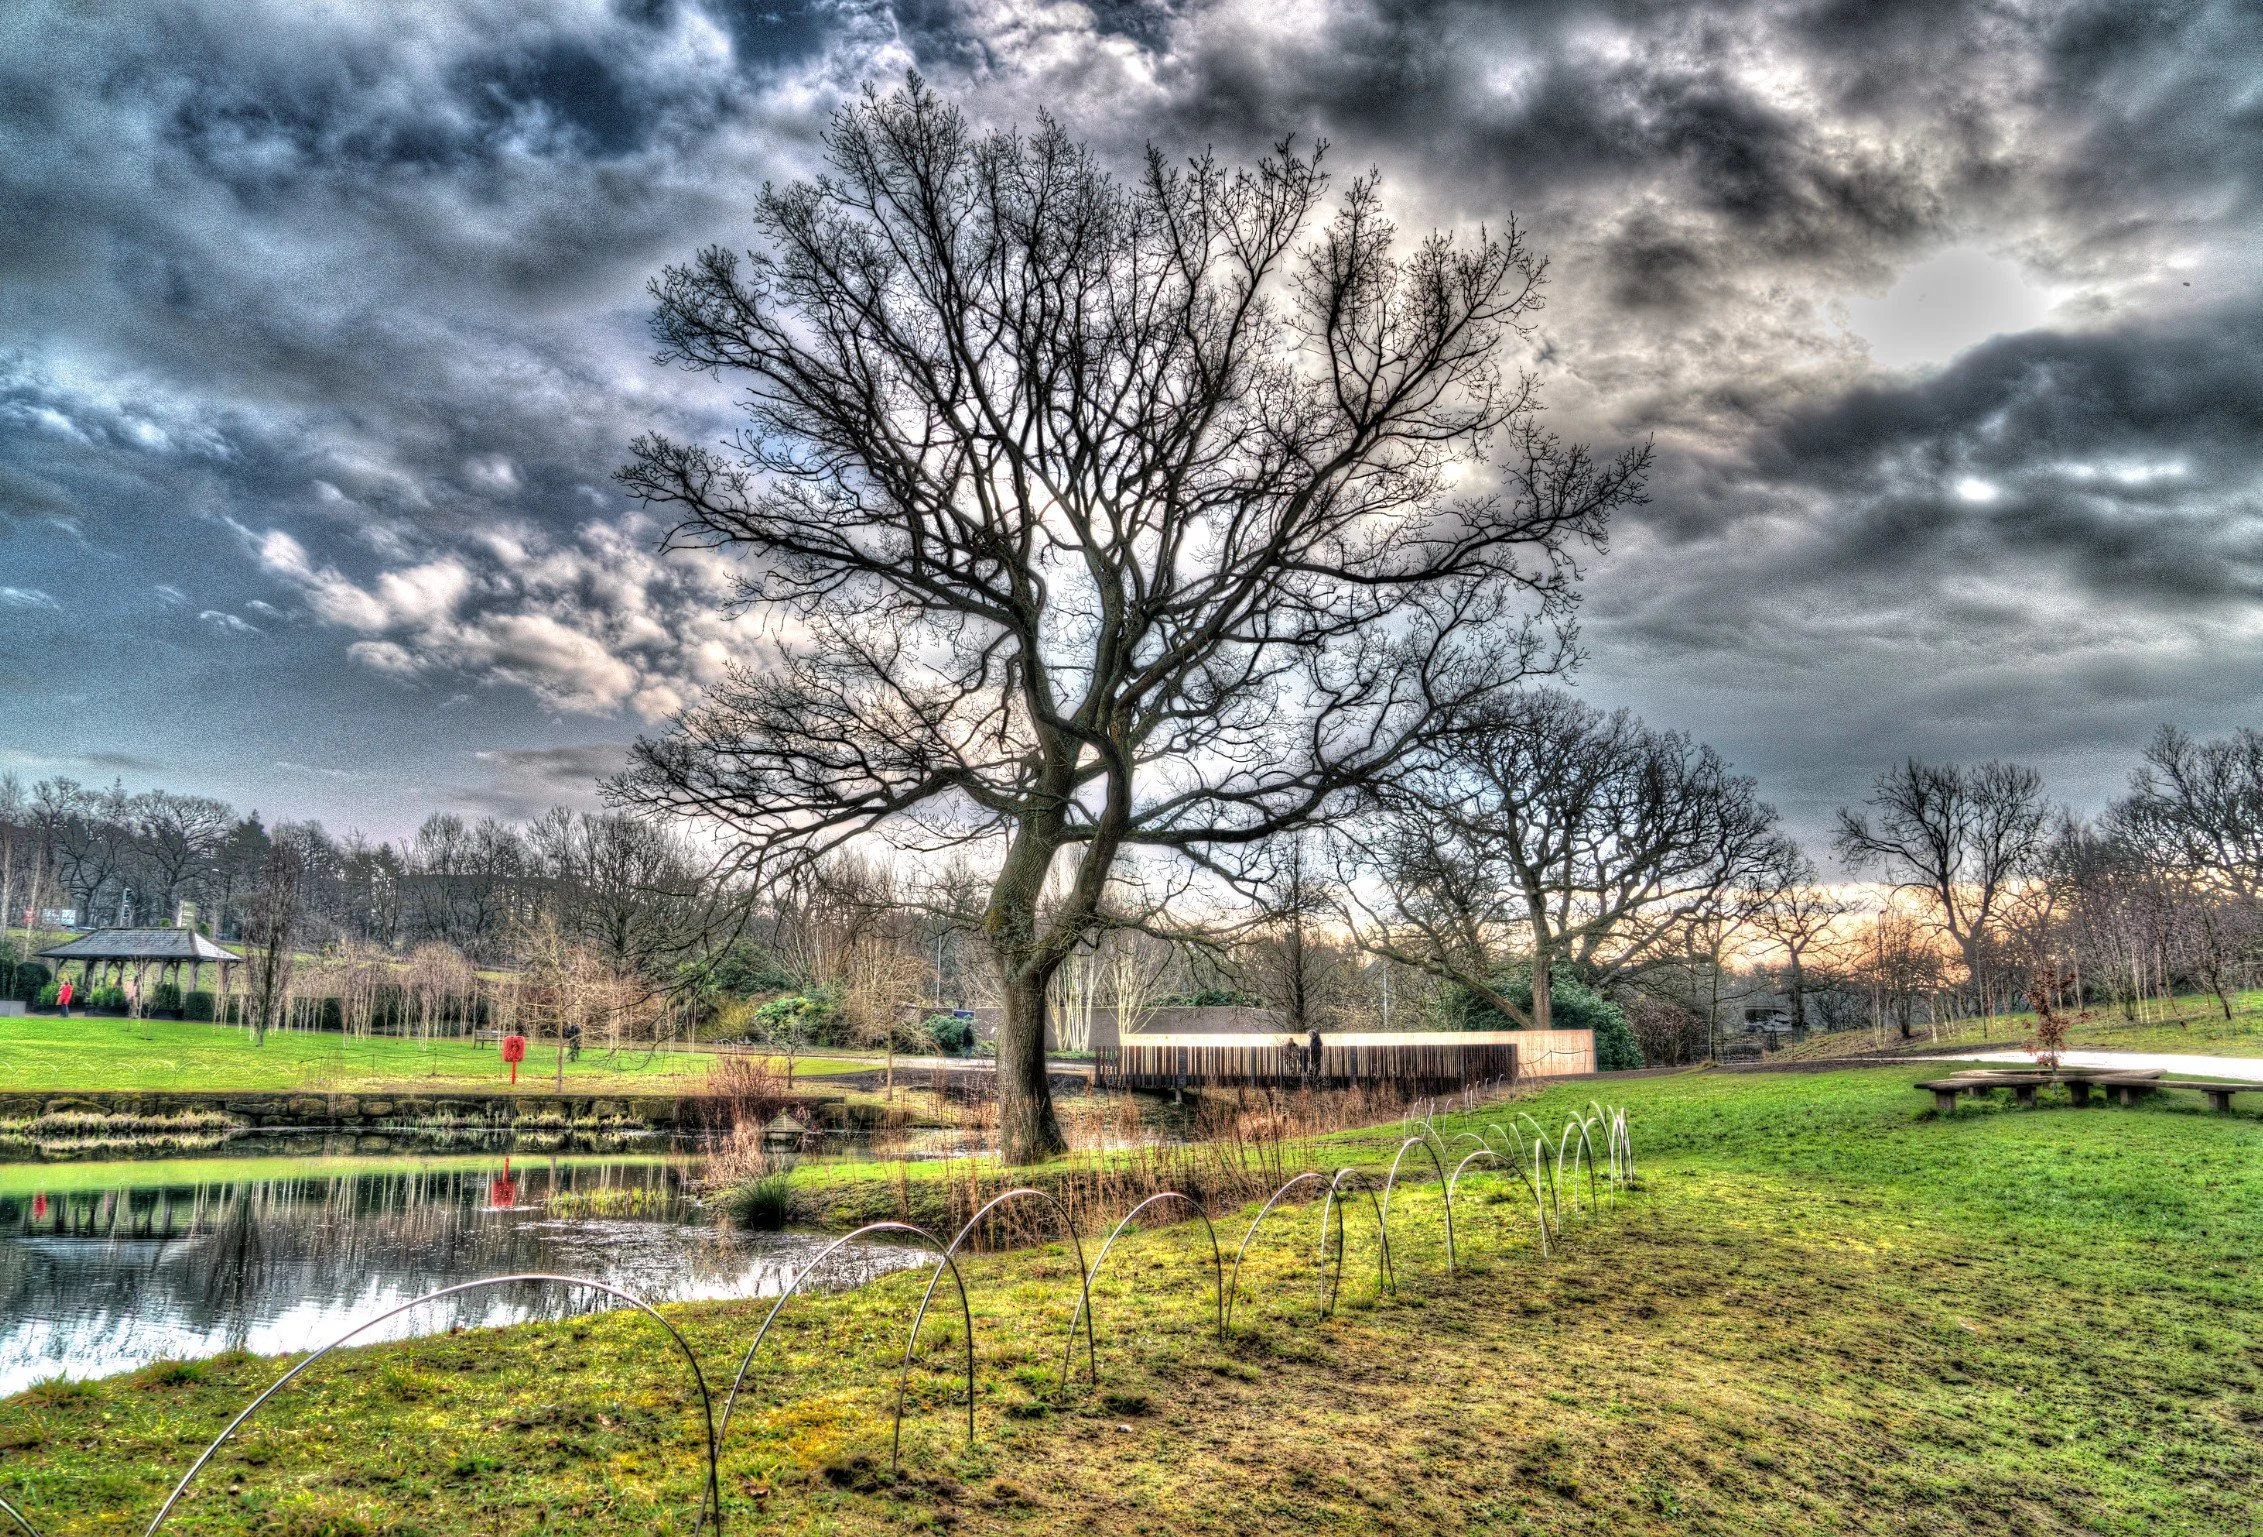
Went to Harlow Carr today. I seem to be rediscovering the joy of taking a picture (or three) merging them together and then image processing them within an inch of their lives. Great fun.
You know those shops that you thought had all disappeared? The ones with lots of stock and sales staff who know what they are talking about. And interesting second-hand bits and bobs that you didn’t know you needed until you found one?
Well, Beverley Camera Centre is like that. They have loads of photography stuff including cameras new and old, accessories, bags, tripods, lots of film - including instant - and even chemicals for home developing. I was in there today for a quick visit and I’m looking forward to going back and having a proper look round. The most important thing to know about the place is that it is closed Wednesday, Thursday and Sunday, so if you turn up then all you’ll be able to do is stare through the window at the fun stuff within. If you are into photography or want to get started (using film is currently a trendy thing to do apparently) then go down and have a look at what they’ve got.
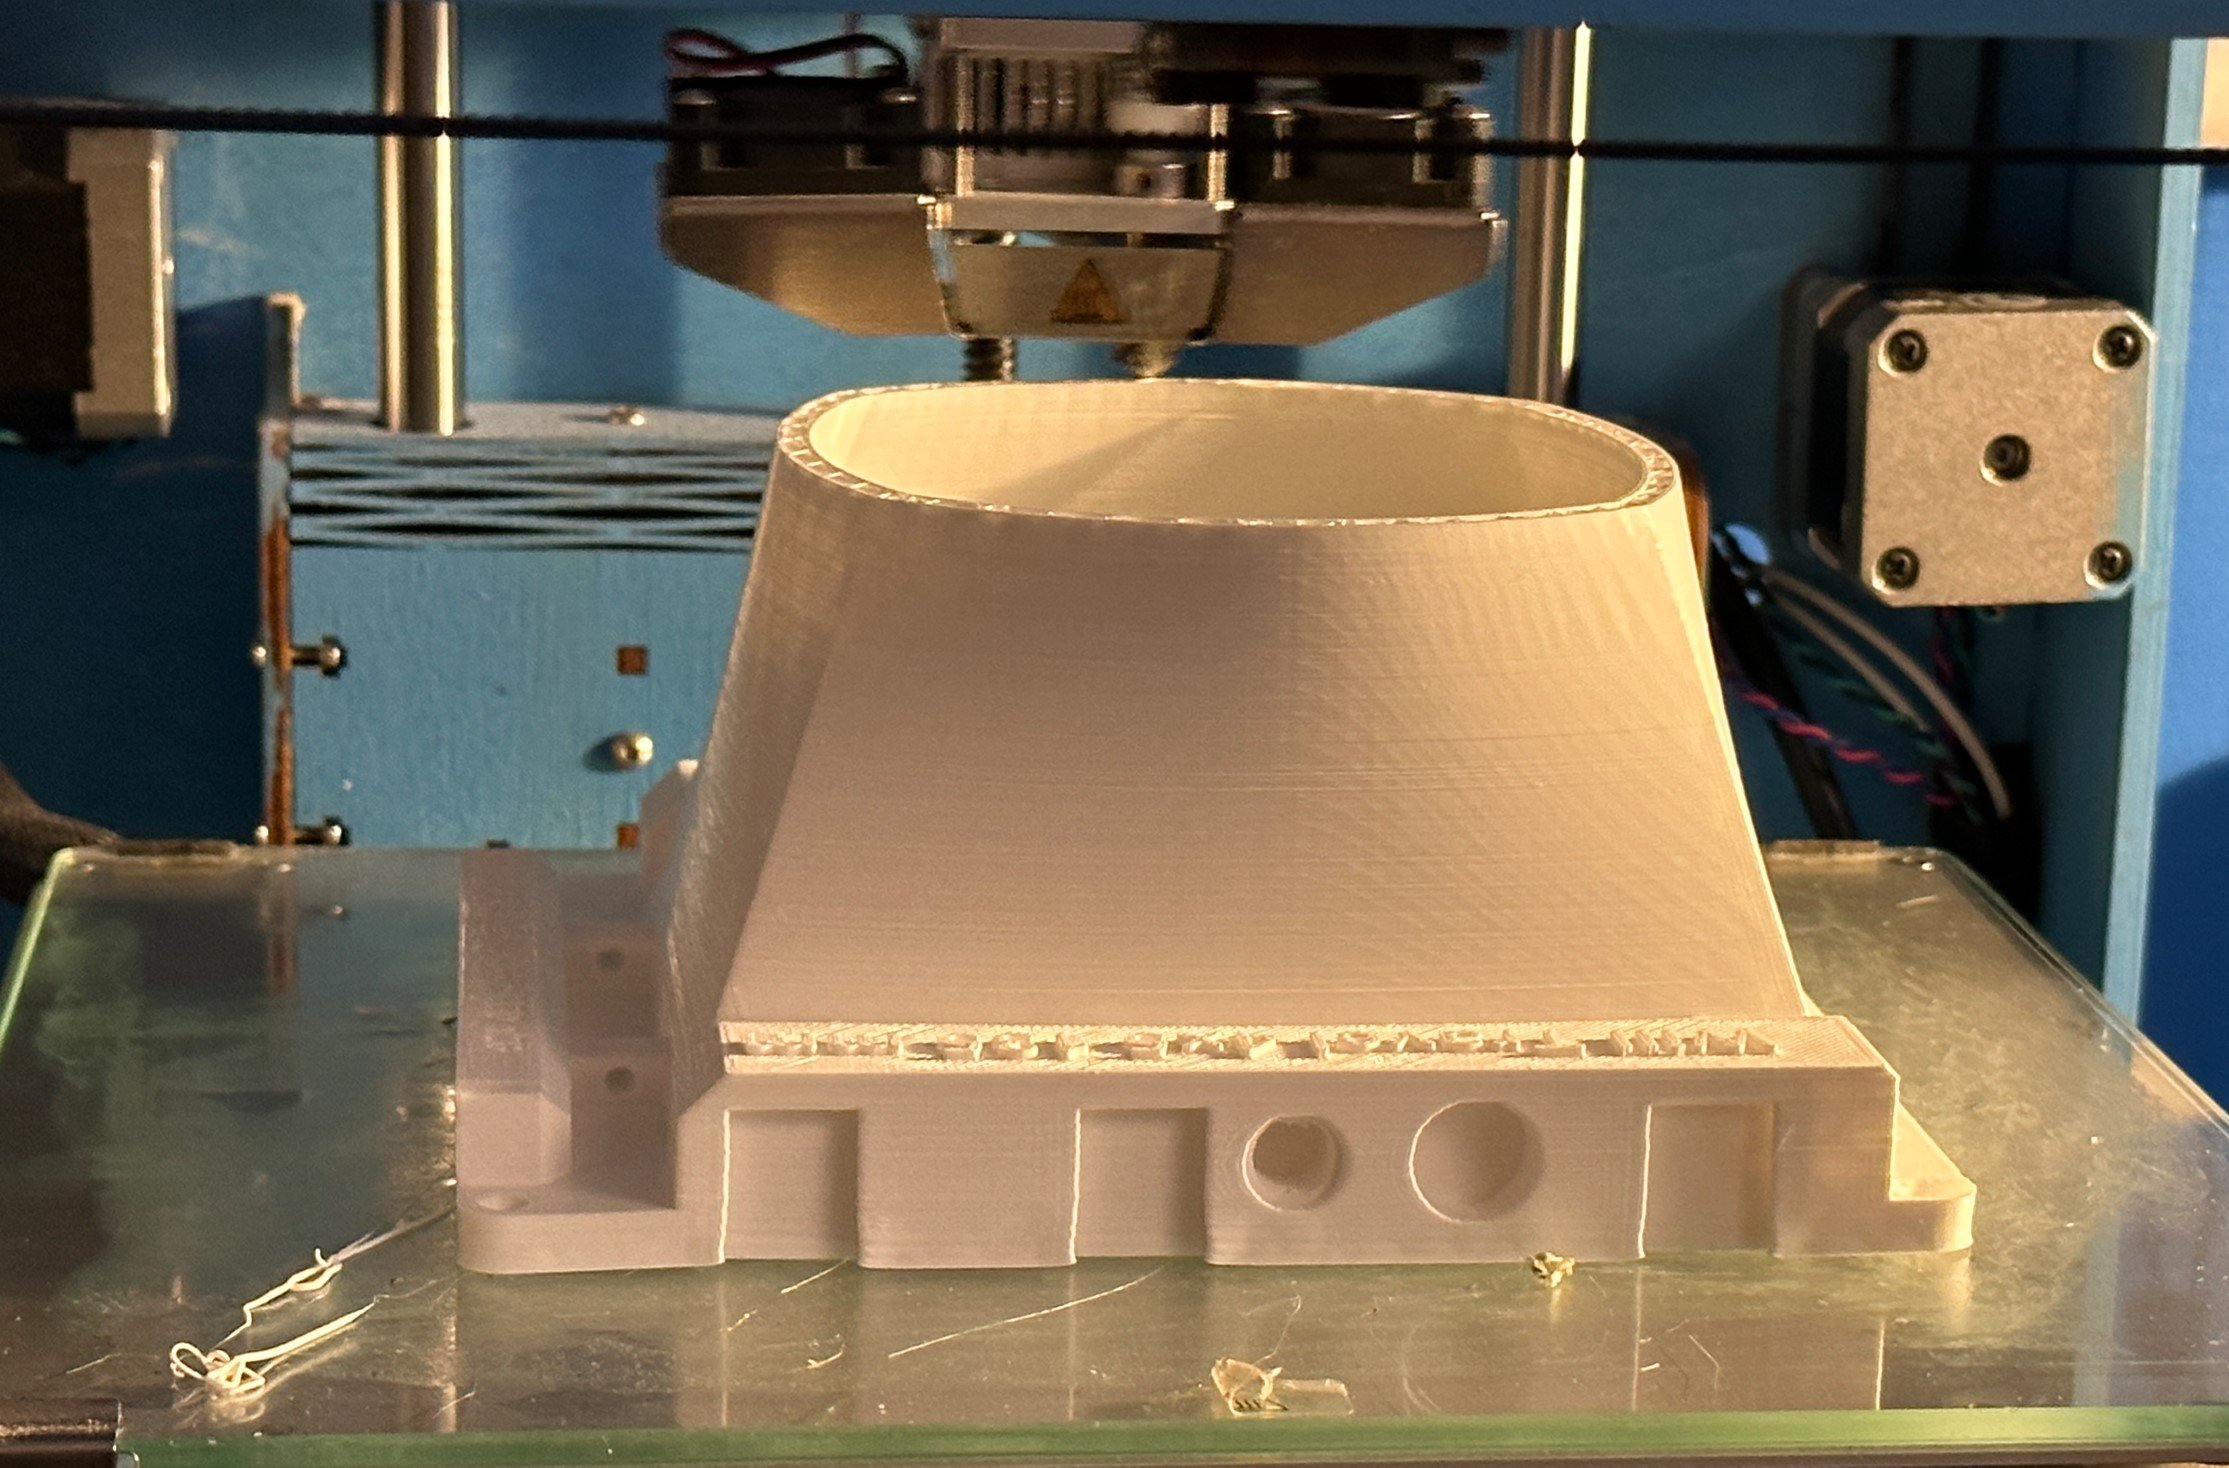
I’m printing a 4x5 print camera. I fancy some hand held large format camera action. I started the printing around 7:30 am this morning. We are now eleven and a half hours into the print. It is supposed take around 14 hours, but I’ll be very surprised if it is finished before we go to bed. The good news is that all is well so far. I put some glue onto the print bed (just a thin layer of Pritt stick) and that seems to have stopped the corners from lifting too much, which is nice.
White might not be the most sensible colour for a camera, but the plan is to line the inside with black felt to reduce reflections and keep the light out. And it should look cool…
We usually go to Hornsea on New Year’s day and have a bacon butty at the Floral Hall. But this year we are a day early. Still had the butty though. And it was awesome. I’d taken along the Mint RF70, a camera I’m trying to tame. It’s going fairly well, as you can see above. One of the issues with the camera is that if you want to take pictures in daylight you have to put a filter on the front to block out some of the light. This works well enough, but I managed to get my sums wrong when working out the filter compensation and the pictures were a bit under exposed.
When I was much younger and developing my own prints I would watch them develop in the darkroom. Sometimes a perfectly exposed image would appear and then further develop into a totally black print. This meant I had over-exposed it with the enlarger. My parents would hear me shouting “Stop developing” at the top of my voice to try and slow down the process. It never worked. Sometimes you could pull the picture out of the developer tray and put it into the fixer early, but this was a game of skill I never really mastered.
I was reminded of all this when I got the above pictures out of the camera and watched them develop. At one point the foreground was perfectly exposed, then it just got darker and darker.
I don’t think I can really blame the camera for this. The film only has a limited range of light to dark. If the foreground had been brighter the sky would have gone completely white, and we were lucky in having a really nice sky. Phone photographers just take the picture and the camera sorts it out. This leads to good, if perhaps a bit unreal looking, results. Film photographers use a “graduated tint” filter which has a dark bit at the top and a light bit at the bottom. I’m going to have to get one of those for the next try. That, and practice with my sums.
Took the other big ugly camera out today. This one came out quite well. I think the lens flare adds something..
The area has been scattered with Puffins. This is a close up of one near us.
Took a day off writing to go and look at old buildings. No prizes for guessing where this is (particularly in mind of the post title…..)
I love my Lomography Instax Square camera. But it does have its foibles. One of them is that the viewfinder is really hard to use. I totally understand why. The way that the picture has to come up through the top of the camera makes it impossible to put the viewfinder in the traditional place. But it does mean that when you’re taking close-ups it’s hard to work out what will be in the picture. However, it turns out that Lomo have done something to try and make it easier. But they don’t really tell you about it anywhere.
Above you can see the view through the viewfinder. You can see that there is a brighter part at the bottom right of the window. I think this is the region you should use when photographing things using the close up focus. Below is the result that I got taking a close-up picture with the viewfinder showing the view that you can see in the viewfinder above and I think the truncation just about lines up.
We went out for lunch today. I took a camera along but I think I’d be very hard pushed to create a better picture than the one above that I took with my phone.
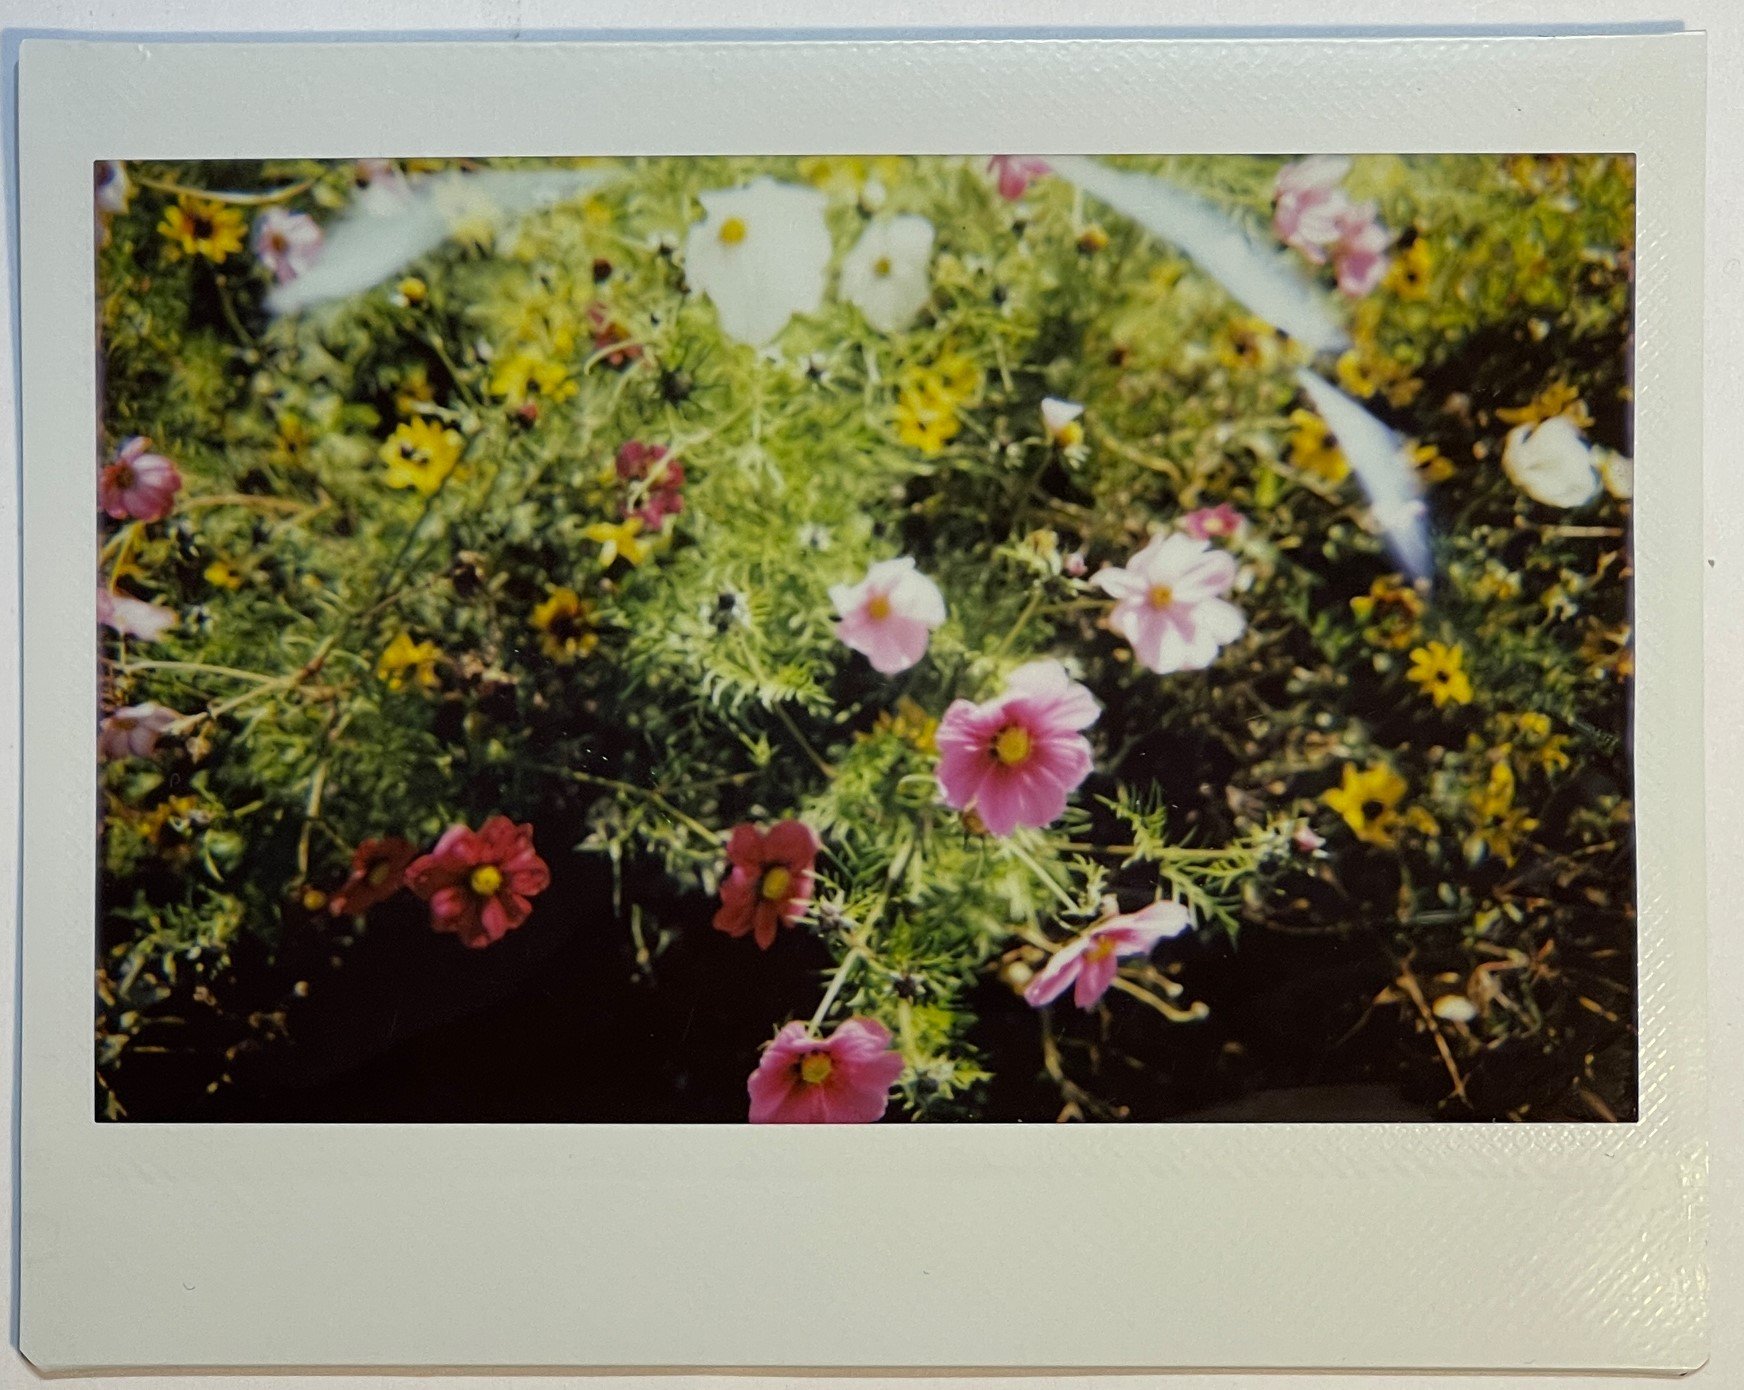
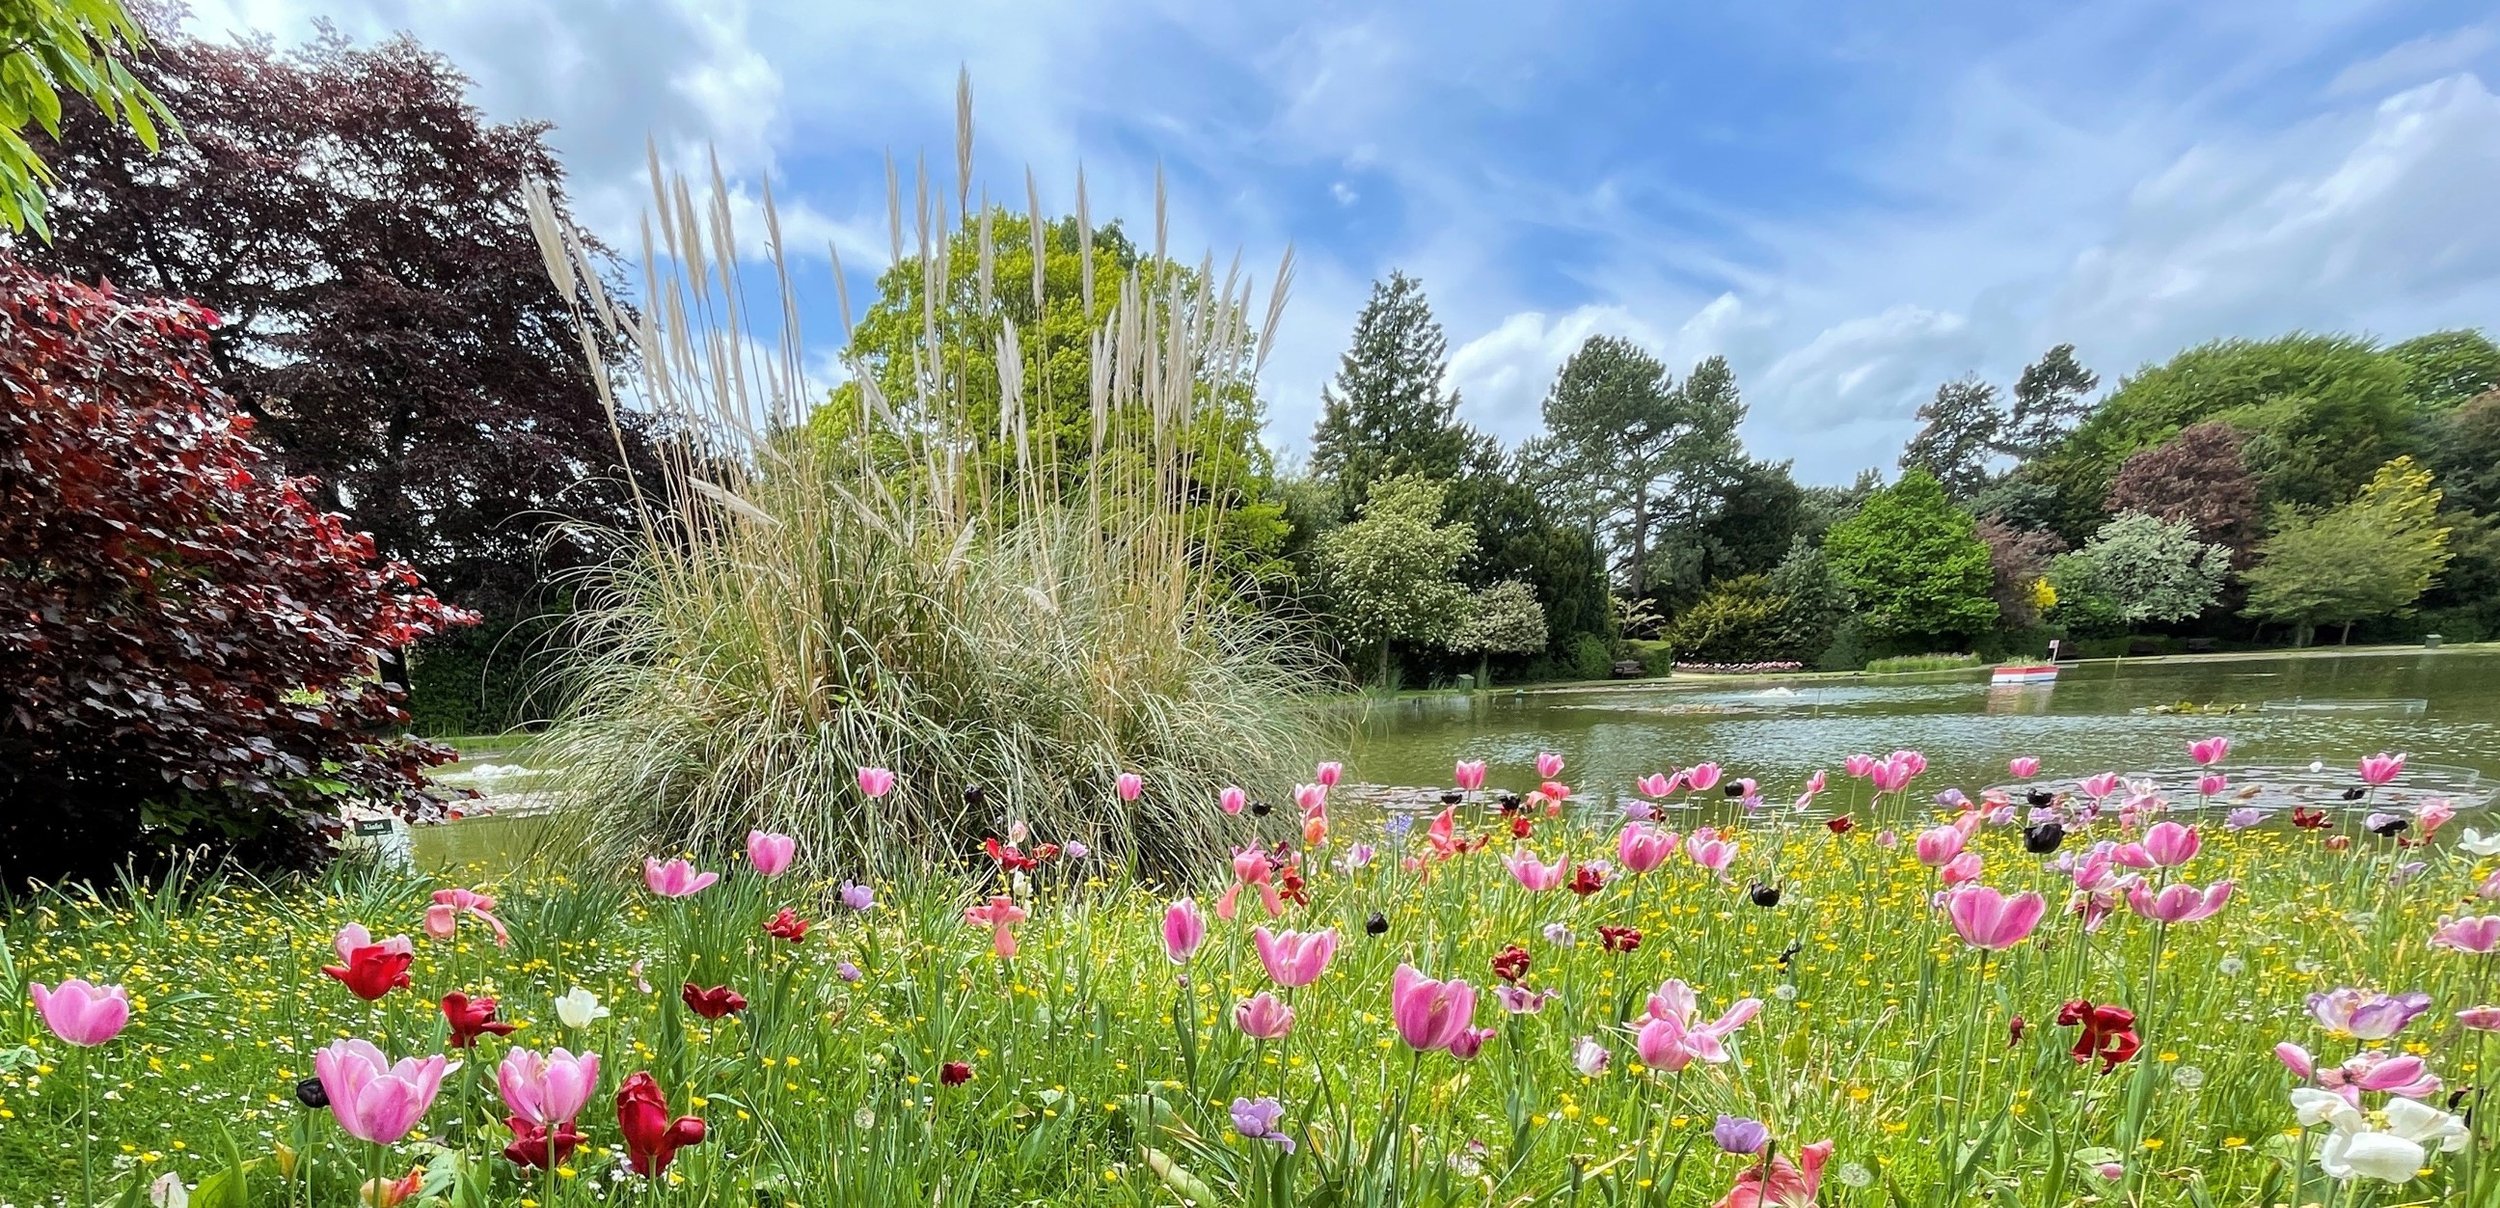
More tulips today. Not a horrible joke this time, just a picture of some from Burnby Hall. I took along a camera and a flash gun to take the pictures this time. I like the effect of using flash on pictures even when there is plenty of natural light. In this shot the flowers seem to “pop” of the background quite nicely.
This the same picture, but it looks different. For this one I pointed the flash directly at the subject which produced a lot of unwanted shadows. The first shot had the flash pointed at the ceiling giving a “bounce” effect which I prefer for this kind of shot.
This has to be one of the coolest looking cameras I own. I found it while we were searching the loft for PlayStation 2 games. I bought it cheap just as Olympus stopped making it. I even managed to track down the cool flashgun that matches it. I reckon that for me it is about the closest thing that I will ever get to jewellery…
It takes pretty good pictures too.
Turns out that the Kidizoom printing camera is a great way to print clues for an easter egg hunt…
Had my first trip out today. Took the big camera to grab some in-focus images.
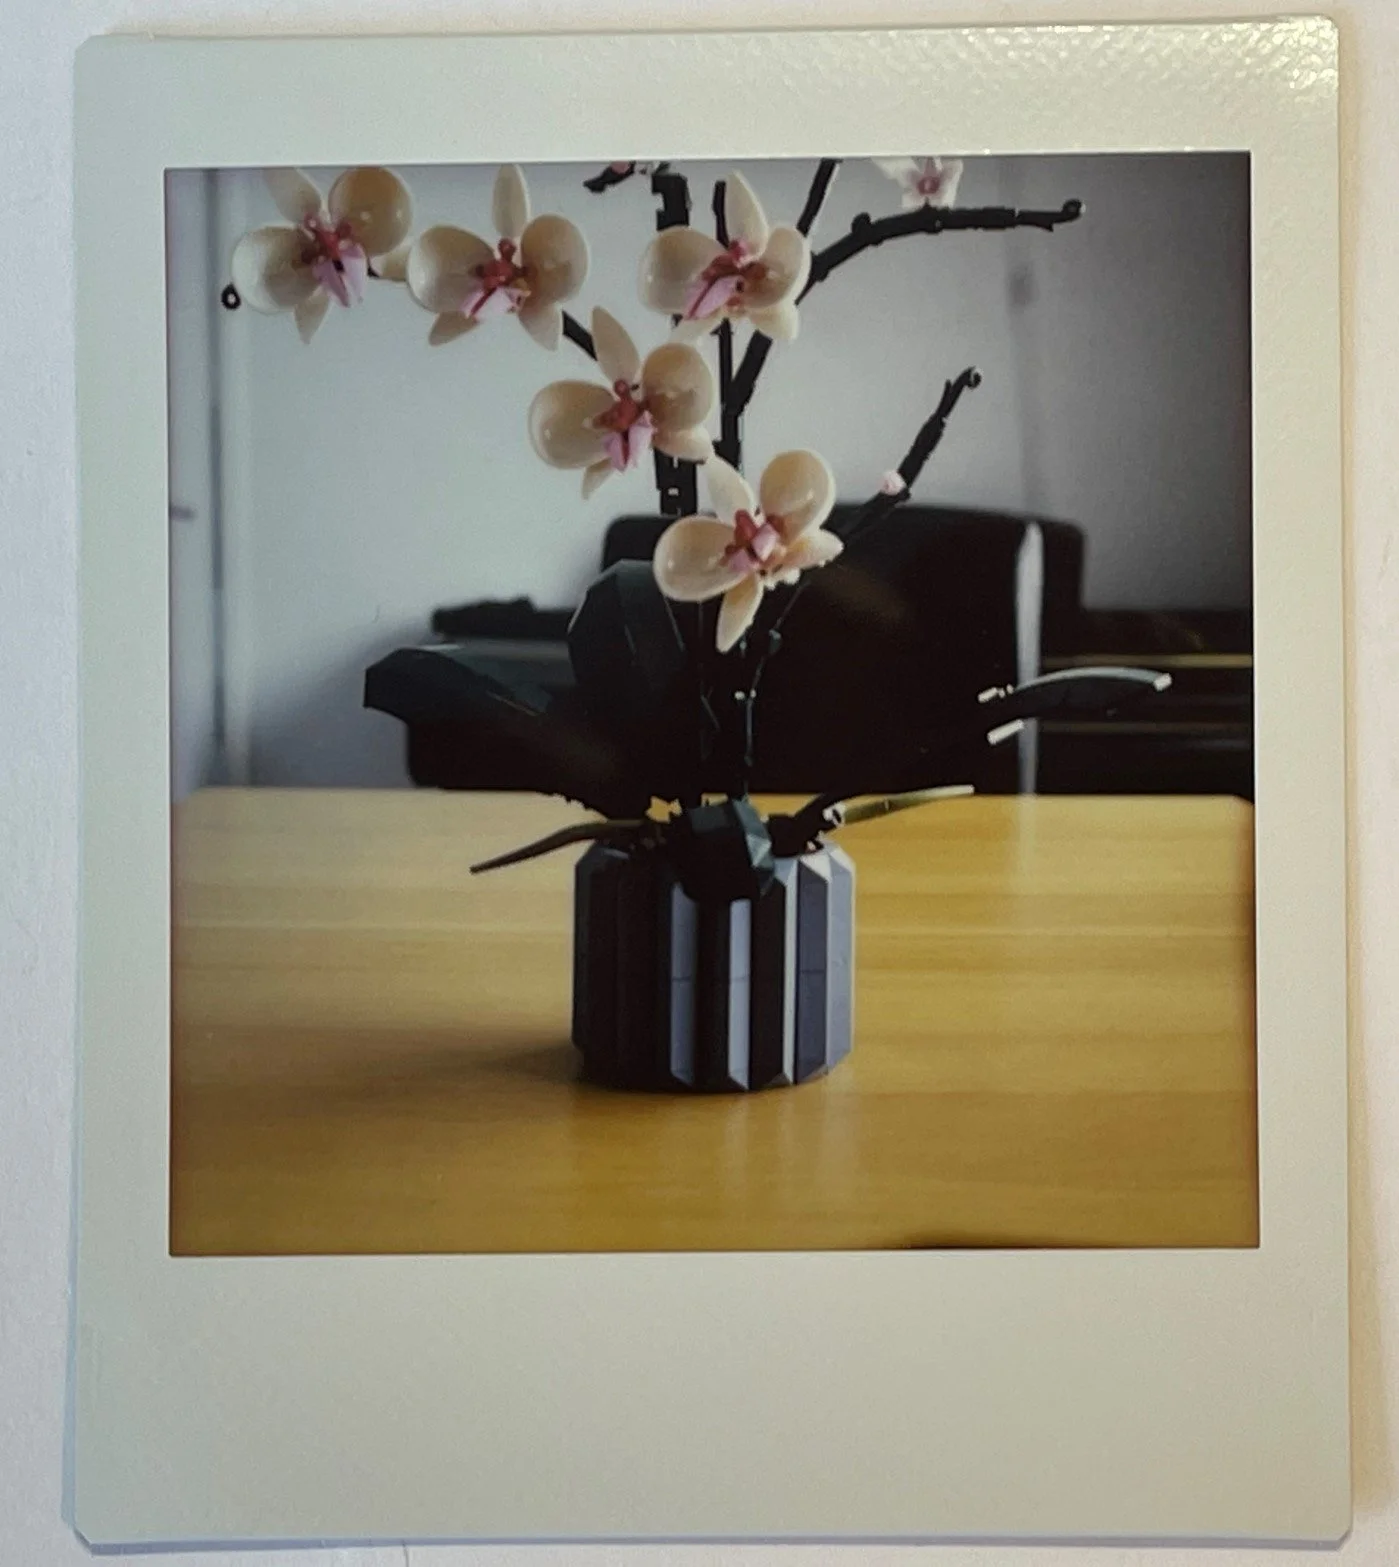
This might do for the cover of the next C# Yellow Book
Not to be used for a “Guess the name of the flower” competition.
Rob Miles is technology author and educator who spent many years as a lecturer in Computer Science at the University of Hull. He is also a Microsoft Developer Technologies MVP. He is into technology, teaching and photography. He is the author of the World Famous C# Yellow Book and almost as handsome as he thinks he is.