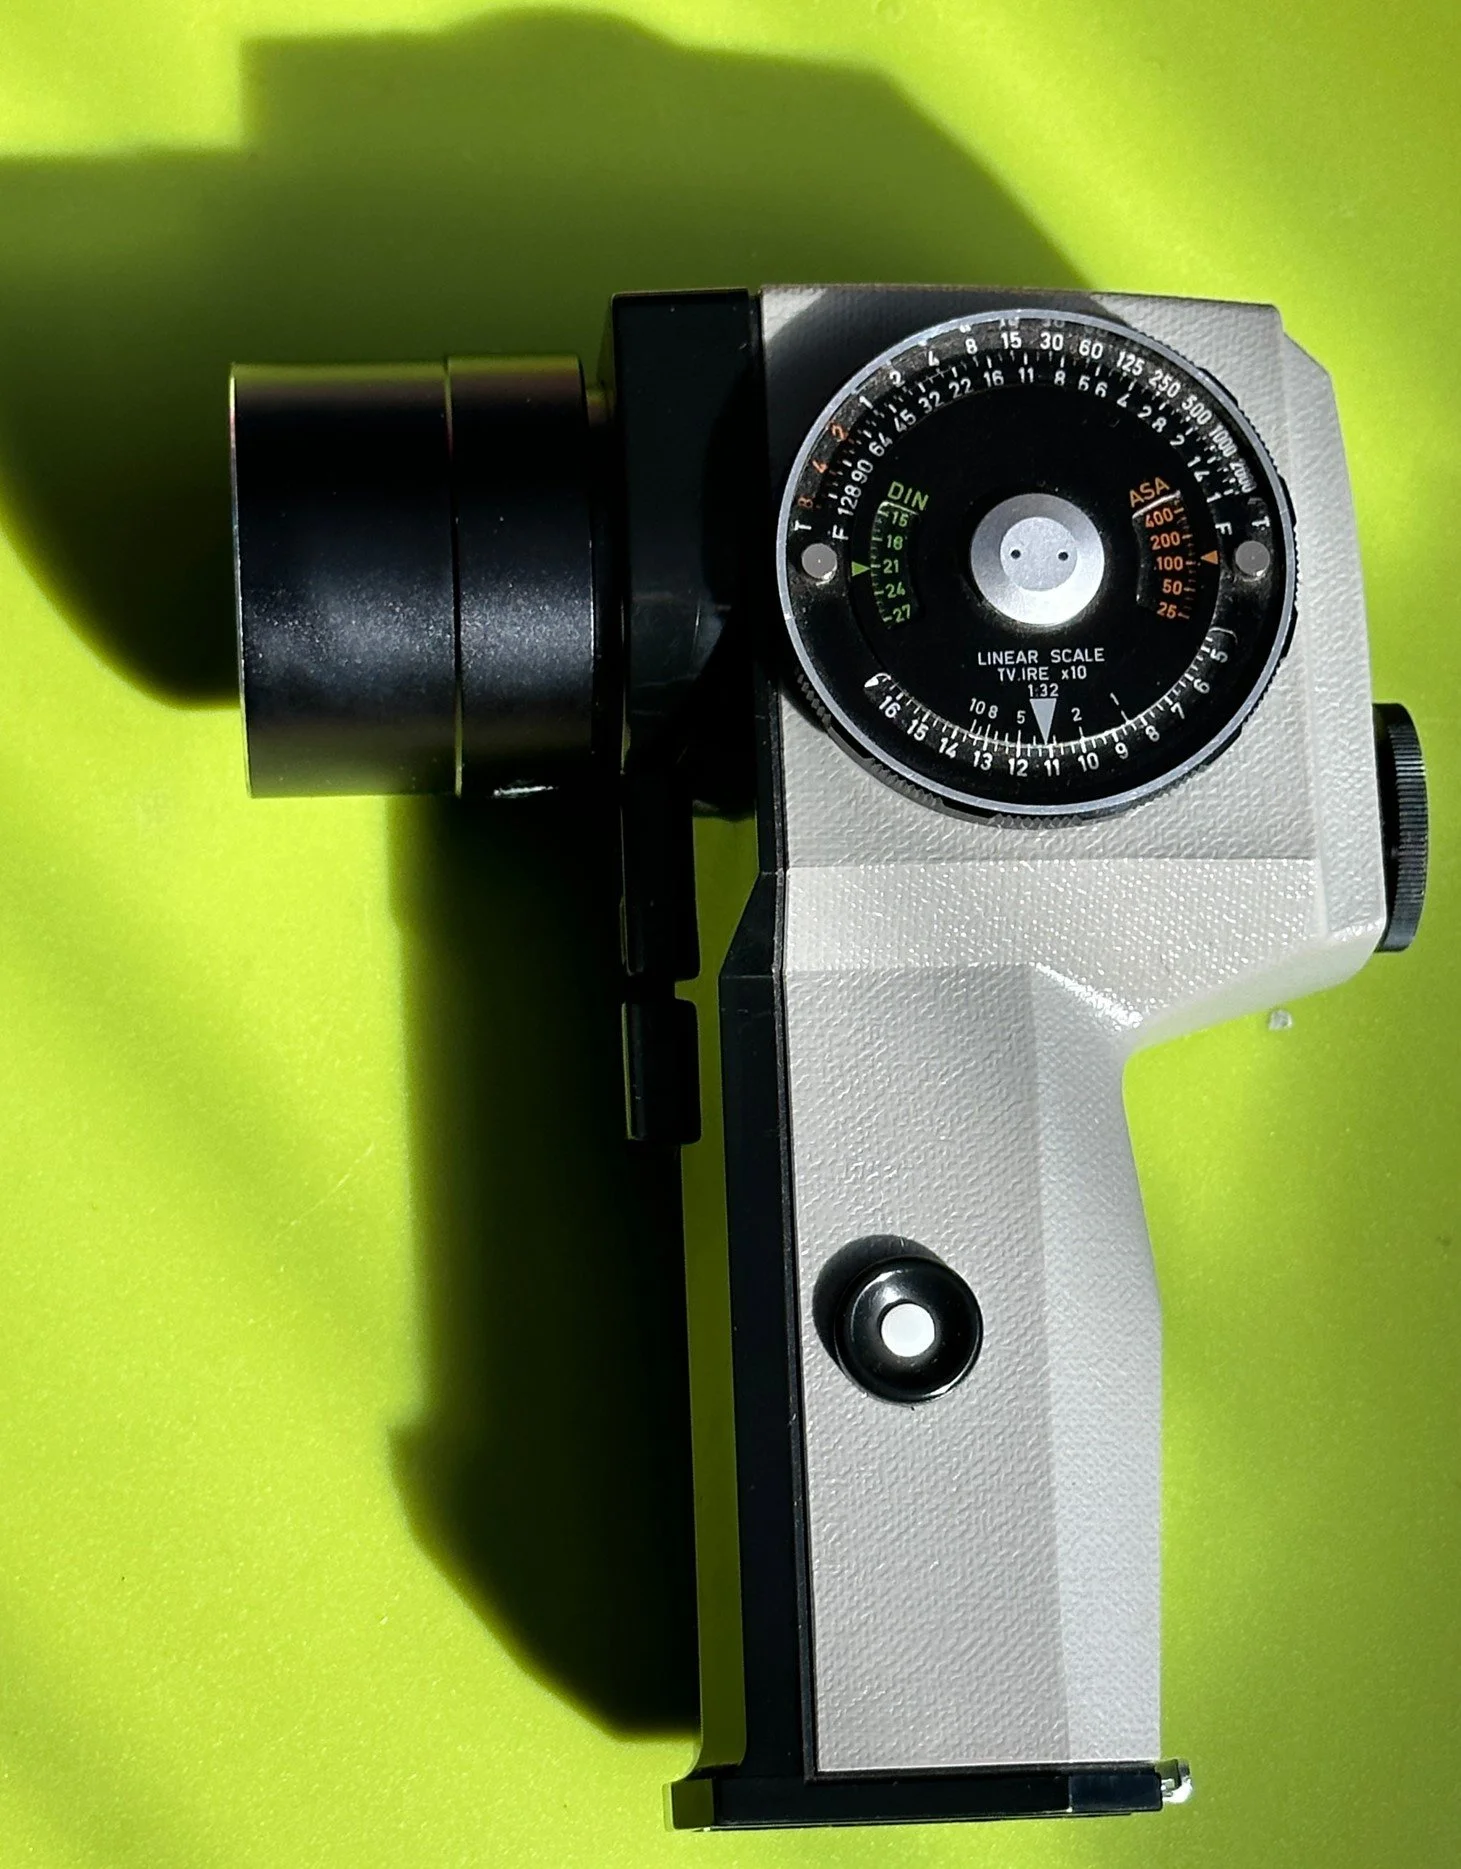
3D printed camera is now light - tight

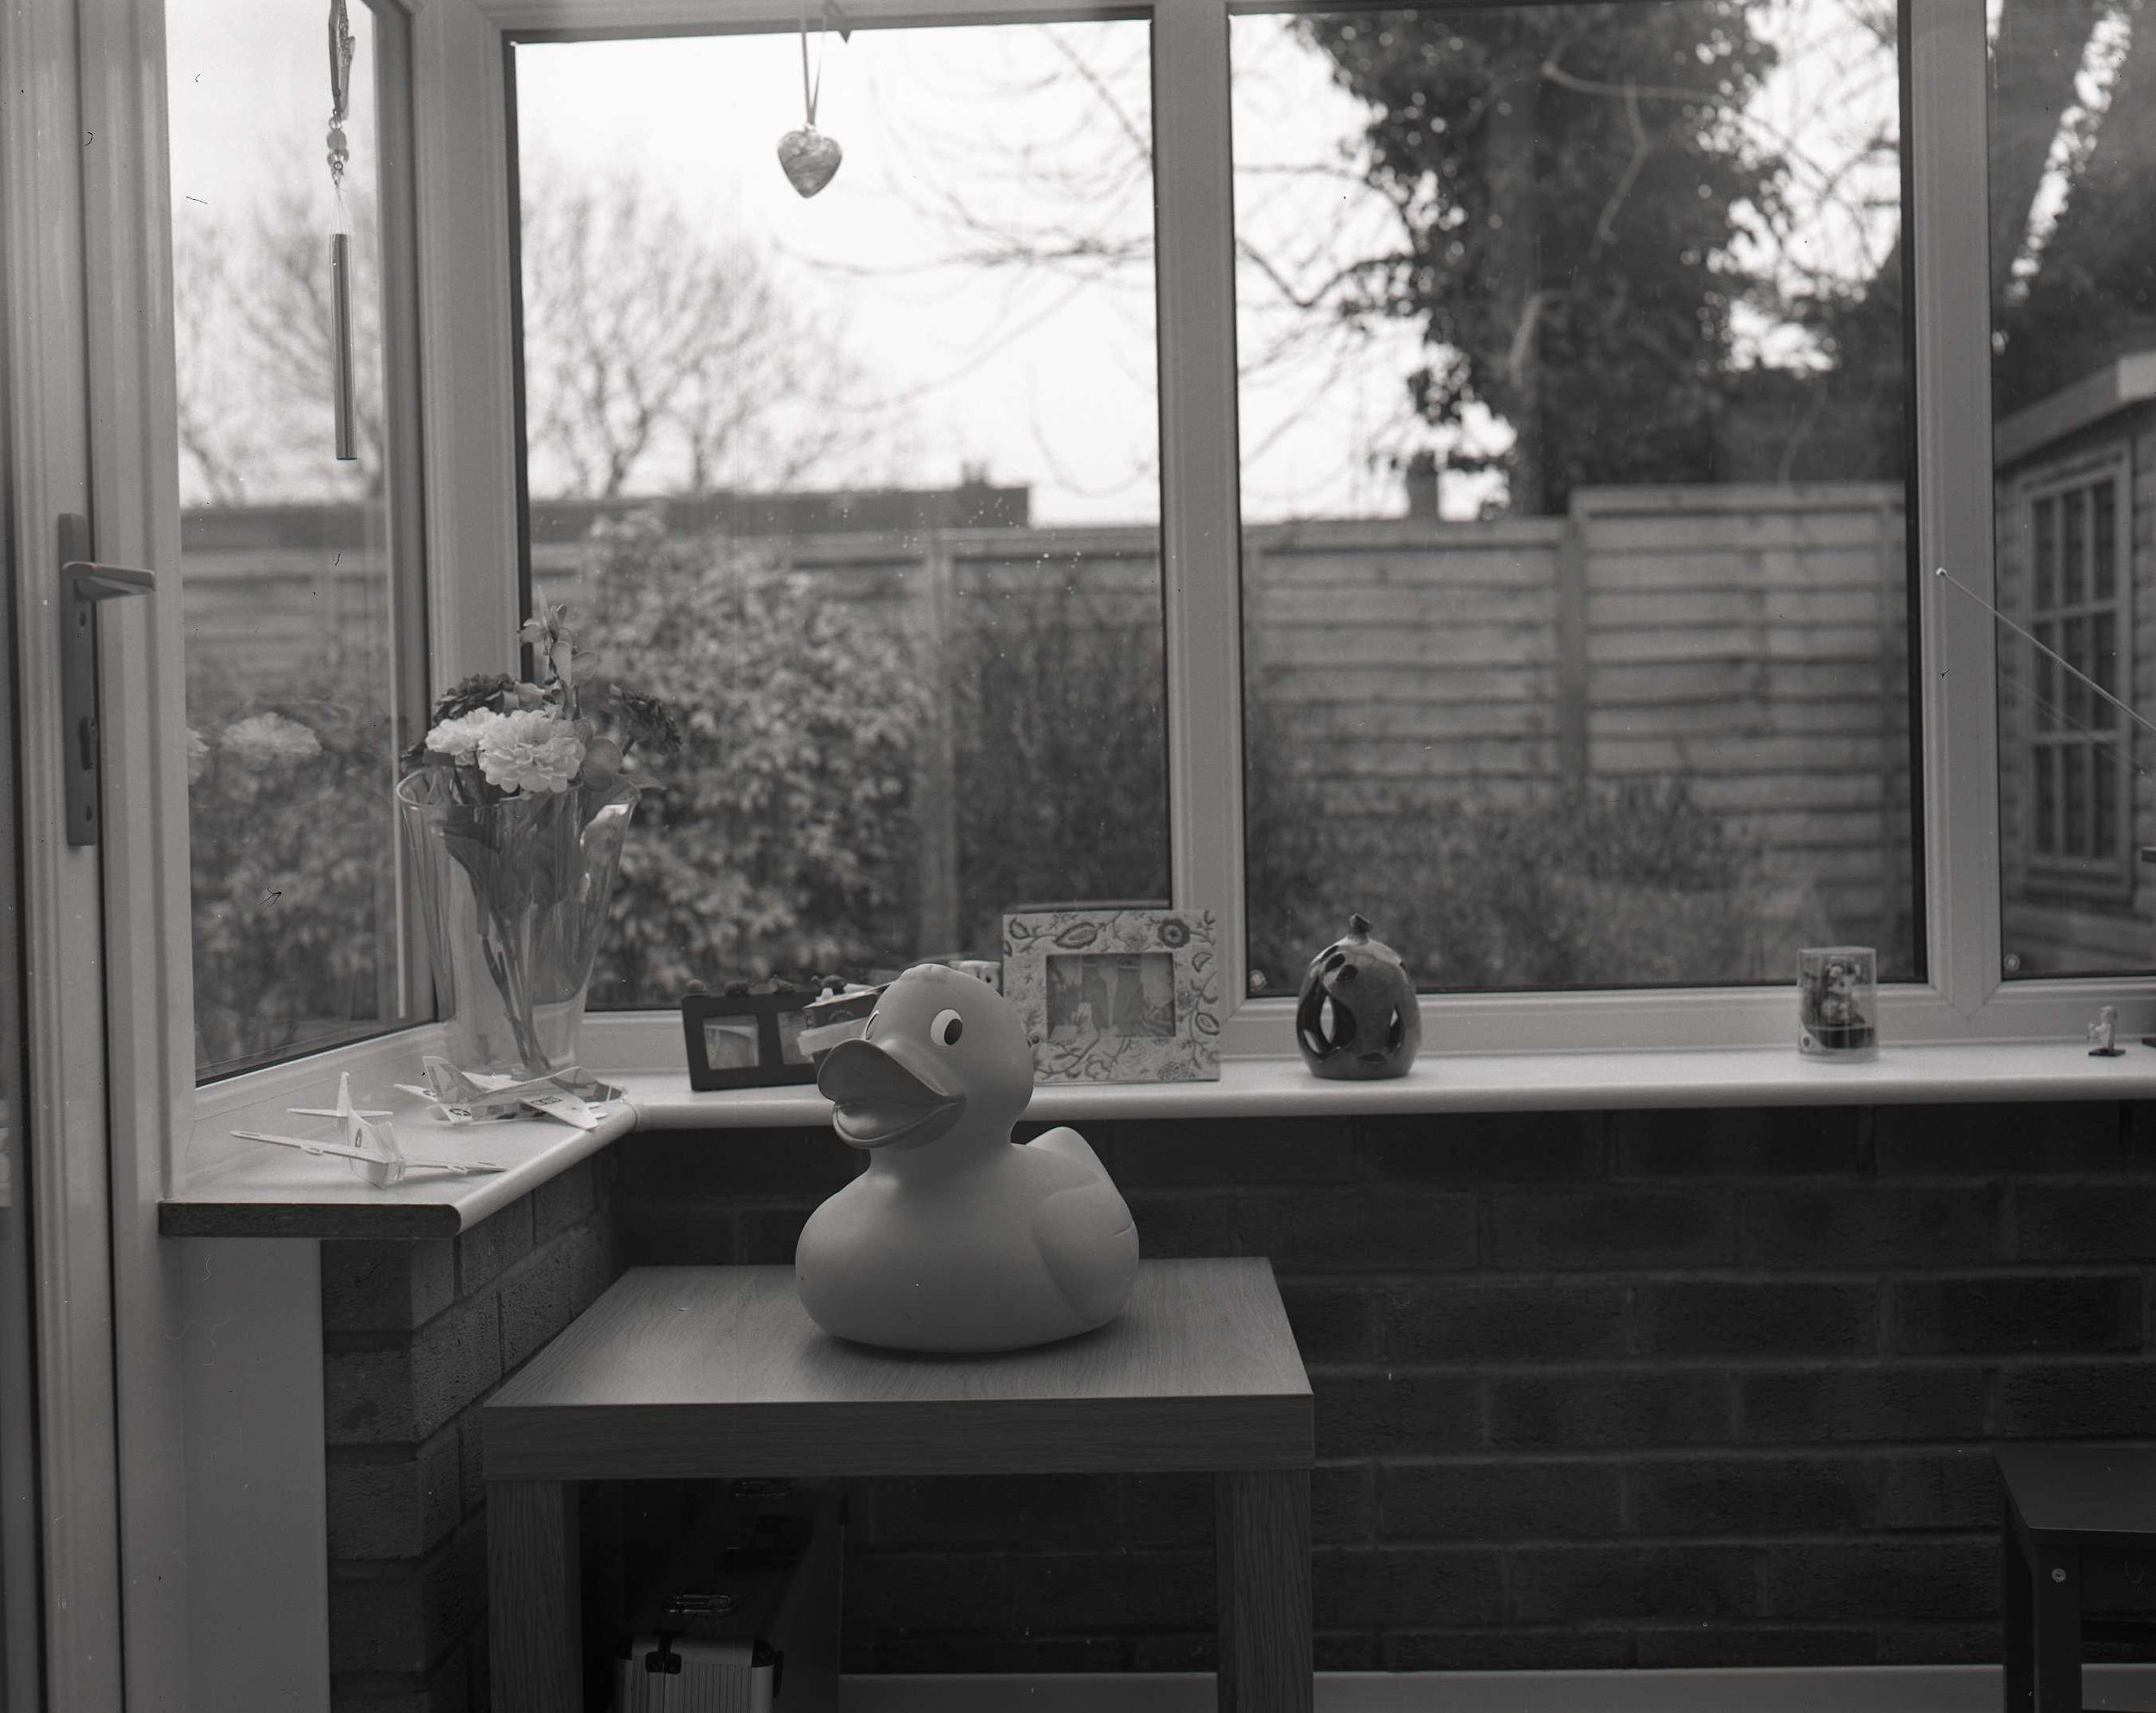
I’m actually very happy with this picture

The picture above was taken using my 3D printed camera. The lack of any light on the image is actually very pleasing. While the film was in the camera I took it outside, shone torches and bright lights on it and generally waved it around in the brightest areas I could find. And the picture came out completely black. Which means I think that after a whole of of painting and masking it is now light tight.

I’m going to put a spirit level on the camera so I can tell when it is level…

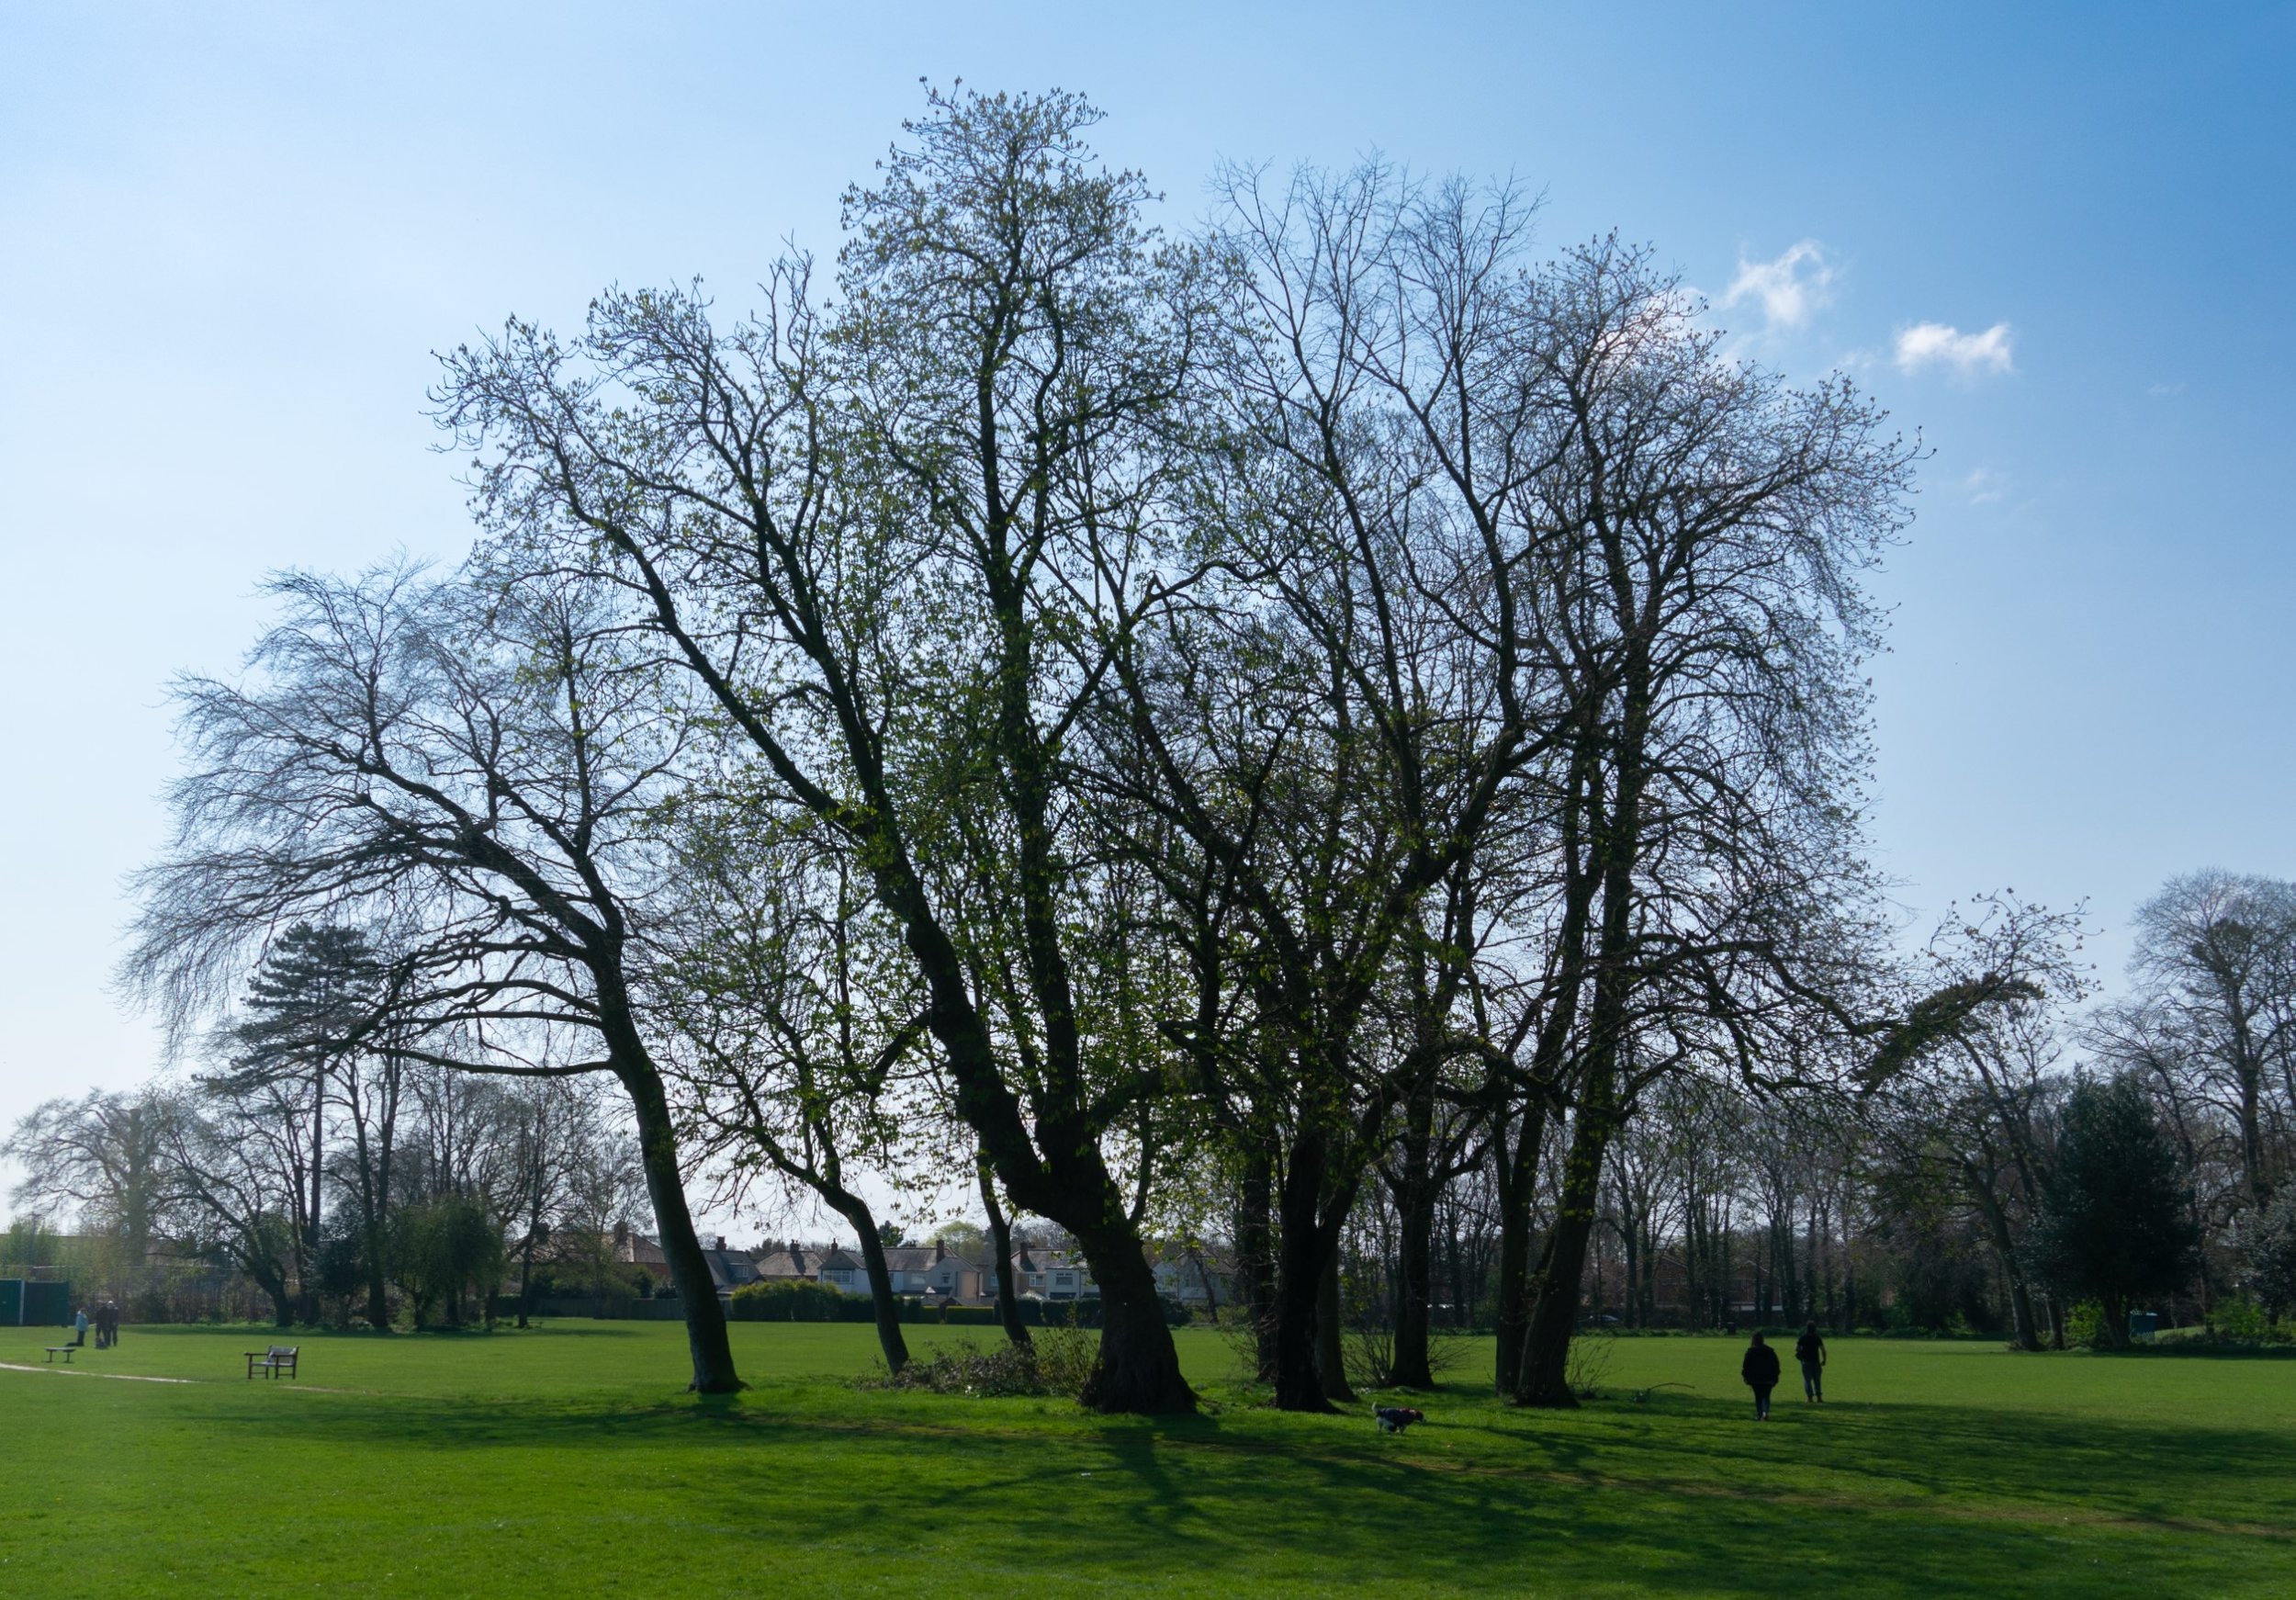
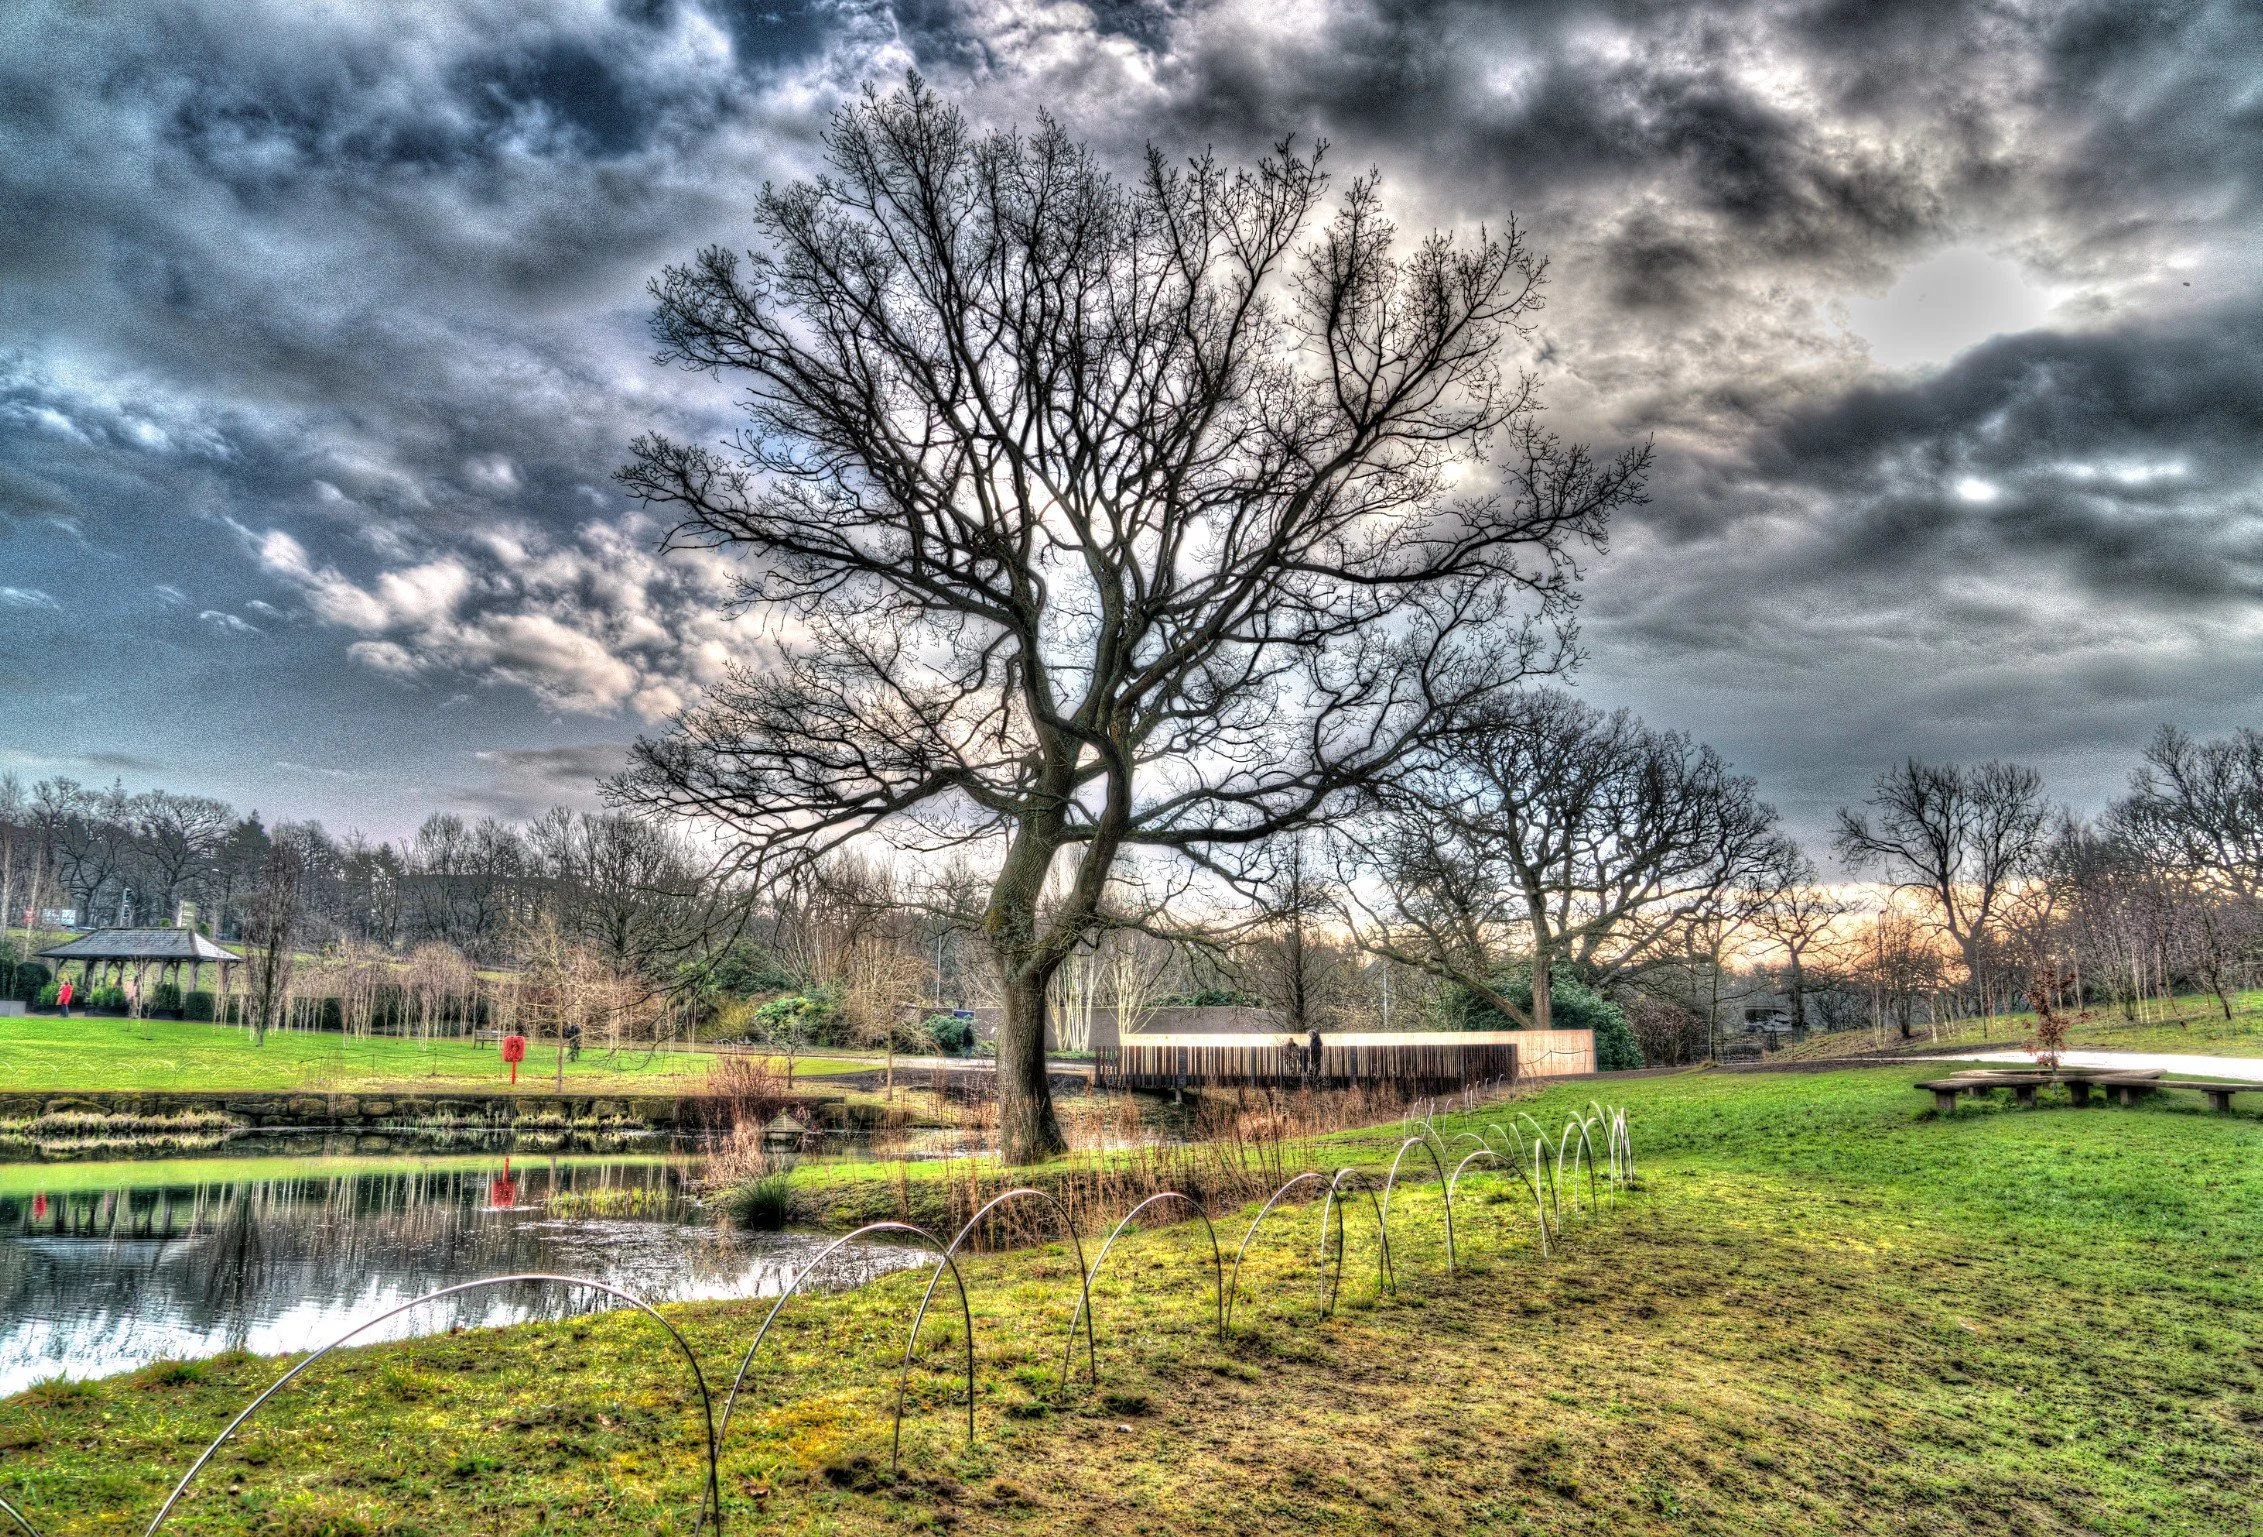
I took the camera out for a walk and came back with this, which I’m quite happy with.

Fixing a leaky camera

The hair is probably one of mine. I need a haircut.

My 3D printed camera leaks light. It works perfectly fine indoors but take it out into the sunlight and things go badly wrong. The pictures have an “other worldly” quality but I’m not always going for that. Number one son suggested that I wait until it gets dark, put a powerful light inside the camera (there’s plenty of room) and then see where the leaks are. The first discovery was that some of my black painted areas were not very black. So yesterday I spent some time painting my hands, trousers, shoes and camera with more black paint. The paint ran out to the point where the spay only worked when held vertically, so I had to hold things in front of the nozzle to paint the bits that needed an extra coat. Hence my attack of “black fingernail”.

Tonight I spent a happy half hour in the dark looking for leaks and applying copious amounts of black tape to leaky joints in the camera. I think it is mostly light tight now.

Adventures in Spot Metering

I’ve bought a new photographic gadget (audience looks shocked - several people at the front faint with surprise and have to be carried out…..). It’s a spot meter. You use it to get the best possible results when you take a photograph. Film can only handle a certain range of dark to light. When you set the exposure of the photograph you want to map the range of the film onto the areas of light and dark in the scene that you want to see in the image.

You look through the spotmeter and it shows the light levels in a tiny portion of the scene. You get the levels of the dark and light regions and then set an exposure that will work over that range. I’ve started with a very simple approach. I’m just finding the darkest area and then setting the exposure to two stops below the reading I get from the meter. The spotmeter gives a reading assuming that it is looking at something which is grey. If I push that grey value down towards black I should get a sensible exposure.

I think I’m getting better

Laser Rangefinders are cool

A while back I ordered an awesome little laser rangefinder. It arrived last week and I’ve found an excellent holder for it which I can use on my 3D printed camera. I printed the holder this morning and above you can see my fully tricked out camera. It has a viewfinder, level and now a range finder. It might only be able to take one picture at a time, but it certainly looks the part.

Yet another camera

I’ve invested in another camera. Well, I say invested. I won’t find out whether or not it was an investment until I try to sell it again. Which, given the quality of the pictures it produces is not going to be any time soon. It’s a Kiev 60 which takes medium format images on 120 roll film. I can develop the pictures at home (as I did the one above).

I think they had two production lines in the factory. One made tanks and the other the Kiev 60. And sometimes they got the parts mixed up. It is a huge device and somewhat heavy. Everything works (which is something of a rarity for this particular brand) and the combination of large negative size and old-school lens design makes for some lovely out of focus effects. I’m going to enjoy carrying this around and taking some pictures over summer. But I may need to get in some weight lifting training first.

Using Bolt Inserts in 3D printed objects

I assembled the 3D printed camera today. I used the fittings I got last week. It turned out to be quite straightforward. I popped the special tip on the iron and set the temperature as low as possible (200 degrees). Then I picked up the fitting with a pair of pliers, popped it on the end of the tip and pushed the fitting into the hole in the 3D printed camera body.

Above you can see the result. I can now screw a bolt into this fitting to hold the lens in place. This is a really great way to screw things together. I’ve had a lot of success just using bolts in 3d printed holes, but this should be stronger and won’t wear out if I need to remove and replace the bolts.

This is the finished fitting in place with the lens attached. It turns out to look quite tidy. Next thing to do is make the handle and then take some pictures.

Blackfinger

I’m 3D printing a camera at the moment. I’ve discovered that one of my early design decisions was not the best. It turns out that white PLA is not the most opaque colour I could have chosen. Cameras that let the light in are not optimal.

So today I decided to remedy that by painting the inside of the camera with matt black paint. I bought a spray can of the stuff, found a place in the garden as far away as possible from everything else and set to. It worked rather well. I’ve put on two coats and it is now looking a lot darker inside the camera, which is a good thing. The only snag is that it has turned out to be impossible to stop the black paint getting onto the outside of the camera (at least for me) so the next part of the plan is to paint the outside of the camera black too. That way I also get even more opaqueness.

The really good news is that the paint I’m using seems to stick really well to PLA. The only other snag has been that I now have a black finger (the one that has been pressing the button on the spraycan)…

Broken Mamiya

After watching a few YouTube videos about the Mamiya 645 camera I’d convinced myself that I knew enough about the camera to be able to venture onto eBay and buy a “for spares or repair” camera that came up for sale. It was a nice set of bits, including a waist level finder, a lens and a metered prism. It also included a camera body. Well, the camera arrived last week and I call it my “downstairs” camera as it looks as if it has been thrown downstairs at least once or twice. The lens works fine, but has a bit of a ding in the filter mount. The waist level finder works fine too, even though the mounting on one side has broken. The camera body is a bit of a mess though. By fiddling with it I’ve managed to lock the mechanism up completely. I’ve nothing against the seller here, nothing was sold as working. And I still think it was a great deal for the price. I’m gong to pop it back on eBay and see how much I can get for a properly broken device.

Scanner fetching

Today it was up bright and early and off to Leeds to pick up the thing I bought on Tuesday which will make it much easier to get pictures into my computer. I got it home, opened the box and a whole bunch of furry creatures with wings flew out of the box and disappeared. I rang up the seller and told him what had happened. “That’s fine.” he said “You did buy the bat-fled scanner didn’t you?”

Apologies. But I couldn’t resist it. Anyhoo, the scanner is now back home and I’ve been scanning some of the shots I took with the new camera I got last week. It turns out that I can use it to take pictures of leaves.

One takeaway from this is that black and white is not the same as colour. Duh. Two things with different colours might be rendered as similar shades of grey. Another takeaway is that with film photography dust is definitely a thing. You get spots and stray hairs all over your negatives and keeping them at bay is a constant struggle. But it is all great fun. Next step is home processing.

Got scanner

Very excited. Managed to bag myself a flat bed scanner that can handle large images. This is a big thing. It turns out that you don’t get optimal photographic goodness by photographing negatives lying on your iPad screen. The new (to me but actually around 15 years old) device is huge and I’m going to have to drive over to Leeds and pick it up because I’m scared of what might happen if it is posted. But still, yay!

Bought another Camera

Hmmm. I wasn’t expecting that. Or perhaps I was. Anyhoo, I’ve bought another camera. I seem to be converting my gadgets from musical instruments into cameras. Expect some frantic synthesizer selling soon.

Anyhoo, I only went into the shop to talk about this and that. Then I might have asked them to show me a Mamiya 645 that I’d seen on their website. And they produced this. It looked awesome. Like new. Only around fifty years old. And that was that. It takes 15 pictures on 120 roll film. Each picture is around 2.5 times the size of a 35 mm negative. The body is solid metal with leather stuck on and it is beautifully made. It also takes photographs. There’s a hugely satisfying “clunk” when you press the shutter release. I’ve popped a film in and I’m going to run through it as fast as possible so that I can get the pictures processed and make sure all is well.