Making a node.js Cloud Application in Azure

I solved my Heroku problem from yesterday. I’d added some new .env setting values but not copied them into the Heroku application. So when the app woke up on the server it instantly fell over because lots of things were not set properly. The app was soon working fine, but it did have one problem. Heroku turns an application off if it has not been used for a while. This is usually fine. It will be started next time someone visits the site. However, at the moment my app also monitors MQTT and registers devices when they connect, so I need to have it running all the time. You can stop an inactive app from being switched off, but this involves spending money on a paid service which, being a Yorkshireman, I’m not keen on.

Instead I thought I’d try hosting the application on Azure, where I have some credits (not that I expect it to cost a lot). I followed this tutorial (or at least the second half of it) and in no time at all I had something that didn’t work. Oh well. The error was interesting. Azure didn’t know where to start. I was a bit confused because exactly the same code was running fine on Heroku. It turns out that I needed to add a start element to the settings in package.json:

"scripts": {
    "devStart": "nodemon server.js",
    "start":"node server.js"
  },

I think that Heroku just finds the nearest .js file and runs it to start an application if one is not specified, whereas Azure is a bit more careful. Anyhoo, after this I now have a management interface for all my devices.

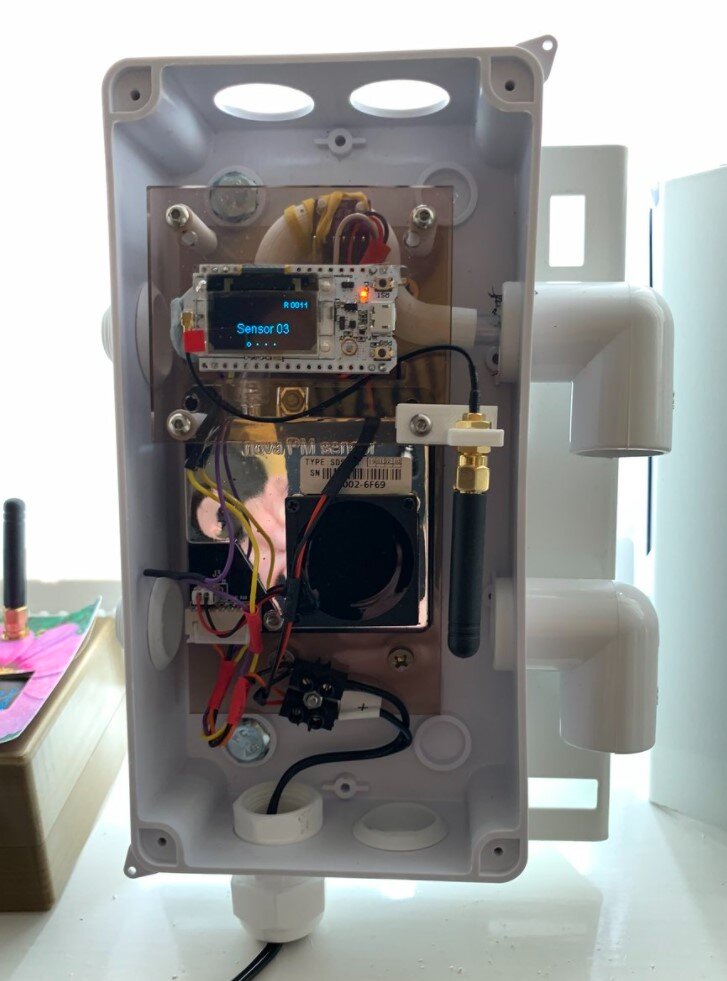
This is the control panel for one of my little boxes. I can modify the device settings, see when it was last connected and send it commands to do stuff.

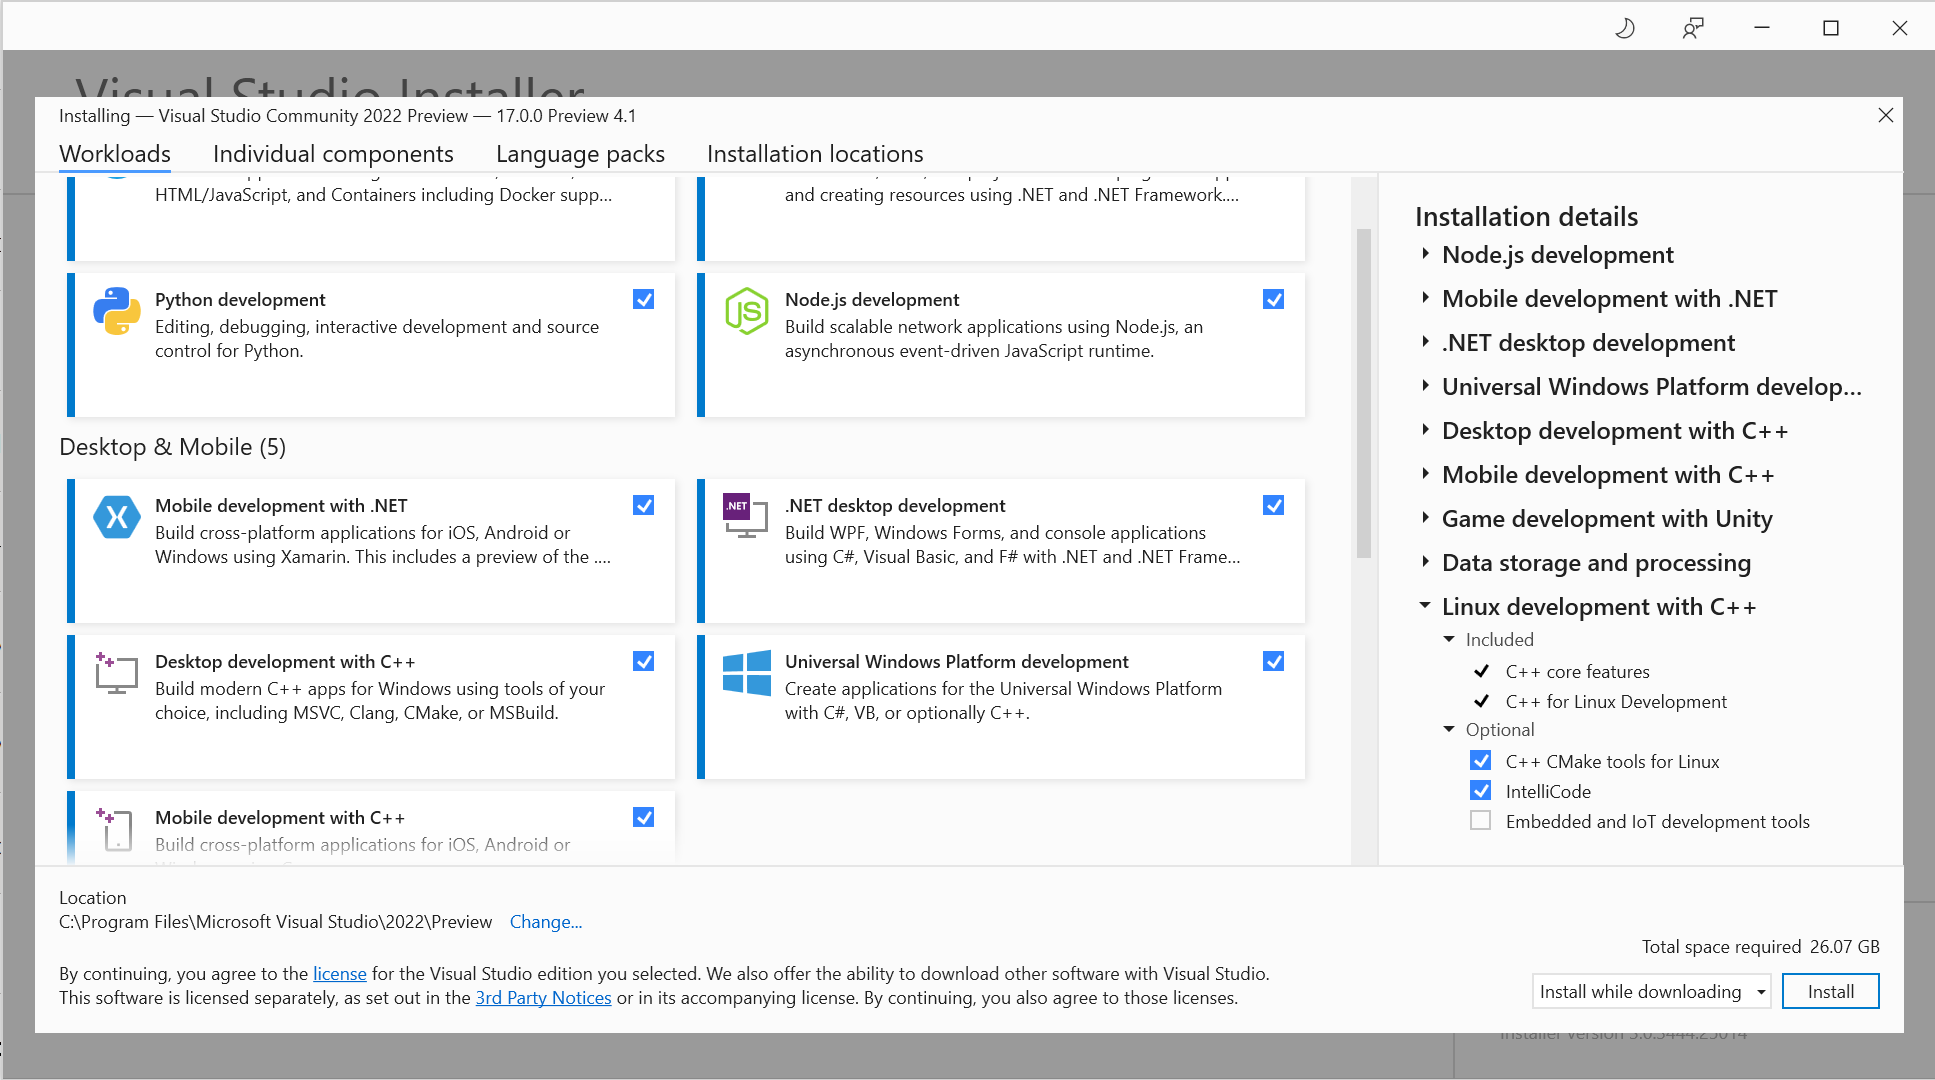
It really is incredibly easy to make your own node applications and deploy them like this. If you don’t care about app timeouts you can build and deploy something entirely for free. The integration of the process in to Visual Studio is very impressive.

I put the app onto a paid subscription (around 10 pounds a month) and then twiddled the application settings to make it always on. Great fun.

I quite like it when things are difficult and confusing

This may sound crackers, but bear with me here. Sometimes I do something and it just works. It’s a rare thing for me, but when it happens I always feel a little nervous. Because I’ve not learned anything about what I just did. I can write in my diary the steps that I took but if they don’t work next time I’m in a mess.

I’ve just had this experience again. A few months ago I deployed an JavaScript Express application to Heroku. The process was really quite smooth, and I've totally forgotten about how to do it. Today I wanted to repeat the process and of course it all fell to pieces. Something, somewhere has changed and I’ve no idea where to go to fix it. If I’d had to battle with the first installation I’d be able to draw on a pile of resources to try and fix the problem. I’d know how to read the log files, get messages back from the code, deploy updates and whatnot.

I think that what I’m really saying here is that for a lot of things I try to do with computers I have to go and “live there” for a bit. This means spending time reading documents, writing test code and generally figuring out where all the bodies are buried. If something works first time I’ll not do that, so I’m building up a store of “ignorance debt” that will come back and haunt me later. The good news, I suppose, is that now I seem to be a situation (at least with this project) where I’m going to get a good opportunity to live with Heroku for a while.

The sensor that came in from the cold

sensor 03.png

This is Sensor03. It has spent the last couple of years attached to a building in Hull, transmitting environmental and air quality data to our server. I’m going to compare the output from the 2 year sensor with that from a new one and see if it has aged much. Then I’m going to take it to pieces and see what the insides look like.

I’m quite pleased with the way that the code and hardware has kept going all this time. You can take a look at the output from the remaining three sensors (plus some others) here.

Sensor Inside.jpg

This is what the sensor used to look like inside, I wonder if it will have changed much?

Amplifiers for sale

Amplifier.png

I found this camera that I really wanted. But I really shouldn’t buy it as buying cameras is a waste of money. Really.

So I decided to raise the cash by selling some stuff that I don’t need any more, which includes a couple of home entertainment receivers I seem to have accumulated. So today I spent a happy afternoon plugging them in, making sure that they work and then wondering why I replaced them in the first place……

They will be on eBay next week…. As for the camera, I’ve already bought it - so I really hope these things sell……

Routing controller messages in Pure Data

Controller patch.png

I’m quite proud of the above Pure Data patch. What’s Pure Data? I hear you ask. What’s a patch? you add. Why don’t you get out more? Well, that’s just not a very nice question.

Anyhoo, Pure Data is programming environment that you can use to process audio data. It is graphical (see above). A Pure Data program is called a “patch” and is comprised of objects that are linked together with “patch cords” which are drawn as lines. And, I do get out. Quite a bit as it happens.

One of the things that you might want to do in a Pure Data is get controller values and use them to control stuff in your patches. A controller is something with a control on it. This could be a knob you can twist or a slider you could slide. For example, you could use a knob to control the volume of a signal. You can buy controllers or you can make your own. I’ve just made one using a PICO device.

Controllers are connected to your computer using a protocol called MIDI (Musical Instrument Digital Interface). This specifies an electrical standard and a message standard. You can buy devices with MIDI sockets and connect them using MIDI cables. However, MIDI also works over USB connections. In other words you can buy a MIDI controller, plug it into your computer and it will be recognised as a MIDI device. Then you just need something that understands MIDI messages. The Pure Data environment can both talk and listen to MIDI.

You then tell Pure Data about your MIDI device and you can start to receive control messages in your music patches and use them to manage the behaviour of your digital instrument. But how does this work, and what is the best way to do it?

Pure Data provides an object called ctlin which accepts MIDI control messages and makes them available to a patch. Each time the user changes the value by moving a control, the ctlin object sends out data values as messages. To use ctlin you don’t need to do anything more than just plonk a ctlin object in your patch and start using the output values that it sends.

The ctlin object produces three outputs, the patch above uses two, the value that represents the position of the controller, and the number of the controller generating that value. Perhaps I might want to use the value from controller 21 to control the attack value of a sound, the value from 22 to control decay, and so on.

That’s what the patch above does. The left hand path through the patch takes the control value and uses it to assemble a send message to send out the value to any patches that wish to receive it. The right hand path uses the controller number to index a list of message destination names so that controller number 21 is sent to attack, 22 to decay and so on.

Then, anywhere that I want to receive the latest decay value, I just have to use a receive object:

receive block.png

The tiny bit of Pure Data above receives the decay value and then multiplies it by 8 before sending it on to another component.

An interesting thing about Pure Data is that send and receive are effectively broadcasts. Any patch can use the decay value. Probably not something you’d be keen on if you worry about global variables in conventional programs, but great if you have lots of components that all have to react to a particular value.

The great thing about my little controller patch is that you can add new messages for additional controller numbers just by changing the contents of the list.

If this is the first time that you’ve seen Pure Data, I’d strongly advise you to take a proper look at it. It really is great fun to play with, very immediate and a great way to introduce people to programming without having to actually write anything. And you can make some interesting sounds. You can find out more here.

Walkabout Mini Golf for Oculus Quest is now even better

walkabout2.jpg

If you’ve got an Oculus Quest (and even better, some friends who also have Quests) you should get Walkabout Mini Golf for it. I’ve already said this a while back. At the time I mentioned that I while I loved the game I didn’t think it was “proper” mini golf because there weren’t any windmills. Well, there are now.

Windmills.jpg

They have just added a whole new level with loads of windmills in a really lovely setting. The hole design is as fiendish as ever, and much fun can be had working your way round the courses. I love it when good things get better, and this game is a case in point. Very strongly recommended.

A first look at the Pimoroni PicoSystem

Pico.jpg

I’ve always liked Pimoroni stuff. I’ve just bought another one of their products; a tiny handheld gaming machine powered by the Raspberry Pi PICO. It’s called the PicoSystem and it arrived earlier this week.

It’s a tiny handheld device that looks very like a Gameboy Micro (if you can remember them). The tiny screen is bright and clear and the controls have a very nice feel. The packaging looks great and the device itself is a treat to hold. It’s made of machined aluminium and has a really classy feel. It is shipped with a cute little built-in game, but the fun really starts when you start creating your own games. I’m hoping to get doing this soon.

Beware Zookeeper World - you may never escape

zoo1.jpg

Zookeeper World - https://kiteretsu.jp/en/projects/zookeeperworld.html has me in its’ grip. It is like the original, but with an Animal Crossing like Zoo building engine. There are lots of different puzzles and not many are time limited, which I really like. There may be no hope for me…

..but then again - I have just bought a penguin…

Windows + V will change your life

Windows + v.jpg

You probably know all about this Windows trick but I didn’t until today. If, like me, you live by copy and paste I think you will find it very, very useful.

I think everyone knows that it is CTRL+C to copy something and CTRl+V to paste it. They probably teach it at kindergarten these days.

But if you use the WINDOWS key instead of CTRL+V to paste (i.e. press WINDOWS+V) you get a little popup of the last few things that you have copied so that you can pick the one you want. Very useful.

Watch Foundation on Apple TV+ for free if you have a PS5

foundation.jpg

The Foundation series by Isaac Asimov is a classic bit of space opera. It’s all about a scientist who predicts the fall of civilisation (much to the annoyance of those currently in charge). I read the books ages ago. The first three titles (Foundation, Foundation and Empire, Second Foundation) are excellent. But after that I got the impression that the series had less and less to say and turned into a franchise. They might as well have used titles like “Foundation and New Car” or “Foundation and Beach House”.

Anyhoo, Apple TV has taken a swing at making a TV series based on the original books. It looks awesome. The story has been tweaked a bit for a more contemporary feel and everyone plays their part with conviction and gravitas. The first three episodes are out at the moment and although they can be a bit ponderous in places it looks like the pace is hotting up now that the characters have been established. It’s well worth a look whether you’ve read the books or not.

You can watch it for free if you have a PlayStation 5. Apple will let you have 6 months of Apple TV+ for free if you download the Apple TV app for the console and sign up. You can find out more here.

Another good version of the story was made in the 70’s by the BBC (in stereo - which was quite a thing on radio back then). t’s delivered as 8 one hour episodes and I think it is a classic. You can find it here.

Flying the Junkers Ju 52 in Microsoft Flight Sim

Junkers.jpg

You’ve probably not heard of the Junkers Ju 52. It was around in the 1930’s and was one of the first ever passenger planes. It’s just appeared in Microsoft Flight Sim. You have to buy it (it costs around 12 pounds) but I think it is worth the money. It’s just great fun to fly. We spent a very happy evening flying around Iceland hopping from airfield to airfield. Number one son found the flight plan here. Things I learned about the plane:

  • It has three engines. These might only be mapped to two of your throttles. They were for me. My first take-off only used two of them, so I was flying sideways for a while before I figured this out. I mapped the two outer engines to one throttle lever and the middle one to the other one. This worked for me but it may be more useful to have independent throttle control for the left and right engines because….

  • I found that the plane really likes to fly sideways. The rudder didn’t do a lot for me in respect of turning. Perhaps you are supposed to steer with the engines sometimes. Anyhoo, this wasn’t a problem, except when landing. I found that pointing the plane in the required direction and giving it a burst of throttle would get it going the right way long enough to land.

  • It will land and take off at stupidly small speeds and will happily burble along at a few hundred feet. Braking after you have landed can be a problem though. The plane loves to stick its’ nose in the ground if you brake too hard.

  • The cockpit is awesome. Lots of metal and leather. And the view out is very good.

  • There is a version with floats so you can land on water. You can take off using the floats on dry land, but it takes ages to get up any speed and you fell really bad about doing it.

  • It is very forgiving. At no point did it fall apart in the air or collapse on landing. It was originally designed to have one engine, then they added two more. This means that there is plenty of power on to tap to get you out of trouble at low speeds.

It may seem a strange plane for Microsoft to choose to release. Why not something fast and exciting? Well, for me the problem with fast and exciting is that you whizz past everything and find it very hard to fly in a group. With this plane we were able to stay together and admire the scenery (and each other’s planes) as we chugged over the countryside. And landing and taking off were a hoot.

Don’t try this unless you want a very slow takeoff,,,

Don’t try this unless you want a very slow takeoff,,,

Begin to Code with C# Snaps works with Visual Studio 2022

Begin to Code with C#
By Miles, Rob

My Begin to Code with C# book was published in 2016, which is a long time ago in the field of computing. Still a good read though (subtle plug).

It was great fun to write, although I did make things extra difficult for myself by inventing an environment called “Snaps”, where you learn to write your code. As you work through the book you interact with the examples and build your own Universal Windows Applications.

I spent some time today checking that the Snaps framework still works with the latest version of Visual Studio. It turns out that it works fine; in fact it is now even easier to install and use Snaps nowadays because Visual Studio 2022 automatically downloads the required libraries, and can even clone the Snaps framework files straight from a GitHub repository. Here’s how you get it all going:

Figure 01 VS 2022 Install.png

Step zero is to make sure that when you install Visual Studio you include the Universal Windows Platform Development component. You can see it at the bottom right of the options shown in the Visual Studio Installer above above. Then, once Visual Studio 2022 has started after installation you can get the Snaps framework straight from GitHub.

If you haven’t got the Universal Windows Development component installed, or want to check, open the Tools menu and select Get Tools and Features from the menu to open the Visual Studio 2022 installer. Once you have installed Visual Studio 2022 and run it you will get the startup page:

Figure 02 Open Project.png

This is the startup page for Visual Studio 2022. To get a copy of Snaps (you will only have to do this once) click “Clone a repository” at the top left. Then you can fetch the Snaps framework from Github.

Figure 03 Clone Snaps.png

You use this dialog to copy Snaps from GitHub into a folder on your machine. Snaps are on GitHub here:

https://github.com/CrazyRobMiles/snaps

Type this into the Repository location box, make sure that the destination path is a sensible place to put Snaps and then click Clone in the bottom left. This will bring down the framework and open it.

Figure 04 Solutions.png

Once you have downloaded the repository you will find all the repository contents are displayed in the Solution Explorer window at the top right hand side of Visual Studio.

This window lets you explore the solutions in your project. There are two solutions, BeginToCodeWithCSharp holds all the example programs from the book, plus the browser that you use to explore them. Snaps holds the Snaps library functions.

You need to open the BeginToCodeWithCSharp as above. You will have to do this each time you start with the repository in Visual Studio 2022. Do this by double clicking the solution line in the explorer above.

Figure 05 Update.png

The very first time you run the solution Visual Studio 2022 will ask if you want to install the libraries that it uses. This only needs to be done once, just click OK to install them. Now you need to configure the target device for the application.

Figure 06 Build Select.png

Before you can run the Snaps browser you need to tell Visual Studio the hardware platform that you want to use. This is initially set to “Any CPU”. Open up the selection and choose “x86” from the menu at the top of Visual Studio.

Figure 10 Run Button.png

Now you can hit the green arrow to start the program running.

Figure 08 Running.png

This is the Visual Studio 2022 display you’ll see when your Snaps program is running.

Figure 09 Menu.png

This is the example browser for all the programs in the book, which you should now rush out and buy….

The Crackers Controller Lives!

20211003_083230689_iOS (2).jpg

After another fun day of coding (I really know how to enjoy myself) the “Crackers Controller” now lives. You can adjust settings by turning the encoders and the value is displayed on the pixel ring. If you press the encoder in you can switch to another setting value (above we have “blue” and “yellow” settings. The settings are sent out as MIDI control change messages. The controller works with the MIDI cheesebox you can see on the left, which will provide the note input. Now I need to write the Pure Data patch that will make all the sounds.