Taking a Rabbit to the Formula E Finals

this is about the best I could do on the day. Turns out that racing cars are hard to photograph

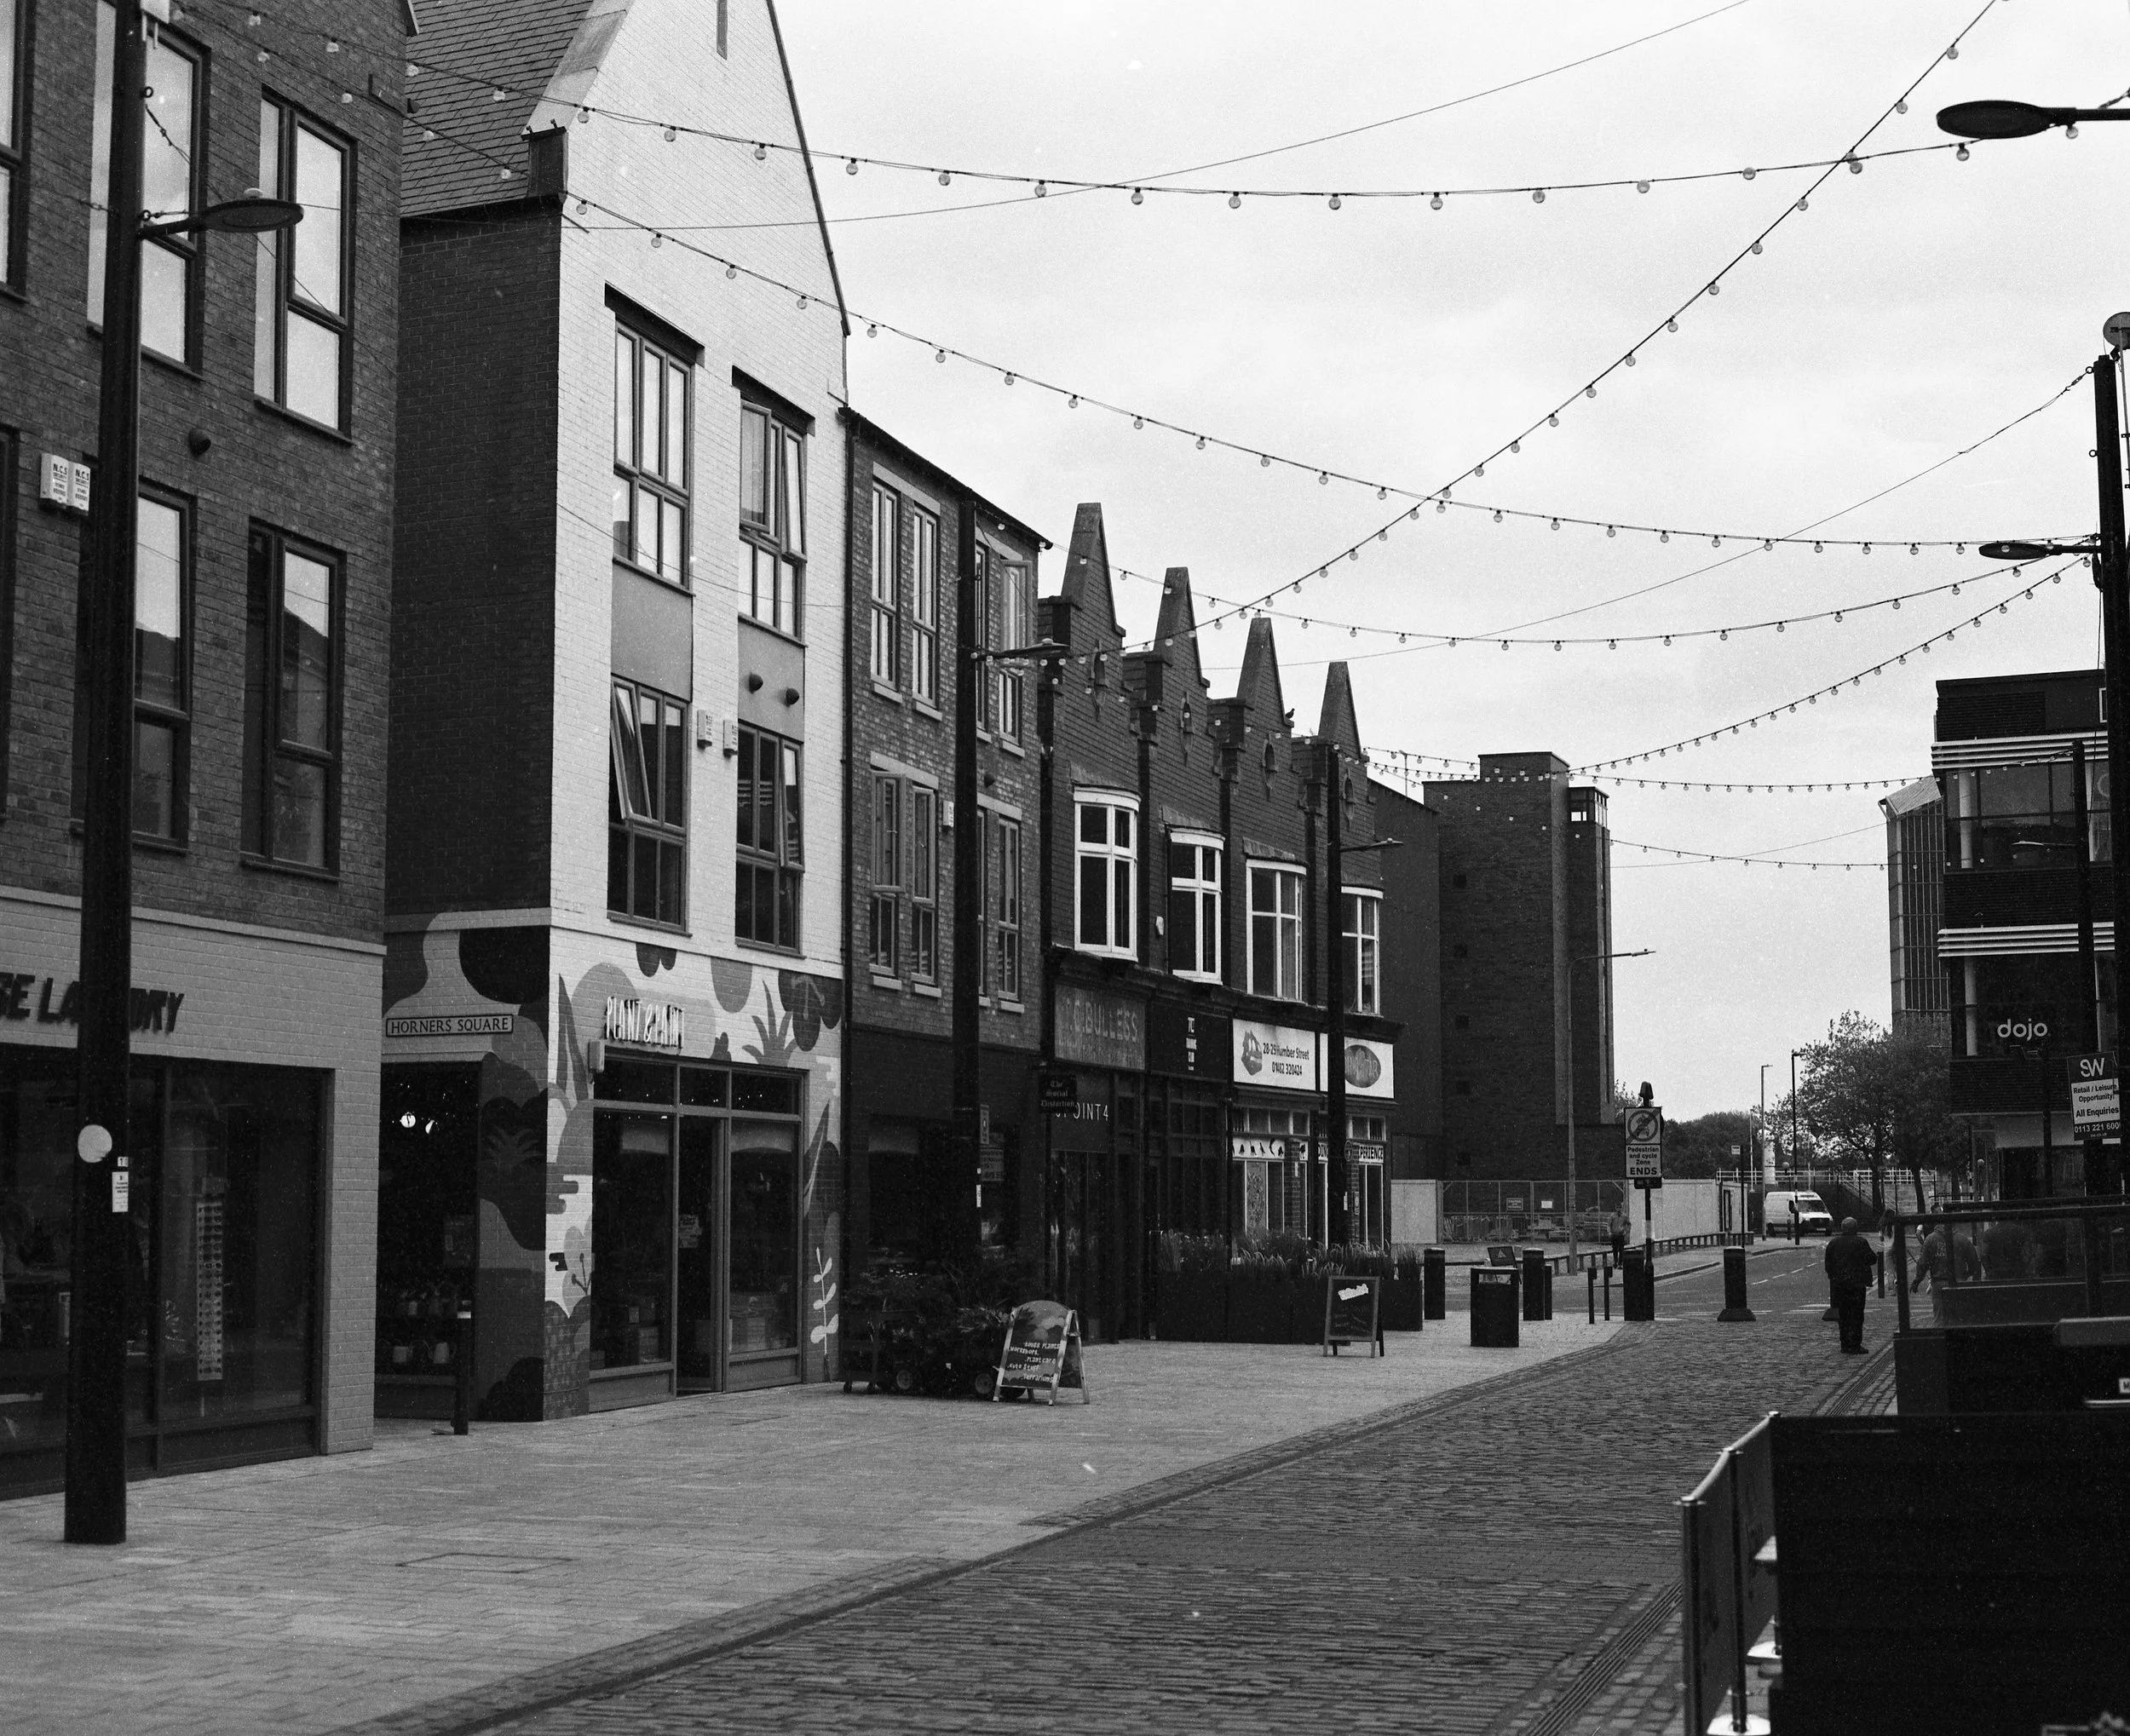
Formula E is a bit like Formula 1, except that the cars are powered by electricity and sound a bit like turbocharged hair driers. We went to the final event of the season in London today. We watched the practice, the qualifier and finally the race. In between these we wandered around looking at stands in the exhibition attached to the race, watched a mini-concert from Craig David and generally had an all-out wonderful time. I took a camera and the Rabbit R1.

I took a bunch of pictures with a proper camera, and lots with the Rabbit R1. I was lucky because for some reason we had good mobile phone connections and the Rabbit was able to take the shots and do “Magic Camera” type things with them. I really like the results. They are not photographs in the proper sense of the word, but they provide a lovely record of the event and I’m very pleased to have them. And if you bear in mind that a Rabbit R1 is a fraction of the price of a new camera lens I reckon it is a good investment if you want a quirky record of what you’ve been up to.

This is what the rabbit thought of the race

Some of the racing got quite intimate

A “Rabbit’s Eye View” of one of the cars on display

The Racers

Yes, there was a Costa

Tyre smoke at the start

From now on I’m going to be taking the Rabbit R1 with me to get its unique perspective.

Making a Leaky Camera

The PICO on the side of the camera controls the brightness and colour of the led lights

What kind of an idiot puts lights inside a camera? Er, this kind of idiot (and also Fuji Film with their Instax Mini 99). I was converting another Polaroid Land camera to use Instax film (it’s a thing - believe me) and I wondered what would happen if I put some leds inside and exposed the film a bit with them. Well, today I built the first version. I’m using a PICO with a little LCD panel to control a row of Neopixels inside the camera. I’m not sure how well this will work, and what level of exposure is required, but I’m going to enjoy finding out.

Bolex Gear Fun


This is the gears in place

A while back I got a 16mm camera. That’s not a camera that is really small (ho ho) it is one which uses 16mm wide film. This is all part of my “get Rob into the movies” project. The snag is that the camera I got uses “double perf film” which has holes down both sides. Modern film is “single perf” to leave more room on the film for a wider picture. But if you put “single perf” film into my camera the pins on one side have no holes to go into and the film jams up. Above you can see one of the rollers in the camera with pins on both top and bottom. The solution to the problem is quite simple. Just remove the top row of teeth from the roller.

So the first step is to remove the roller from the camera. This turned out not to be easy. A crucial component needs to come out first which was held in by a screw that would just not budge. You can see it on the top left hand side of the picture . The screw has some damage to the slot, the result of numerous failed attempts (some by me) to undo it. However today I had another go, motivated by the thought that if I don’t do this I effectively own a paperweight that looks like a movie camera.

We need to make sure we file off the pins on the top

And I succeeded. Above you can see the two rollers which now need to be “de-pinned”, a process that involves a file and a fervent prayer that the rollers aren’t made of hardened steel.

Rabbit r1 Magic Camera

Just found something that the Rabbit R1 can do which is really rather awesome. You can take a picture with it and shortly afterwards a “Rabbit Magic Camera” version appears in your Rabbit Hole site.

This is what it did to my picture. Perhaps I should grow a moustache

Apparently this is my desk

.. and this is my audio mixer, which I think looks awesome

The Rabbit is not perfect. But I think it is definitely growing on me..

MPP Camera Resources

Hmmm. Could use a bit of a dust..

If you are lucky enough to own a Micro Precision Products (MPP) Micro-Press camera I’ve made a couple of 3D printable resources you might find interesting. The first is a lensboard (the thing which holds the lens in front of the camera). The second is a spacer which makes it easy to use a LomoGraflok back with your MPP camera. You can find them here.

Pentax 17 vs Canon Dial 35 - Fight!

It sure is a very handsome camera

Big news. Pentax have just launched their first film camera for a very long time. It’s called the Pentax 17 and it looks awesome. It takes 17mm (hence the name) high shots on 35mm film (that’s half-frame). You can get 72 shots from a single cassette of film. It has automatic exposure, a nifty wind-on lever and lots of shooting modes. The focus is manual (you choose from a number of different zones) but then it does something very clever to put the lens in a position that will maximise sharpness if that is what you want. It has a built-in flash and really looks the business. But I won’t be getting one I’m afraid.

The price is just too high, at nearly 500 pounds. Now, don’t get me wrong, for a brand new camera with this pedigree this is absolutely good value. It would have been very hard for Pentax to launch this thing at a lower price. They will have had to do lots of work on design and tooling just to get the thing out of the door. If you are the kind of person who wants to have a proper warranty and ongoing support for your film cameras this is for you. If it breaks you’ll be able to make it someone else’s problem.

However, I’m not quite like that. I prefer to get super-cheap old cameras and then see what I can do with them. For the price of a Pentax 17 you could get lots of Chaika, Olympus Pen, and Canon Dial 35 devices. And some of them might even work.

A dial and a dial

At the time of writing ebay are showing a few Canon Dial 35 devices for quite a bit less than a Pentax. I managed to pick up a fully working model and the pictures it takes are just lovely.

The university in fine fettle

The Dial 35 is manual focus and auto exposure - like the Pentax 17. It also has a very neat little clockwork winding motor. And it looks like something from both the past and the future. If you have the cash, absolutely get the Pentax. If you haven’t or want to have a more interesting journey, then I reckon you should lurk around eBay until a cheap Canon Dial 35 comes around.

Fixing Radioactive Pentax Lenses

It got a bit dusty in the two days it was under the light

Back in the day, if you wanted to add a bit of zing to the rear element of your camera lenses, dropping some Thorium into the glass mix was the thing to do. Never mind that Thorium is radioactive, it changes the refractive index of the glass and improve sharpness. However, after a few years the Thorium in the glass undergoes radioactive decay, causing it to change colour and give pictures a distinct yellow tinge. I noticed this in some pictures I took a while back. And for the last few days I’ve been doing something about it.

For the last three days or so I’ve been shining an Ikea led lamp onto the lens. This lamp apparently gives out a fairly bit of ultraviolet light which triggers another stage in the radioactive decay process and causes the Thorium to turn transparent again. I think it has made a difference, but I’ll need to take some more colour pictures to find out properly.

Camera Comedy Capers

I’ve started the images with the one that worked properly

It was a nice afternoon. So I suggested that we take a big 4x5 large format camera over to the Humber Bridge and take some pictures. And have an ice cream. So we did.

It didn’t go that smoothly. We had trouble fitting the film magazines onto the back of the camera because I’d forgotten how the fixings worked, and then I managed to take not just two, but three pictures on the same frame.

This would probably have worked if my shirt had kept out of the picture.

The capers didn’t end when we got home. I managed to load two frames into one side of the film holder in the developer tank, leading to some partial development and really interesting coloured marks on the negative.

I think the camera got shifted when we put the film in. We really should have both towers in the picture.

Oh well. At least the ice-cream was nice.

Enter the Bolex

It does look good though

I’ve found a way of making photography even more expensive and difficult. I’ve bought another movie camera. This time it is a Bolex H16. My particular model was made around 1950. It’s clockwork and came with three lenses. Two of which work.

All I need to do is undoo that screw in the middle

The camera uses “double perforation” 16mm film which goes from the top spool to the bottom one. The perforations are there so that the camera mechanism can pull the film down one frame at a time in the film gate. A little pin or “claw” moves up and down grabbing each perforation, holding it still while the camera takes a picture on it and then moving on to the next frame. The original 16mm film had perforations on both sides, but later versions did away with the second perforation to make more room for the image. Single perforation “Super 8” cameras, made from the late 1950’s are more desirable because this film is much more common. Double perforation film seems to be only available in the ‘states.

You can convert a “double perforation” camera into a “single perforation” one by getting rid of the little spikes on one side of the wheels that pull the film into the camera. I might have a go at doing this, but first I want to run a film through the camera to prove that it works properly. I can wind it up and press the trigger and everything moves and makes a very satisfying “movie camera” sound, but I really need a bit more than that. So, now the hunt is on for some suitable film.

Minox Cameras and "The Exchange" in HackSpace Magazine

I meant to mention this earlier, but I’ve been too busy having fun. The June issue of HackSpace magazine is out and contains a couple of my articles. The first is about Minox photography and how you can use 3D printing to bring an old camera back into use. The second is all about “The Exchange”, a Raspberry Pi powered AI backend for the red telephone.

Not Quite so Failed Filming

I’ve inverted the image because it is a negative

I took another look at the failed film that I developed yesterday. It turns out that if you shine a really bright light through the film you can see a kind of image. What you can see above is a car on the bottom right of each frame parked in street that is going away from the camera, some trees along the top of the frame and some buildings down the left hand side. Admittedly it is hard to spot these details but I have managed to convince myself that the pictures are there and that the camera is working as it should. I’ve also convinced myself that developing your own cine film at home is a stupid idea.

So the next step is to save up some pennies (or sell a camera) to afford a proper cartridge of film and developing.

Failed Filming

I think the date on the film is 1980

The plan was simple. Take some footage with the Bolex 150 Super 8 camera and then develop it to see if we can see anything. Above you can see the Super 8 cartridge that came with the camera. It would normally be sent back to Kodak for processing (which was included in the price) but I don’t think they are still providing the service. So put the film in a dark bag, pulled out the length we had exposed and then popped it into a developing tank.

Getting into movies is turning out harder than I expected

Turns out that 40 year old colour film developed in black and white chemistry doesn’t do anything useful. I was hoping for at least some evidence of an image that I could use to check if the Bolex 150 was working correctly. I think we are going to have to bite the bullet and order a cassette of film.

"Fixing" a Bolex 150 Super 8 Camera with a flick of the wrist

The camera I bought on Monday arrived today. It’s beautifully made of very solid metal and is around fifty years old. I optimistically popped some batteries in it and pressed the trigger to start making movies. Nothing happened. Not terribly surprising. We did some tests and managed to prove that the batteries were connected and supplying power. The drive motor in the camera (the thing that pushes the film through it) is mounted in the camera handle and quite easy to get to. So we took the handle off and had a look.

It turns out that all we had to do was slightly turn the motor shaft and the camera sprang to life. However it failed again later. It turns out that there is a “dead spot” on the motor shaft. If it stops in that position the motor gets stuck. This might be due to a faulty coil in the motor, or a bit of dirt on the commutator (the shiny ring around the motor shaft which transmits power into the motor). We’ve cleaned things up a bit and the camera mostly works a treat, but it still gets stuck every now and then, which is a bit sad. However, we’ve found a solution. All you have to do is hold the camera in your hand and give it a “flick” on the motor axis. This jogs the motor shaft slightly, getting it into a working position.

With that that proviso, we now have a working camera. Even the light meter is responding correctly. The camera came with some very old film which we are going to try putting through it.

Lomomatic 110 Camera with Purple Film

I’m not sure ifyou should buy a camera just becuase of its looks. But then again…

The Lomomatic 110 camera is the first completely new 110 film camera to be made for a while. Lomography (who specialise in interesting cameras) released it a little while back. It’s a rather expensive alternative to a cheap second hand 110 camera, but it does have a ton of style. It also has a proper electronic shutter and a glass lens with adjustable focus - which are not things you usually find on a 110 camera. Of course, I got my hands on one and loaded it up with Lomo Purple film. It’s a fun camera to use. You wind it on by opening and closing the body and you can also attach the cutest little flash gun to the side. It is very plasticy though and I found the shutter button a bit fiddly to press (best to use a fingernail and press it with that). The 110 film has tiny negatives, but I wasn’t too unhappy with the level of detail.

This is not how I remember Dalby forsest looking…

Should have held the camera horizontal

I think the camera shake adds a lot to this one…

The camera didn’t get the colours wrong, that’s down to the awesome film. But it did get the exposure and the focus mostly right. The only times things went wrong were when I forgot to adjust a setting. I took some pictures of people and they came out sharp and snappy, but with weird colours which added a lot to the atmosphere.

It’s a nice enough camera, very stylish and beautifully presented. I’m not sure I’d advise anyone other than a camera nerd to get one though. Probably better to pick up a cheap second-hand 110 camera if you want to try the format, or perhaps a Pentax Auto 110 (which is an awesome tiny SLR camera of which more later).

What I would advise you to do though is pick up some of the funky Lomographic 110 films. They are available at quite appealing prices in 110 format and you can get them developed at around the same cost as a 35mm film. I’m presently trying the “turquoise” film (which seems to turn people cyan). I’m looking forward to seeing the results.

I am an idiot

This one is almost artistic

A while back I made the mistake of sending the same film through the camera twice. At the time I vowed never to do that again. Well, that worked. Above you can see the results of doing it again...

The first pass was with a Canon Dial 35 and the second with a Canon AE-1. While it saves me a bit in film it has the disadvantage of leaving me with lots of unusable pictures.

Radioactive Lenses

Some of the lenses in my cameras are radioactive. Not in a particularly dangerous way, although if you managed to swallow one or left it in your underpants for several weeks it might not do you much good. As the radioactive elements decay they turn yellow, which means that some of my pictures have a yellow/gold tinge that I don’t really mind that much. It gives pictures taken in Hull a nice “French Riviera” look. The solution, when I get around to it, is to shine a bright UV light on the lens and speed up the decay process and turn the yellow white again.