Escaped Marble
/
One of the marbles from the marble run escaped and had found it’s way under the sofa. I’ve taken a photo so that we will know it when we see it again….
One of the marbles from the marble run escaped and had found it’s way under the sofa. I’ve taken a photo so that we will know it when we see it again….
I didn’t get a marble run for Christmas. But I know someone who did. She wanted a marble run that was taller than her. Happy to oblige. And especially proud of the way that the run collects the marbles and returns them to the box.
Hope you all have a marvellous New Year. With or without marbles…
I’ve had a 3D printer around the place since 2012. A couple of weeks ago I got my second one. The decision was driven by the results that I’d seen it was capable of, and the unhappy realisation that I would never be able to get my Ultimaker to print to the same quality.
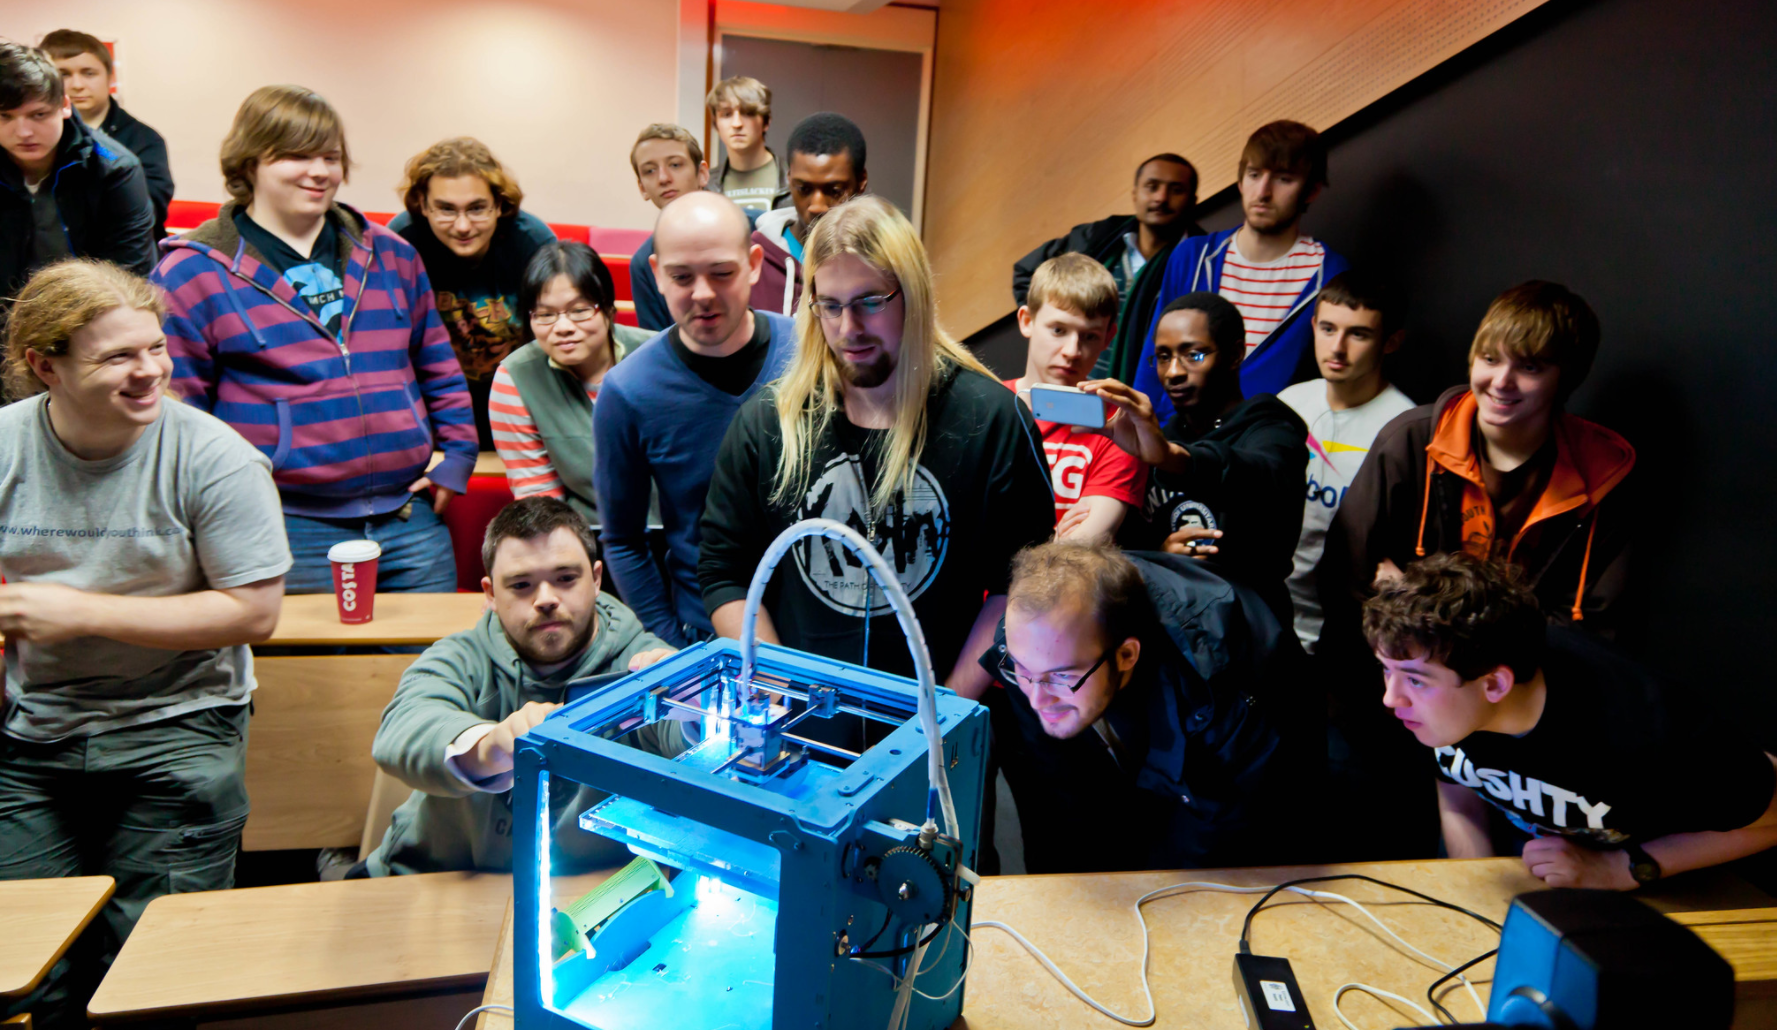
This is my favourite picture of Una my Ultimaker original. I took it in 2012 when I Una and I delivered a seminar about 3D printing. I think the image has a touch of “adoration of the magi” about it.
Anyhoo, time moves on and although Una still works fine (she’s printing something at the moment) I’ve not found a way of persuading her to print fine detail. This is almost certainly my fault. I’ve had several goes at rebuilding the print head but never managed to get the output as good as I now know is possible with one of these devices.
“Edna the Ender” is an Ender 3 Version 2 with the Bltouch auto levelling. She prints very quietly (although she does have noisy fans). She was quite easy to assemble and has produced some very nice prints “right out of the box”. I’m looking forward to finding out what else she can do.
Dominion is a “deck building” game. Each player starts with the same set of cards and at each turn they can use the powers on those cards to do stuff, buy new cards and hopefully a few victory points. As the turns go round you cycle through your deck which means that the you get to use the good cards you have got, along with any bad cards like curses which other players inflict upon you.
In real life this kind of game can be a bit of a pain to play, what with the constant shuffling and dealing. However, it works incredibly well on the computer and you can play with a bunch of friends straight from the browser. Just go here and sign up.
The game experience is very good. Pro tip - change the shape of your browser window so that it is taller and thinner (like above) and you can see more details of the cards you’re holding.
It’s completely free to play, it only starts to cost money if you want to buy any of the add-on card decks. And I’m not saying it’s a great game just because I won. Even though I did.
When I build code I try to work in a “zero warnings” mode. That is, when I build the code I don’t see any mutterings about stuff the compiler thinks might think is stupid. However, sometimes I get warnings that I don’t think I deserve. For example, I tend to do things like this:
char * name;
name = “Rob”;
I know what I’m doing here. I’m creating a character pointer and then making it refer to a string literal. It’s how big chunks of the control code for my “Connected Little Boxes” work. In the land of C it is OK to do this (- at least I think it is). However, C++ is now all grown up, has a String type and thinks it’s OK to moan at me for doing this.
I’ve got round the problem by telling the compiler to ignore this particular warning:
#pragma GCC diagnostic ignored "-Wwrite-strings"This is an instruction to tell the compiler disable that specific warning. The -Wwrite-strings bit is how I tell the compiler the warning that I want it to ignore. I did a bit of soul searching before I added this statement. Most of the time I really want to know if I might be doing something stupid. But I reckon this is a case of “greater good” in that it makes other mistakes more likely to stand out.
I’m loving my new M1 powered MacBook Air. The hardware makes a perfect laptop. It just works, goes very fast and is always there. The battery life is more like an iPad than a laptop. It doesn’t run Windows 10, so it isn’t perfect, but I’m slowly getting my head around Mac OS (WHY IS FOLDER NAVIGATION SO HARD???) .
I’m still using the Microsoft tools I use most of the time - Visual Studio Code, Word and PowerPoint all work perfectly. I’m using the Safari browser at the moment, but I’ll switch to Edge when they release a version that uses the M1 processor.
Anyhoo, I’ve been building code on the MacBook for my ESP32 and ESP8266 devices. As I reported a while back, there is a fault with the serial port auto-discover in the version of Python used by Platform IO (my embedded development environment of choice). I got round this by deleting some lines from the Pytool program that caused the error, you can find out more here. Then I hard-wired the name of the target device into my PlatformIO project.:
Mac OS uses Unix style names for its serial ports. If you want to find out the name of the port that your Wemos is plugged into you can use this command at the command prompt:
ls /dev/tty. usb*This displays a directory listing of all the usb devices that are presently connected. My Wemos was called /dev/tty.usbserial-140. Yours will almost certainly be different.
upload_port = /dev/tty.usbserial-140Once you know the port you can then add a line to the Platform.ini file to explicitly target this port when you deploy.
I’ve also discovered another issue; deploying a program to an ESP8266 seems to fail with a timeout problem. The best way to fix this seems to be by reducing the upload speed by adding this line to your ini file.
upload_speed = 115200It takes a bit longer to deploy, but it does get there.
The video of my session at DDD202 is now available. You can watch it above. You can find all the videos neatly arranged in playlists here.
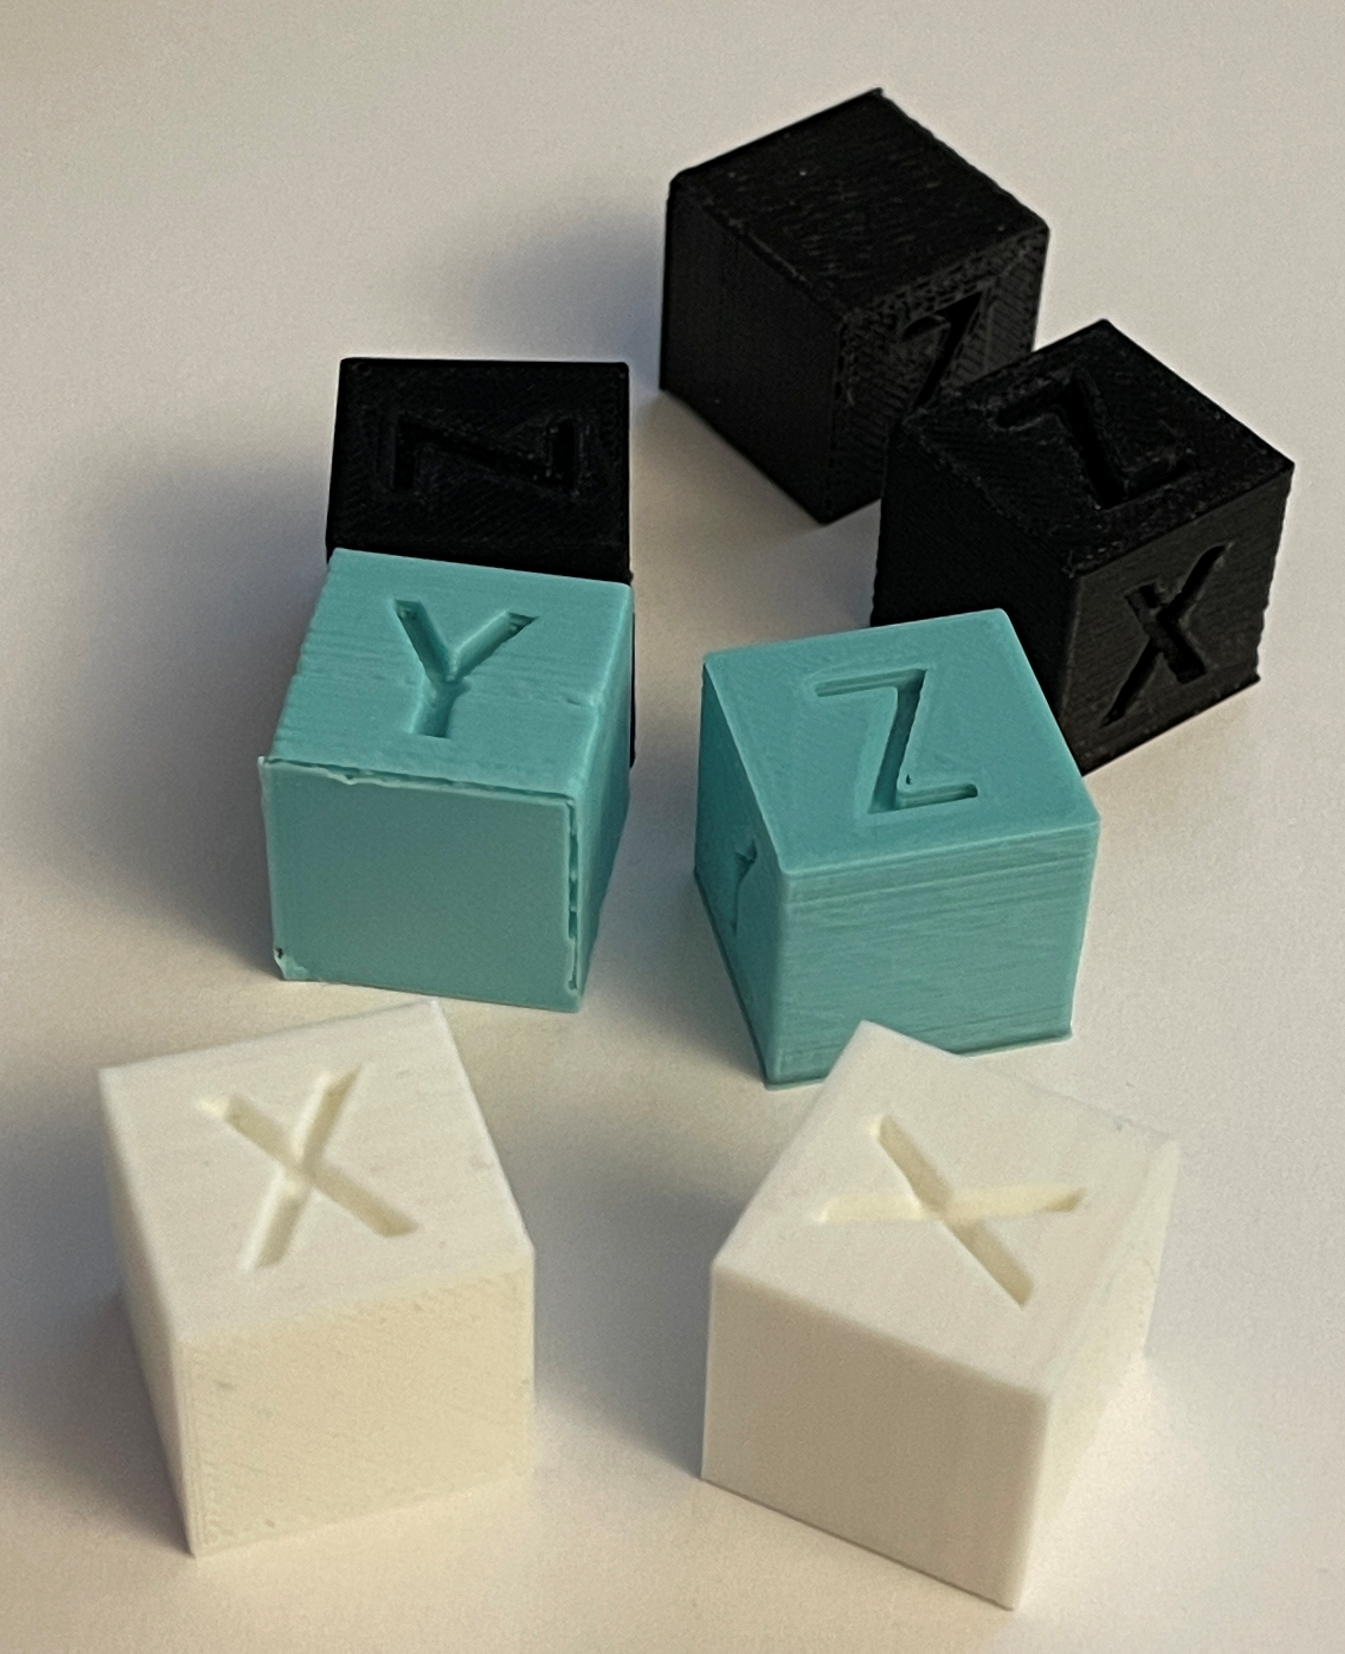
Having spent a happy day fiddling with 3D printers (among other things) I’m going to have to think of some kind of dice game that we can pay with all the calibration cubes that we seem to have printed….
Happy Christmas to all my readers. I hope the season brings you joy, peace and not too many repeats on TV.
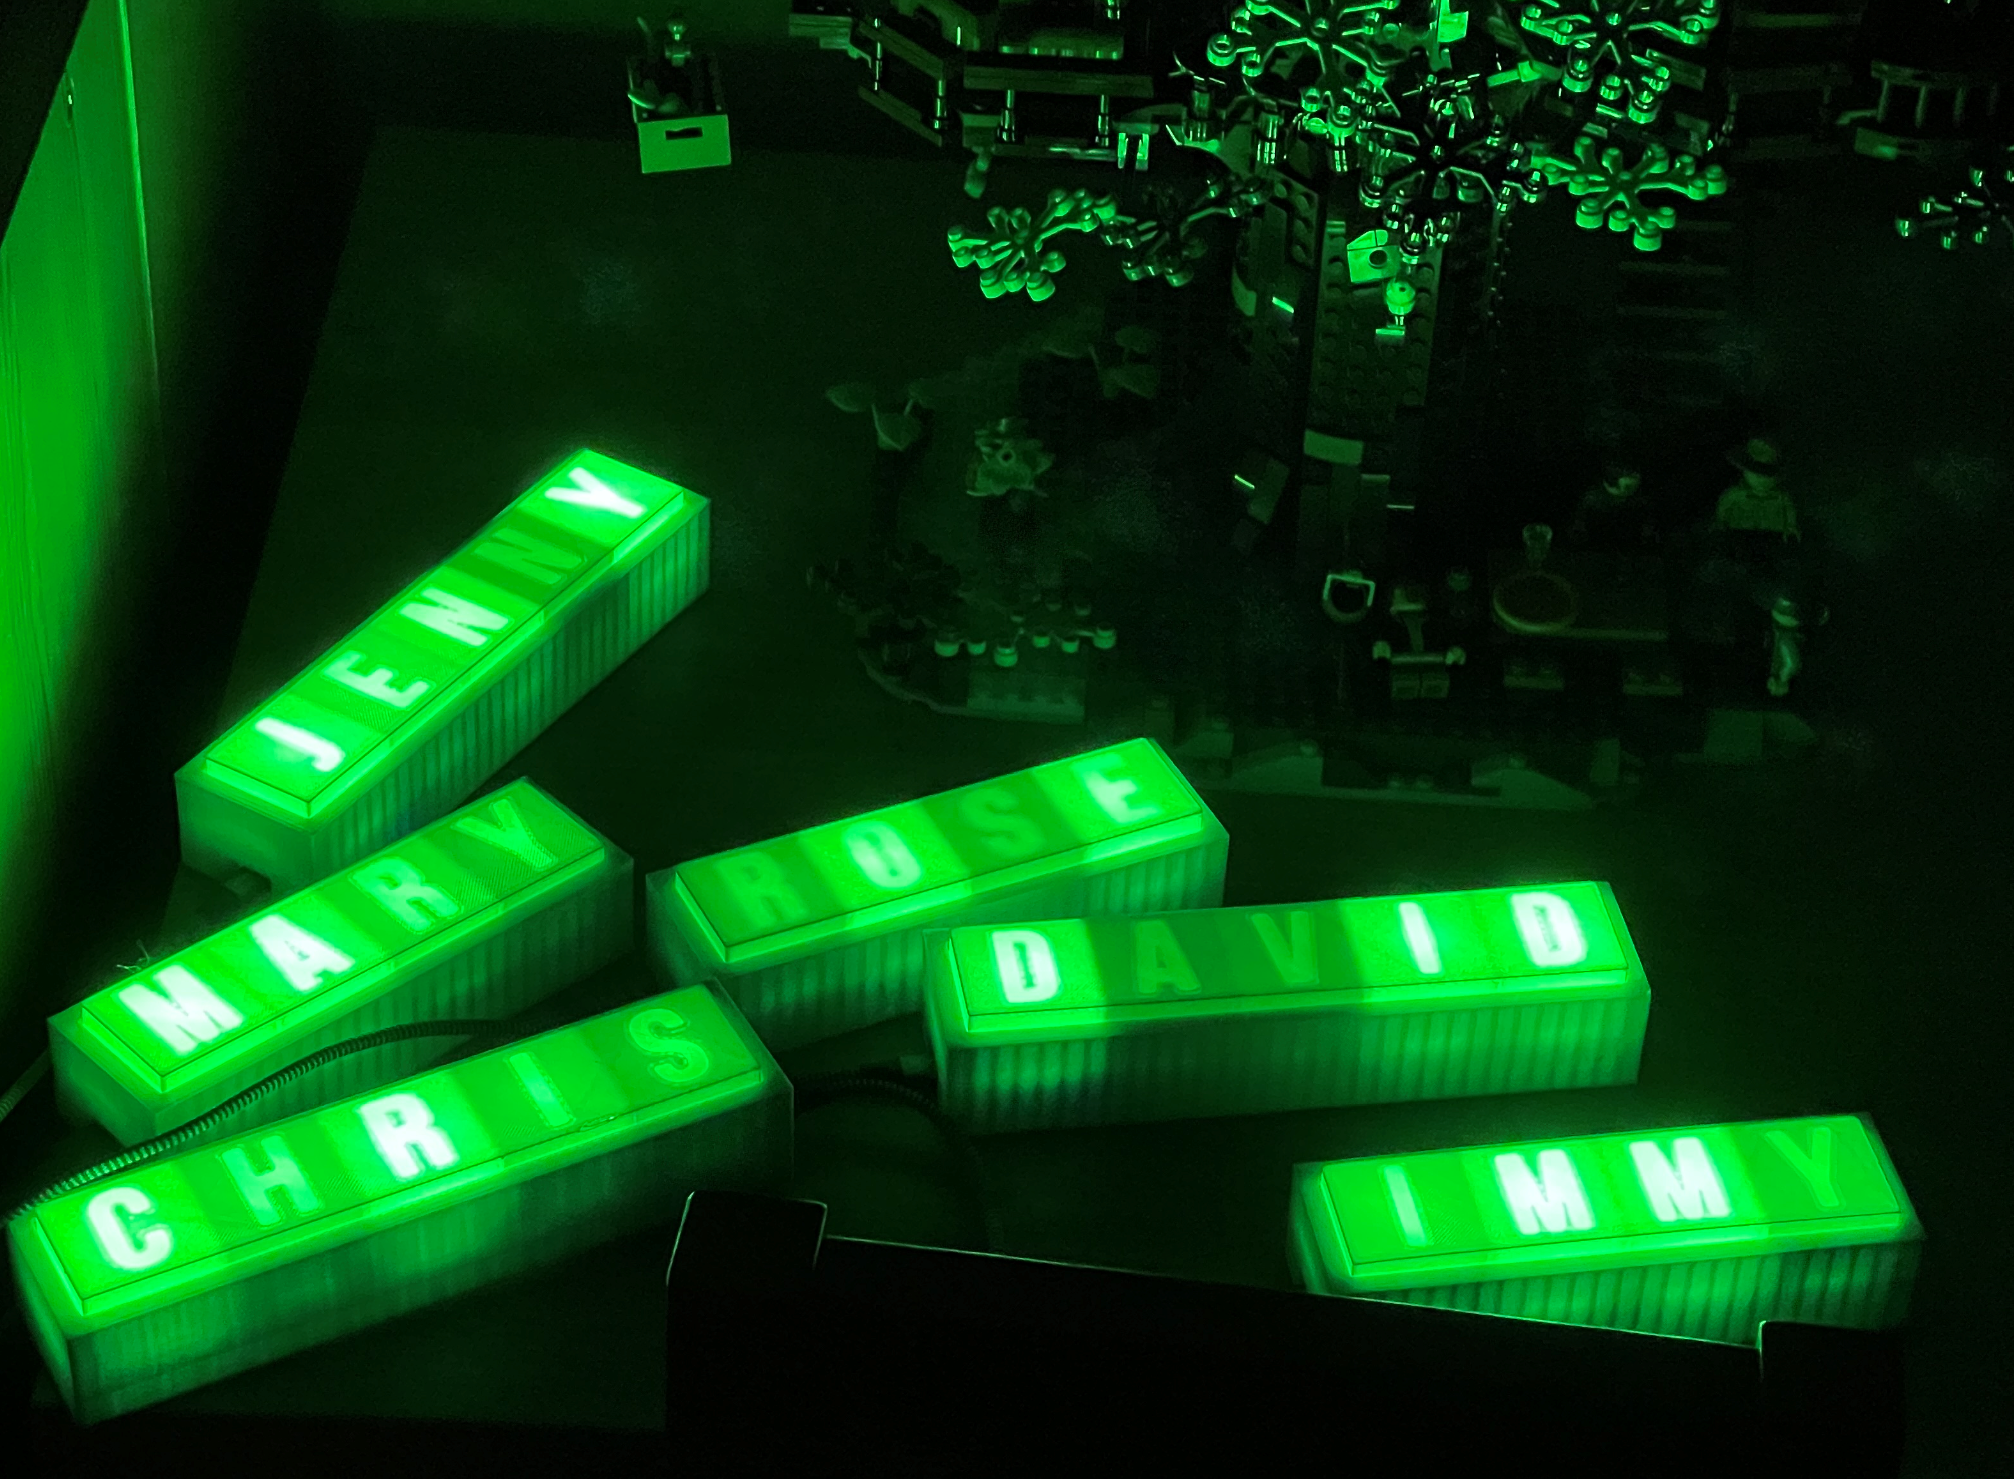
I’ve made some “names in lights” as Christmas presents. I hope people like them.
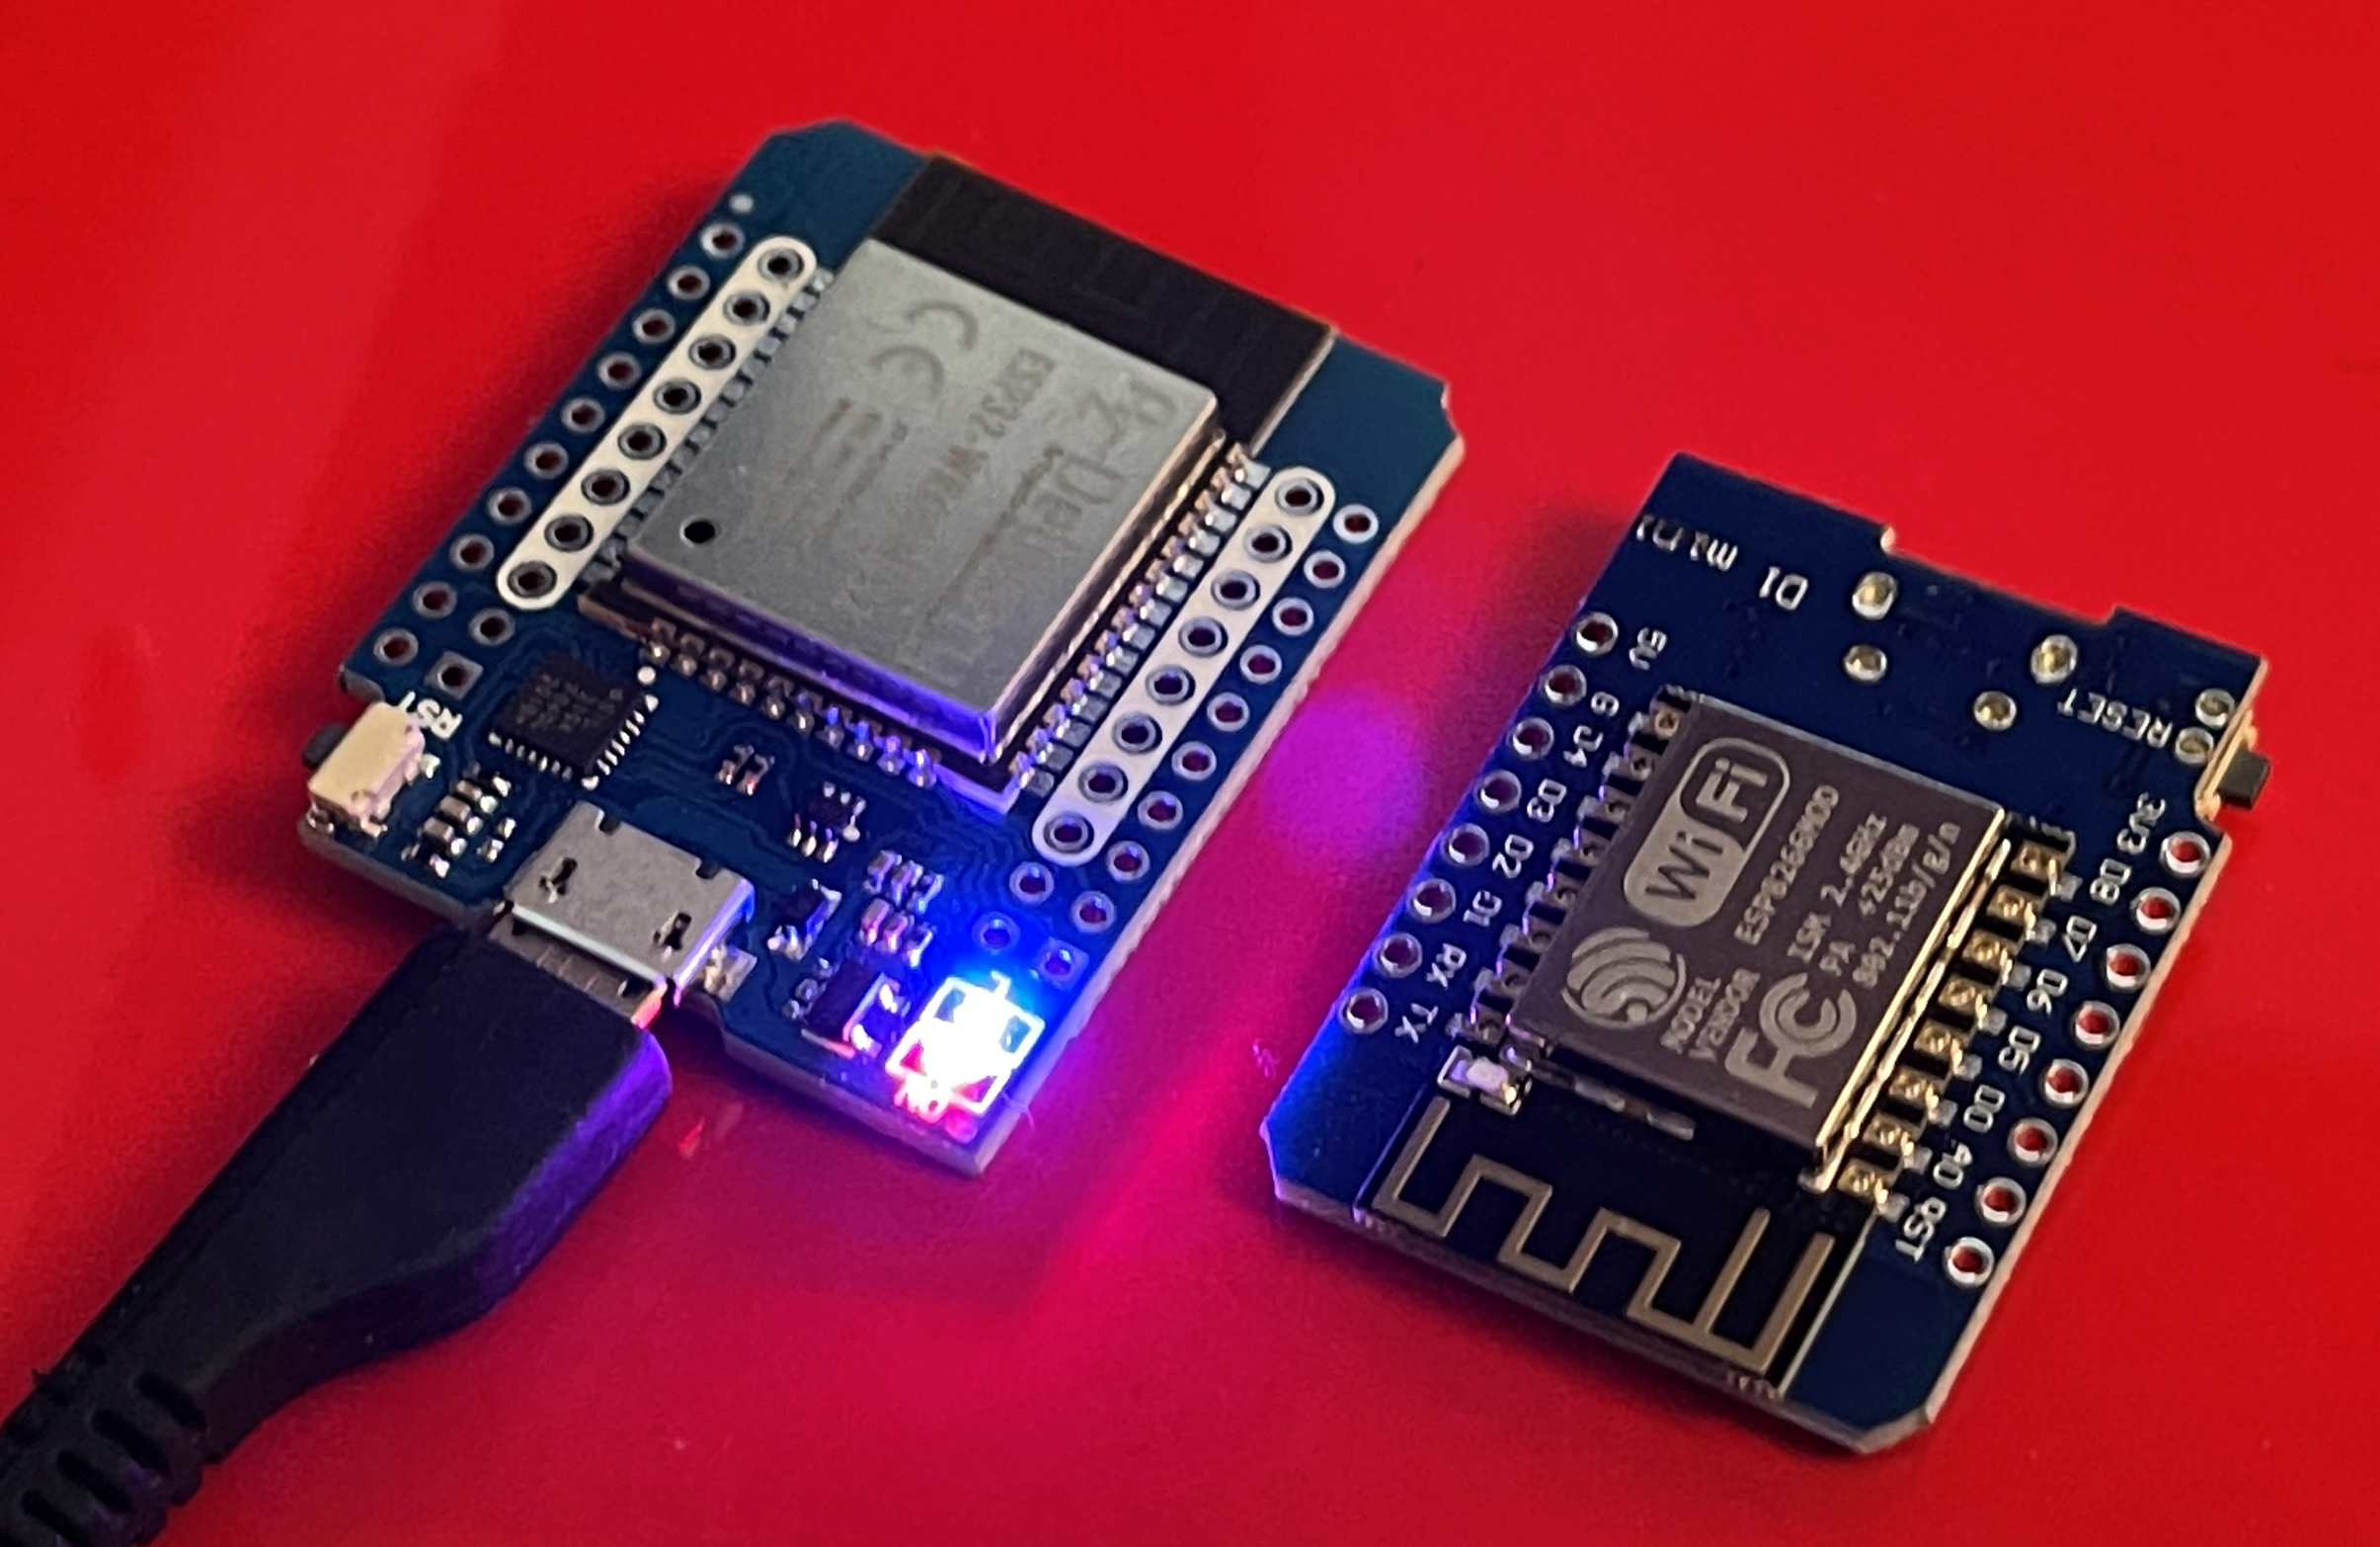
I really, and I mean really, like the Wemos D1 mini. Part of this is because I can get them for under two pounds each, but I do reckon that they make the best connected embedded platform you can get.
Unless you need Bluetooth, or want to talk using secure sockets. Or you fancy writing a MicroPython program longer than a few lines. Then you need an ESP32. Up until recently my weapon of choice for ESP32 applications was the DOIT platform. It’s cheap, it works and it has lots of pins. However, it does have one really annoying limitation. You have to press the program button, or the reset button, or some horrid combination of them each time you want to deploy a program to it.
The Wemos D1 Mini ESP32 doesn’t have this limitation. You can deploy programs and it just works. It has lots of pins but you don’t have to use all of them. It is very similar in size to the original D1 Mini (above on the right), and the pins have been arranged so that you can connect original shields and make them work. It’s a bit more expensive than the original, but well worth the money I reckon.
Like lots of other people I tuned in to watch the Strictly Come Dancing final on Saturday night. I was pleased that Bill Baily won. I saw him live a few years ago and he was awesome. I was also please to see the NeoPixel leds on the Strictly trophy. You can see them on the top of the trophy base in the picture above. I’ve got exactly the same strands in my Christmas lights at the moment…
A very long time ago I spent some time doing stage lighting. Great fun and only occasionally extremely dangerous. Like the time when a friend of mine extended a wire with a plug in extension and he got the plug and the socket the wrong way round. He had the mains coming out of the plug and going into the socket. It was perfectly safe. Until the plug came out…
What has this to do with WS8211 light strands I hear you asking? Well, the strands are fitted with a plug at one end and a socket on the other. Because I know about these things, I decided that the plug would be the connector on the light strand that would receive the power and data signals. My decision was nicely reinforced by the way that the leds had a nice big arrow pointing inwards on this connection. Armed with this knowledge I wired everything up to find that it didn’t work.
Actually, I was kind of expecting this to be the case. Some leds like this need more voltage swing than can be provided by the 3.3 volts that the Wemos puts out. So I used a level converter to bring this up to nearly 5 volts. And of course it still didn’t work. After a bit of testing and a lot of head scratching I did what I should have done right at the start. I tried the led strand with something that was bound to work; in this case an Arduino Uno that puts out 5 volt logic. Of course they didn’t work with that either. So, in a spirit of “what’s the worst that could happen?”, I tried sending signals and power into the socket on the other end of the wire.
Of course it worked. So, if you want to use a Wemos D1 Mini with these led strands just make sure that you ignore the arrows and wiring common sense and send your signals into socket end of the strand. The really good news is that you can probably connect the Wemos directly to the led strand. My leds work without my carefully assembled level converter.
The only other thing to remember is that the RGB order is different for these strands. Blue and white will look fine, but everything else will look wrong because the red and the green colours are swapped. I’ve added a configuration option to allow the user of a Connected Little Box to set the type of leds:
switch(pixelSettings.pixelConfig)
{
    case 1:
    strip = new Adafruit_NeoPixel(pixelSettings.noOfPixels, pixelSettings.pixelControlPinNo,
    NEO_GRB + NEO_KHZ800);
    break;
    case 2:
    strip = new Adafruit_NeoPixel(pixelSettings.noOfPixels, pixelSettings.pixelControlPinNo,
    NEO_KHZ400+NEO_RGB);
    break;
    default:
    strip=NULL;
}
Config 1 is “normal” NeoPixels and config 2 is the settings that work best for the strands.
Number one son has been showing me things that he’s made with his 3D printer. They are very good. Irritatingly so. I’ve been trying to replicate his success on Una my venerable 8 year old Ultimaker printer. I tried increasing the print temperature and the prints got better and better right up to the point when the filament feed got clogged with molten plastic.
Drat. And double drat. I’ve taken a two pronged approach to solving this problem:
I’ve completely replaced the bowden tube, PTFE isolator, heater block and nozzle on Una with the spares that I have lying around for when this happens.
I’ve ordered another 3D printer.
Best case I'll have two printers. Worst case I should have a printer that works as well as the one number on son owns.
I’ve always wanted to see my name in lights. Today I’ve realised that ambition. It’s all part of the Connected Little Boxes project. One kind of box has your name in it. I’ve just finished making the boxes and to show an appropriate level of confidence in my connections I’ve actually taken the Apple approach to manufacture and glued all the cases shut. I really hope I don’t regret the decision….
A while back I made a mistake asking Alexa to start the radio and ended up with Radio 2 Wales. Ever since then the device is convinced I want to listen to the station again…
A while back I had a go with wire wrapped connections in devices. Today I had another go. It turns out to be a very good way to make small devices. Wire wrap wire is very thin and good to work with. It is also easy to connect wire wrap wire to solder points. You can also connect more than one wire to a single pin on a device.
The wire wrap tools is quite easy to use. The only problem that I’ve noticed is that because I’ve only got one colour of wire wrap wire all the connections look identical.
OK. Pop quiz. What’s wrong with the following C++ code?
unsigned char * chPtr;
int * intPtr;

// point chPtr at a buffer somewhere

// get an integer out of the buffer
intPtr = (int *) chPtr;
Serial.println(*intPtr);
Perhaps a bit of context would help. I use commands like this to tell my Connected Little Boxes what to do:
{"process":"pixels","command":"setrandomcolour",
"pixelSpeed":10, "sensor":"button","trigger":"pressed"}
This command means “send the command setrandomcolour” to the pixels process when the user presses a button. Fade the colour over 10 “ticks”. This means that each time the user presses the button on the box the lights will change colour.
The box is smart enough to understand this tiny chunk of JSON but I don’t want to have to decode the command every time the button is pressed. So the program assembles a block of memory containing things like the “10” value for pixelspeed and this is read when the sensor event is triggered and used to control the command. Works very well. Except sometimes. Sometimes the code throws Exception(9) and the processor resets.
The error came from nowhere and I spent ages checking the code that I’d just written to find what I’d broken. After a while I took the trouble to look up what Exception(9) actually means, and that’s when I discovered the stupid thing I’d done.
The code above uses a pointer to an 8 bit location somewhere in memory and then fetches an integer from that place. it’s what gets the stored pixelspeed value for the pixels process to use. But the ESP8266 stores integers in a block of four memory locations as a 32 bit value and it insists that these are always aligned. In other words, you put the first value in the bytes at locations 0 to 3, the second at locations 4 to 7 and so on, using the convention that the memory is addressed starting at location number 0. If a program tries to load a value from an “odd” location the processor crashes.
This means that if store something in memory and then try to read it back as an integer I have a 1 in four chance of it working and a 3 in 4 chance of it failing. Up until now I’d been lucky, but today I wasn’t.
When you write an assembly language program you can use special directives to line the data up in the right locations. The same thing happens in C++ when you make a structure. The compiler will insert extra space to make things line up when they should. One way to fix it would be to make sure that I always line things up in my program but this would have been a bit of a pain, so I wrote the function below:
int getUnalignedInt(unsigned char * source)
{
    int result;
    memcpy((unsigned char *)&result,source,sizeof(int));
    return result;
}
You pass the function a pointer to anywhere in memory. It copies some integer bytes into a lined up integer value and then returns the value. It seems to work fine. It’s not the most efficient solution but I can live with that for now..
“A rolling stone gathers no moss” goes the saying. Unfortunately it turns out that a non-rolling white car gathers rather a lot of moss. Our little cube has acquired a bunch of green streaks that really needed to be dealt with.
So today I did. I’d read on the internet that toothbrush is very useful for getting little bits out of the various nooks and crannies in the bodywork. And so it turned out. The Cube is now a lot whiter than before.
Although I do get a funny taste in my mouth when I clean my teeth now…..
I put up our Christmas lights last week, what with it being close to Christmas. I’ve not seen the neighbours getting out chairs and drinks to watch me work, but they should do. I’m quite entertaining when I try to do this kind of DIY.
First thing I had to do was make a hole in the garage wall. In previous years I’ve just threaded the power cable for the lights through the edge of the garage door. However my shiny new garage door fits a bit more closely, so the lazy way is no longer an option.
I carefully planned where the hole should be and got out my special long drill bit. I’m very proud of it. It can go through one or more than walls at once. I started drilling and the wall seemed to go on for a very long time. So long in fact that the drill got stuck. So I was forced to leave the drill hanging off the wall with the wire still connected as I pondered what to do next. It looked as if I’d hired the invisible man to do some DIY for me.
Eventually after a bit of fun and games with a mole wrench I managed to wrest the drill out of the bricks. I discovered that I’d drilled into the side of the garage. In other words there was no inside to this hole, it just went on for the length of the building and out of the back.
The second hole was much more successful, and shortly after that I had my lights up and working. I told number one son that I’d drilled two holes that day, one in the wrong place and one in the right place. “Oh” he said. “Which one did you drill first?”
Rob Miles is technology author and educator who spent many years as a lecturer in Computer Science at the University of Hull. He is also a Microsoft Developer Technologies MVP. He is into technology, teaching and photography. He is the author of the World Famous C# Yellow Book and almost as handsome as he thinks he is.