Using OctoPrint without a bed sensor

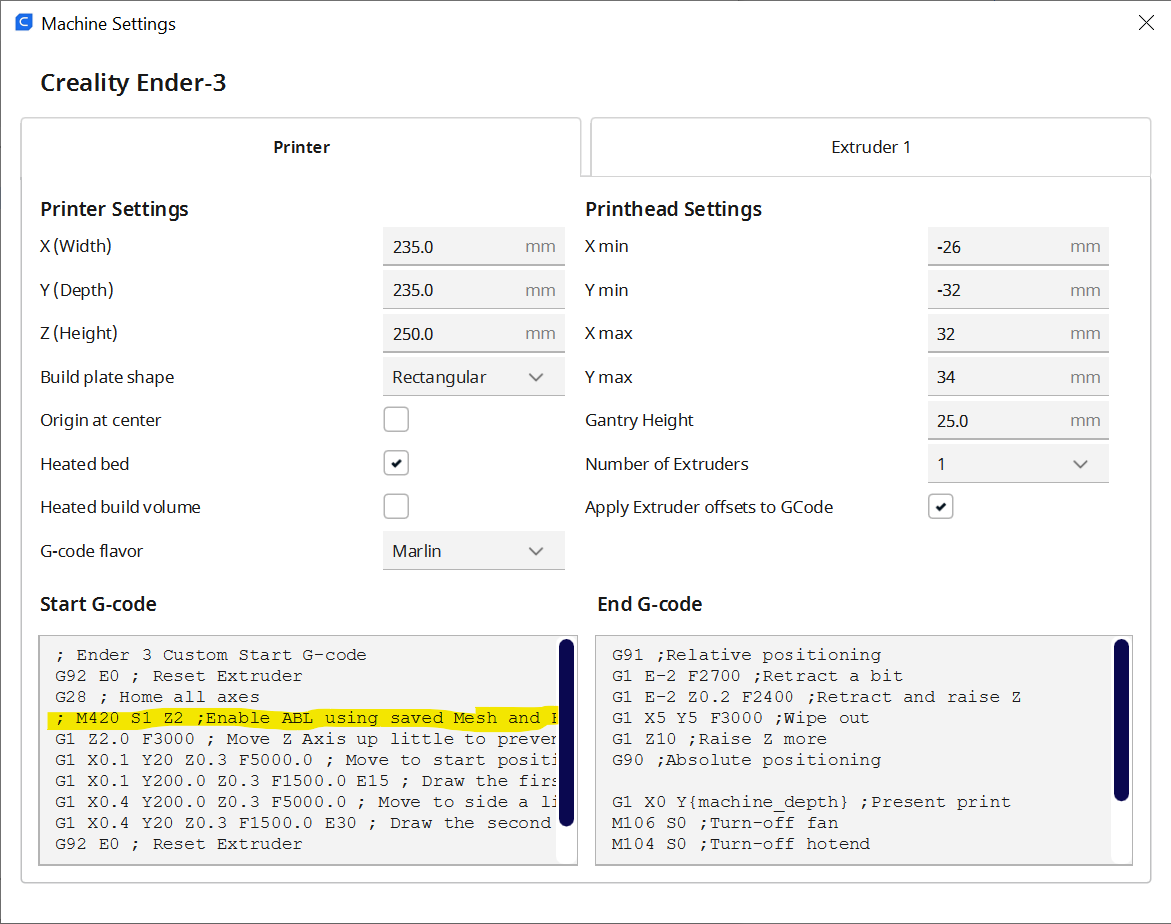
The line you want to comment out is highlighted

This is a rather selfish post, in that it is here so that I can find it in my blog if I need to do it again. Although if you’ve just tried to use OctoPrint and had the print fail because of a “Bed Levelling Not Enabled” error you might find it useful…

Anyhoo, a while back I disabled the bed level sensor on my printer, what with its habit of bashing the print head into the print bed every now and then. I decided that I could manage without automatic bed levelling and things have been going fine. I’ve been copying my print files onto an SD card and plugging it into the printer. But today I decided to reconnect my OctoPrint server. This is useful because it means I can print directly from my computer rather than hopping around with memory cards. But it didn’t work. OctoPrint kept shutting down the printing with an error.

I eventually tracked down the problem, and it wasn’t OctoPrint. It’s just that OctoPrint cares when the printer sends out an error message, whereas if you print from a memory card all printer errors are ignored.

The problem is with Cura, the program I use to convert my designs into code files that control the printer. Cura adds a header of instructions to the printer code file. One of these was asking the printer to turn on bed levelling. The printer complains it hasn’t got bed levelling, sends out an error message and OctoPrint stops the print. The solution is just to comment out the M420 statement that does this, as you can see above. To get to this menu you use Settings>Printer>Manage Printers>Machine Settings
Bye bye BLTouch

It seems we are not quite out of the woods yet…..

I was showing off my 3D printer last week and it promptly buried its head in the print bed and dragged it around. Wonderful.

I’ve had this problem for a while. The BLTouch sensor on my machine has got very unreliable. This is the little probe that tells the printer when the had is close to the bed. Or not.

Anyhoo, I’ve spent the afternoon removing it. I’ve been manually adjusting the print height for years and I don’t mind doing it again. I’ve loaded up the Jyers firmware which has a very nice automated levelling function which moves the head to the different corners so you can set it up by hand. This works very well. Now all I need to do is solve the bed adhesion problem I had while printing some more Tags of Fun. The good news is that the print quality is excellent. The bad news is that half way through the print process the thing I’m printing tends to want to go off for a walk…..

Printing Lithopanes

The 3D printed image

The 3D printed image

What it looks like

What it looks like

A lithopane is a 3D printed surface in which the thickness of the object reflects the brightness of the image that that point. I’ve done a bit of this kind of thing myself in the past with the Kinect sensor and so I thought I’d try some with the new printer. I used a web based service you can find here which takes an image and provides you with an STL file you can then slice and print. I had a go and I’m very impressed with the result. It’s quite something when a lumpy bit of plastic suddenly turns into a proper picture.

If you want to have a go (and if you have a 3D printer you should) make sure you check the options to select a Positive image. I forgot this vital step and ended up with a negative image after four hours of printing.

Printing Pocket Operator Cases with Edna

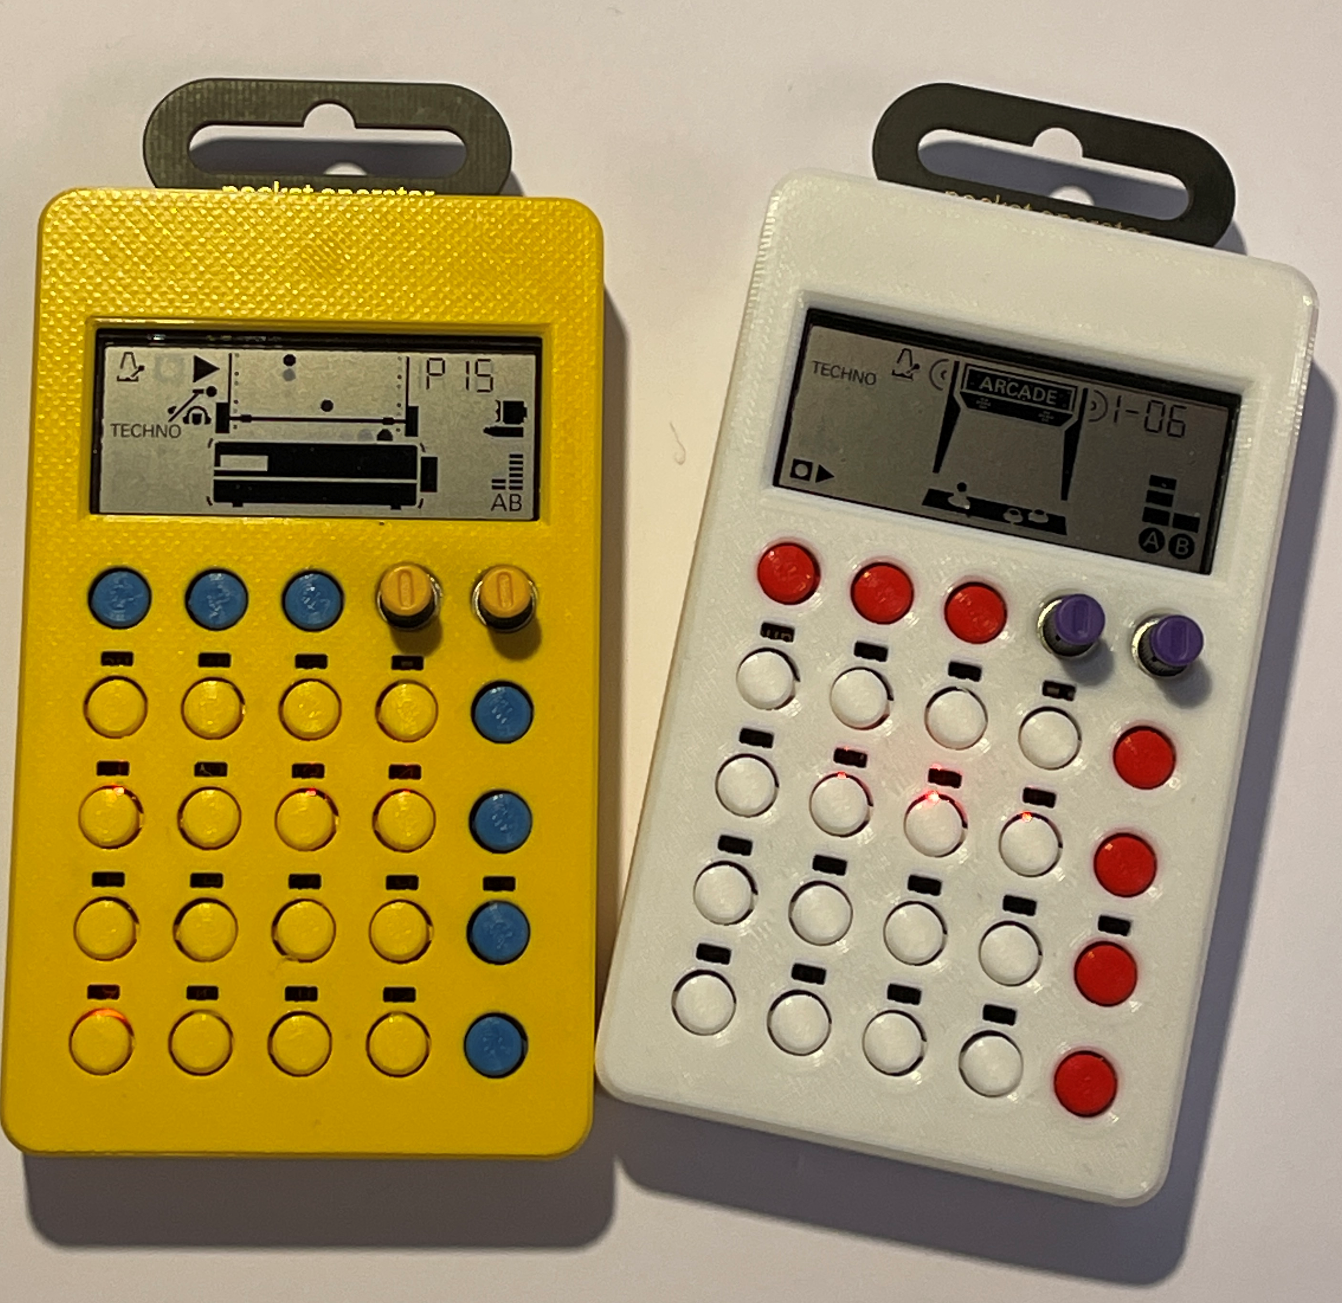
Pocket Operator cases.png

I’ve always had a soft spot for Teenage Engineering Pocket Operators. They are great fun to fiddle with. One of the reasons why I got another 3D printer was to print out cases for them. They are supplied as just a bare PCB with components soldered on and I wanted something with a bit more substance.

It turns out that Edna does a very good job of printing the cases and the buttons from this design. The printer has a textured glass print bed with makes for rather a nice printed finish.

Say hello to Edna

edna.png

I’ve had a 3D printer around the place since 2012. A couple of weeks ago I got my second one. The decision was driven by the results that I’d seen it was capable of, and the unhappy realisation that I would never be able to get my Ultimaker to print to the same quality.

Una star.png

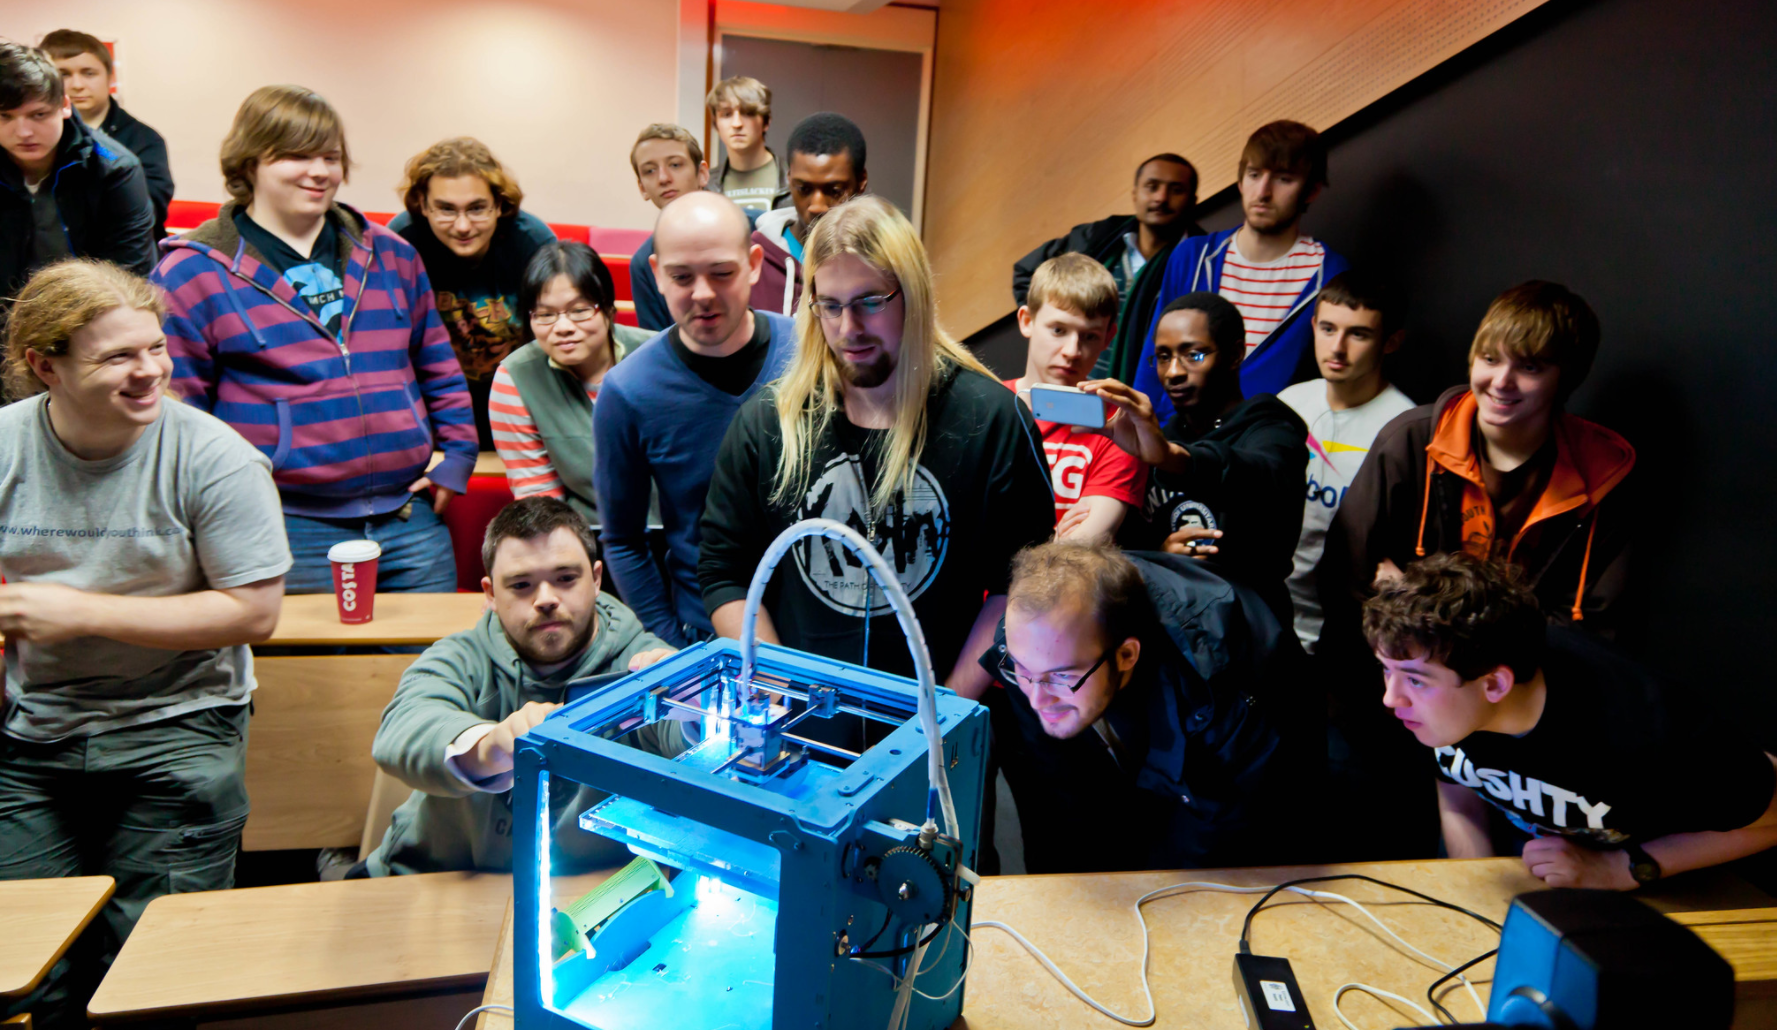
This is my favourite picture of Una my Ultimaker original. I took it in 2012 when I Una and I delivered a seminar about 3D printing. I think the image has a touch of “adoration of the magi” about it.

Anyhoo, time moves on and although Una still works fine (she’s printing something at the moment) I’ve not found a way of persuading her to print fine detail. This is almost certainly my fault. I’ve had several goes at rebuilding the print head but never managed to get the output as good as I now know is possible with one of these devices.

“Edna the Ender” is an Ender 3 Version 2 with the Bltouch auto levelling. She prints very quietly (although she does have noisy fans). She was quite easy to assemble and has produced some very nice prints “right out of the box”. I’m looking forward to finding out what else she can do.