Fixing slow Visual Studio Code on a Raspberry Pi 4

I never thought I’d be running Visual Studio Code on a Raspberry Pi. But now you can. The Raspberry Pi 4 is just about powerful enough to make it useable. Normally I’d be using remote Visual Studio Code from my PC, but for some environments - in this case using the Raspberry Pi PICO in-circuit debugger - you have to work on the Pi itself.

I tried this and was surprised just how horrible it was. Keystrokes were talking seconds to register. It turns out that there is a fix for this. You need to turn of hardware acceleration in Visual Studio Code. Open it up, use CTRL+SHIFT+P to open the command window and type: Preferences: Configure Runtime Arguments

This opens up a configuration file which contains a property called disable-hardware-acceleration which is normally commented out. Remove the comments so that the line “lights up” as below. Then quit Visual Studio and restart it. And you should find the user interface properly useable.

I’m connecting to the Pi on my PC via a VNC connection. It might be that working this way interferes with the way that graphics are rendered too, but it is easy to reverse if you find it makes things worse.

Return of the Air Quality Sensor

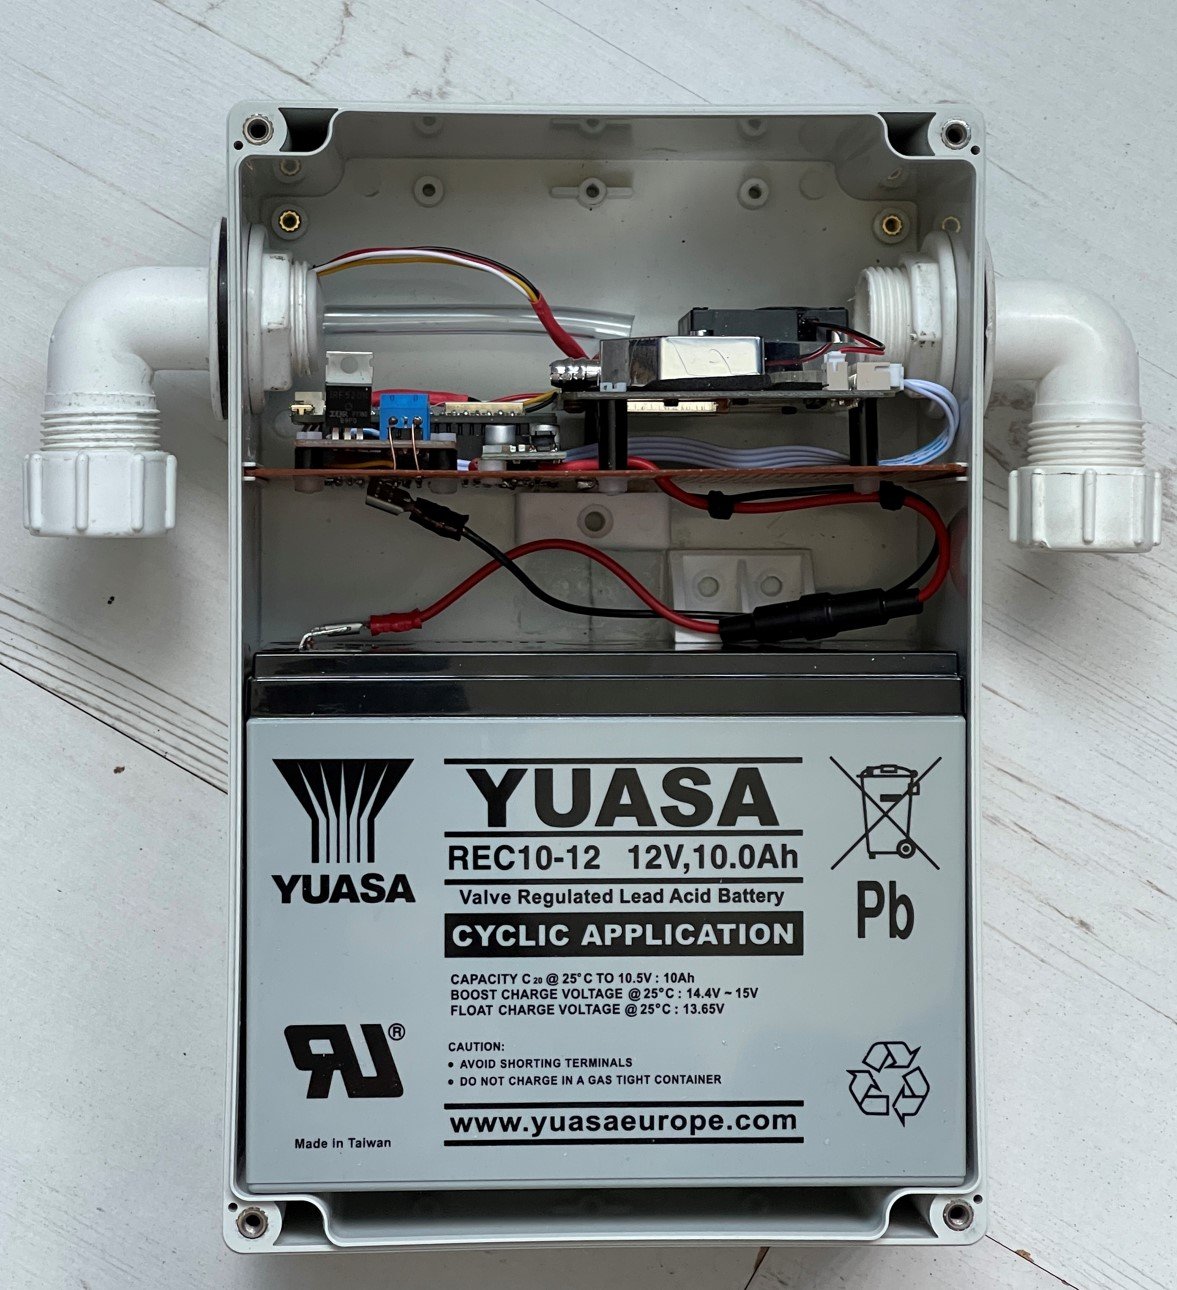
This week I got a call from John who has been building some more air quality sensors for deployment around Cottingham. These connect via WiFi and are designed to wake up, sample the data, and then go back to sleep for a while. Such are my data management skills that it took me a few minutes to find the original files and build the firmware. My software worked fine, but it looks like the BME280 sensors that we are trying to use are not working. I’ve seen this problem with these before. People are quite happy to label all kinds of other devices as BME280 compatible, or change the I2C addresses of them. Anyway, hopefully we’ll get some working ones soon and do a bit more air quality monitoring.

Swapping SD cards between Raspberry Pi devices

Today I had the magical experience of finding a Raspberry Pi 4 that I’d forgotten I had. It was bought for playing retro games but I never used it much. So it’s been moved into the Chocolate Synthbox where it works really well. Transferring the program code was very easy. I just removed the sd card from the existing device and popped it in my “found” one.

It just worked. The only problem was that ssh (which provides the secure terminal connection between my desktop PC and the synthbox) got upset because some of the properties of the network connection hardware were different after the swap. If you ever have this problem the solution is quite simple. Open up a command shell and navigate to the folder .ssh folder.

cd .ssh

Now use notepad (or your editor of choice) to open up the known hosts file:

notepad known_hosts

Now you have to delete the line of the hosts file that refers to the machine named in the sd card that you have just moved. Next time you try to connect to that machine the ssh command will make a new entry in the file for the new machine.

I was moving the card between one Raspberry Pi 4 and another. I’m not sure what would happen if you moved it to a different model of Pi.

More Tulips

More tulips today. Not a horrible joke this time, just a picture of some from Burnby Hall. I took along a camera and a flash gun to take the pictures this time. I like the effect of using flash on pictures even when there is plenty of natural light. In this shot the flowers seem to “pop” of the background quite nicely.

This the same picture, but it looks different. For this one I pointed the flash directly at the subject which produced a lot of unwanted shadows. The first shot had the flash pointed at the ceiling giving a “bounce” effect which I prefer for this kind of shot.

Tulips

So there’s this chap in Holland with lots and lots of hamsters. And then they had the great hamster plague of 1673 which left the poor bloke with lots and lots of dead hamsters. So he did the only thing he could. He made some jam out of them. He was hoping that this hamster form of meat paste would sell well, but nobody wanted it. So eventually he threw the lot out of his kitchen window. Six months later he’s looking at the flowerbed outside the window and wondering why there was suddenly a huge patch of daffodils growing there. He mentioned this to a gardening friend who thought for a while, and then replied (altogether now): “That’s strange. You normally get tulips from hamster jam”.

Why your neopixels might not light up

Yesterday I rediscovered something that I have now learned many, many times. I’m hoping that writing it down in the blog will make it stick this time. Worst case it will turn up in a search next time I try to find out why my neopixels are flickering. It’s all about supply and signal voltages. A rule to remember is:

The voltage on the data signal for a neopixel must be at least 60% of the power supply voltage.

If your power supply is 5 volts and your data signal is 5 volts you are laughing (or at least grinning happily because it works). If your power supply is 5 volts and your data signal is 3.3 volts (which is the signal voltage used by the Raspberry Pi PICO amongst other devices) then you might not be smiling because things get a bit marginal.

Sixty percent of 5 volts is 3 volts, so in theory it should work with 0.3 volts to spare. However, if your power supply is up half a volt (which can happen) your pixels won’t light properly. Worst case your power supply voltage might vary a bit depending on load and you get pixels which work sometimes but flicker or fail to light every now and then. And it turns out that some neopixels are more fussy about the “60 percent rule” than others. So just changing to a different type of pixel can break a previously working device.

I had this problem with the pixels attached to the chocolate synthbox. I was powering the 8x8 pixel grid you can see above from the 5 volt output from the PICO device. And it flickered. Much unhappiness ensued. Devices were swapped out and reconnected to no avail. Then I remembered the 60 percent rule. And an issue reported on the PICO Chord keyboard. So, I attached the power for the pixels to the 3.3 volt output from the PICO. This solves my “60 percent problem” at the risk of raising another one, which is that the 3.3 volt output from the PICO can’t deliver much current for the lights. The good news is that if I keep the brightness levels down (which I need to anyway to stop light bleeding between the dots) it works a treat.

If you have this problem with your pixels I don’t advise that you do this every time because of the power supply issue. A better way of solving the problem is to use a level converter to lift the 3.3 signal voltage to 5 volts.

Clip Iteration

One of the great things about 3d printing is the way that you can iterate your designs very quickly. The picture above shows my progress towards a little plastic clip that will hold the led panel onto the front of the case for the “Chocolate Synthbox” that I’m building. The first one (on the far left) was a bit too large. Over the next three I refined the hole size and the height of the “claw” part of the clip until it fits and can be tightened down. Great fun.

Printing Monday

A lot of today was about printing. I set out to print the top of the box I designed yesterday. I fired up Edna the Ender and she just got on with it. I’ve only just started using the printer after quite a long break. I figured the best thing was to not fiddle with anything, do an auto-bed level and then start printing. In olden days I’d have spent a while manually re-levelling the print bed and, after a lot of messing around, get myself back to the same place I was when I started. These days I’m older and wiser, so I just assume that nothing has changed and let the printer get on with it. It was one of my longer prints, at around 8 hours, but It seems to have worked well.

Print the box tomorrow.

A fun day designing the Chocolate SynthBox

I think I’m feeling better. I’m making things again.

I’ve decided that I need to complete the meal that started with the MIDI Cheesebox and Crackers MIDI Controller. So I’ve started work on a Chocolate Synthbox. This going to be a Raspberry Pi powered synthesizer that you can plug the other two devices into. It’ll have built in stereo speakers, a flashy matrix display and a couple of rotary encoders. I’m going to use a Raspberry Pi PICO to do all the low level interfacing and link it to a Pure Data patch running in the Pi that will make all the sounds.

I’ve had a lovely day today designing the case you can see above. The idea is to get it right first time, as the printing times for a box this big are a bit long.

With a bit of luck I should get it working in time to reveal it to the world at emf in June.

Concorde comes to Microsoft Flight Simulator

In his younger days my father-in-law worked on the Concorde based in Bristol giving tours around the plane. The aircraft now lives in a spiffy new museum but I’ve got very fond memories of visiting the plane when it was parked on the BAE site and having him show us around.

There is now a rather good simulation of Concorde for Microsoft Flight Simulator available. We got it running on the Xbox and it is great fun. Just about all of the controls work and there are some useful automatic controls for things like fuel weight distribution (a big thing on this plane) . It turned out to be a really good way to reminisce together (you can walk around the cabin as well as the cockpit) and we could even take the plane up for a flight, which was not something that they were allowed to do in Bristol.

Concorde was a classic piece of engineering the like of which we will never see again. It is nice to see it being kept alive like this.

Ultra-cheap Windows Laptops

The world is a crazy place. On one side the price of everything is going up. On another you can get a workable Windows laptop for less than 80 pounds. It runs Windows 10 quite handily. I bought one earlier this month. It was originally sold as a “Minecraft machine” and came with a copy of Minecraft and a years subscription to Microsoft Office 365. If you want to buy that flavour for the bargain price of 159 pounds you can get it from Smyths toyshop here. If you can do without Minecraft or Office you can pick it up for the amazing figure of 80 pounds from here.

There are not new machines, they are “reconditioned”. I bought one as a first computer for number one granddaughter and I must admit I was tempted to hang onto it because it is so darned nice. With 4G of memory it runs Windows 10 quite speedily on its quad core Celeron N3450. The biggest weakness is the hard drive. It uses a 64G SD card as the main storage so you won’t have space to load a lot of stuff with only 28G available for your files. However, there is micro-SD slot if you want more storage and a couple of USB slots for connectivity.

If you are after a “disposable” machine that you wouldn’t mind if you dropped in the bath or left on the bus this would be perfect. I even like the Minecraft green colour of the case (it is also available in Minecraft blue) which I think will endear it to the intended user. It arrived speedily with Windows 10S pre-installed. If you look carefully you can tell it has been used a bit, but everything works just fine. The screen is bright but lacks a bit of contrast. The battery life is not great, but workable.

The only snag that I can see is that the processor in the Minecraft laptop I received is the Intel N3450 which doesn’t appear on the list of Windows 11 compatible processors and Windows Upgrade says that it can’t be upgraded to Windows 11. This is where things get a tiny bit confusing, the page for the Minecraft Geobook 140 on the Smyths site states that a Windows 11 upgrade is possible. This is because there are two versions of the Geobook 140 in circulation. One uses the Intel N3450 and the other uses the Intel N4020 (which is Windows 11 compatible). For my purposes Windows 10 is fine, so this is fine with me.

The amazing news is that the N4020 version of the Geobook 140 is available for even less money here. You can get it for only 70 pounds. In fact I’ve just bought one to take to emf.