Linking a Raspberry Pi 4 and a PICO over a serial connection

I want the Pure Data patches in my Chocolate Synthbox to be able to display lights that flash in time with the music. The lights in question are a bunch of neopixels connected to a Raspberry Pi PICO which is handing all the inputs and outputs for the device. I’ve done this to keep the design simpler and to remove any chance of issues with the sound code on the Pi interfering with the pixel animations.

However, to make it work I have to connect the Pi and the PICO together. Both devices have plenty of serial ports, so the best way is just to use one of those.

On the Raspberry Pi 4 (note that this only works for the 4) there are four serial ports which are surfaced on the “hat” connector. You have to enable them and they surface as devices you can use.

You enable them by editing the /boot/config.txt file:

sudo nano /boot/config.txt

Then, if you want to enable serial port 2 (which I do) add the following line at the end of the file:

dtoverlay=uart2

Save the file and then restart the Pi. You can now ask it which pins it uses with the command

dtoverlay -h uart2

The important part of this information is the “uart 2 on GPIOS 0-3. This means that the pins will be assigned as follows:

Pin 27 GPIO0 UART2 TX
Pin 28 GPIO1 UART2 RX

The other two pins (GPIO2 and GPIO2) can be used for hardware handshaking, but I’ve not enabled that. The device will appear as /dev/ttyAMA1, I’m going to use it in Pure Data (but that’s a different blog post. For this one, let’s discover how to connect the port to a PICO. I’ve decided to use uart1 in the PICO. This can be used on pins GP8 (TX) and GP9 (RX). So the wiring I need is:

Raspberry PI         PICO
Pin 38 GND           Pin 13 GND
Pin 27 GP0 UART TX   Pin 12 GP9 UART1 RX
Pin 28 GP1 UART RX   Pin 11 GP8 UART1 TX

Note that the TX and RX are crossed over. The PIC is running Circuit Python, this is how to connect a program to this port:

serial_port = busio.UART(board.GP8, board.GP9, baudrate=19200,receiver_buffer_size=500)

Now if the Circuit Python program in the PICO sends data to this port it can be picked up in the PI.

Auto-Start a Pure Data Patch on Raspberry Pi Bootup

Today I needed to find a way to auto start a Pure Data patch when a Raspberry Pi boots up. This is so that the Chocolate Synthbox (patent pending) can play sounds without the owner having to do anything to get it going.

Above you can see how I did it. The /etc/xdg/lxsession/LXDE-pi/autostart file contains commadns that are obeyed once the desktop has loaded. I used this command to start the editor:

sudo nano /etc/xdg/lxsession/LXDE-pi/autostart

I added the line you can see at the bottom:

sudo pd /home/pi/Desktop/Synthbox/ChocSynthboxMain.pd

This works well for me because the file Synthbox on my desktop contains the file ChockSynthMain.pd If you want to use it you change this to the location of your Pure Data patch.

You can use this technique to start any other programs on power up.

Player 2 has entered the game....

I hate it when I can’t get things to work. The Lora board I was playing with yesterday has all the hallmarks of a great product. It is excellent value and has some lovely hardware features. But when I try to send a message to a Lora TTN gateway all the addresses end up garbled. Fortunately Brian has also bought the same board and it doesn’t work for him either, so I feel a bit less alone now…

Rob at emfcamp

I’m really looking forward to emfcamp this year. I went to the last one four years ago and it was excellent. Last time I attended lots of splendid sessions and just enjoyed the atmosphere. This time I’m presenting as well. I’m going to be showing off my Chocolate Synthbox synthesizer and describing how you could build one of your own. It’s going to be great fun. Trust me.

There are lots of other great sessions too. You can find the complete list here.

PICO Squashing

I like making things slim and low profile. Yesterday I discovered that I’d overdone this, when it turned out that I couldn’t fit the lid onto a box I’d just spent five hours printing. There were two ways to fix this. One way would be to spend a while finding the right-angled header pins, solder them into a new PICO and then spend another while transferring all the wires from one device to another. The other way would be to just bend all the pins flat on the existing device. Guess which I did? 'm not proud of this solution. But I'm very proud that it works.

A day of wrong sizes

Did you know that there are two sizes of 8x8 neopixel panels? I do now, having bought a new one and discovered that it is too small to fit over the pixels in the box I’ve just printed. Wah.

And then I discovered that the box I’d just managed to print was too small to take the PICO and the connections. The lid wouldn’t fit properly. As you can see, I have managed to fix this problem though. I’ll tell you how I did it tomorrow.

Ticket Hell

There should be a special place in hell for people who design booking sites that don’t work properly on mobile devices. I’m talking about you, Hull City Theatre folks. Hull City and Hull New Theatre are both lovely venues. But getting tickets to go to performances is always a fraught business. For a start the booking page is a stinker to use on a phone or tablet. Then it insists that you log in before you can buy anything. And when you get to the final page you discover that you’ve been charged an extra booking fee for using this “service”.

Ugh.

Moving a Raspberry Pi window around

I love working with PureData on the Raspberry Pi. But there are one or two issues. You can see a partiularly irritation one above. When you create a new window in PureData the window is positioned so that the top of the window us underneath the task bar. This means that you can’t click on the top of the window to move it around the screen. I’ve been racking my brains for ages to find a way to get the window into a more useable position. It turns out that the solution is really simple. If you hold down the ALT key and then click anywhere in a window you can then drag that window around the screen.

Wonderful when you know it….

Fixing slow Visual Studio Code on a Raspberry Pi 4

I never thought I’d be running Visual Studio Code on a Raspberry Pi. But now you can. The Raspberry Pi 4 is just about powerful enough to make it useable. Normally I’d be using remote Visual Studio Code from my PC, but for some environments - in this case using the Raspberry Pi PICO in-circuit debugger - you have to work on the Pi itself.

I tried this and was surprised just how horrible it was. Keystrokes were talking seconds to register. It turns out that there is a fix for this. You need to turn of hardware acceleration in Visual Studio Code. Open it up, use CTRL+SHIFT+P to open the command window and type: Preferences: Configure Runtime Arguments

This opens up a configuration file which contains a property called disable-hardware-acceleration which is normally commented out. Remove the comments so that the line “lights up” as below. Then quit Visual Studio and restart it. And you should find the user interface properly useable.

I’m connecting to the Pi on my PC via a VNC connection. It might be that working this way interferes with the way that graphics are rendered too, but it is easy to reverse if you find it makes things worse.

Return of the Air Quality Sensor

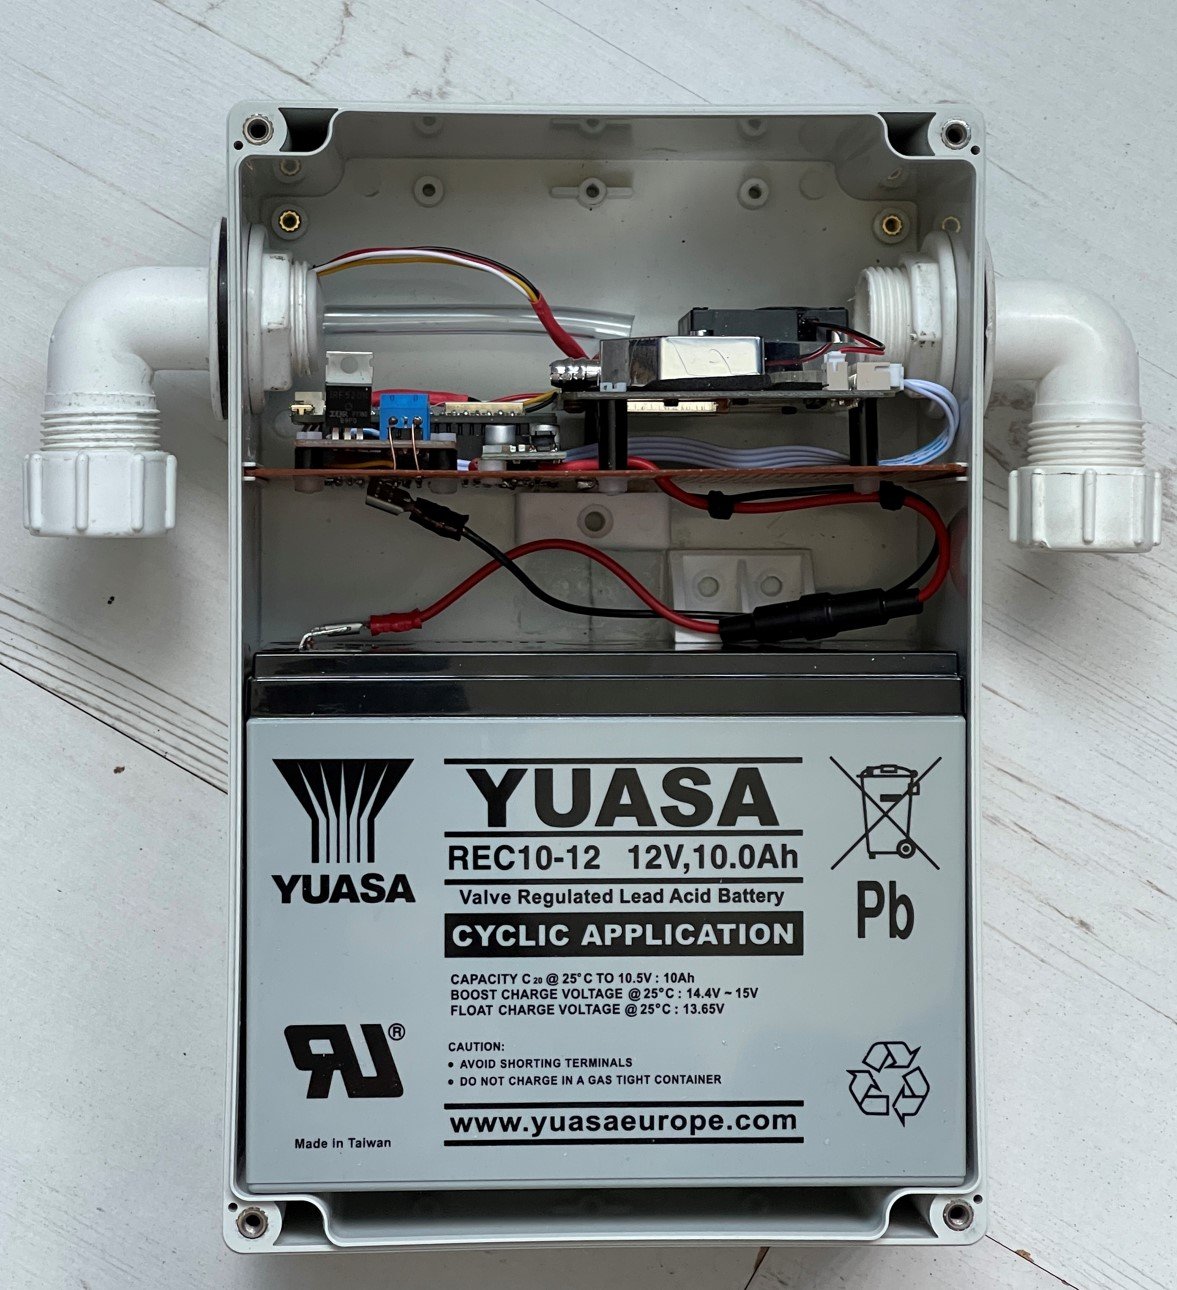
This week I got a call from John who has been building some more air quality sensors for deployment around Cottingham. These connect via WiFi and are designed to wake up, sample the data, and then go back to sleep for a while. Such are my data management skills that it took me a few minutes to find the original files and build the firmware. My software worked fine, but it looks like the BME280 sensors that we are trying to use are not working. I’ve seen this problem with these before. People are quite happy to label all kinds of other devices as BME280 compatible, or change the I2C addresses of them. Anyway, hopefully we’ll get some working ones soon and do a bit more air quality monitoring.