Cable Release

This is called a cable release. You use it to trigger a camera. The right hand end screws into the shutter button and you press the plunger on the left hand end to fire the shutter without shaking the camera.

I’ve had to buy this one because my cable release has disappeared. I know that as soon as it arrives I will instantly find the original. I think it is one of the laws of the universe that this is how it works.

New Year - New Me

Well, perhaps not a completely new me. But I have made a new resolution not to worry about making a blog post every day. Although I suspect that I’ll go back on this and end up writing a month’s worth of posts in one day. I’ve done it before…

Anyhoo, I hope that you all (or both) had a great New Year’s Eve and that any resolutions you make will stick better than mine. I am trying one other thing. I’ve switched my daily diary from a Word document to Notion. This means I can tag posts with topics, create tasks and projects and also make data resources for gadgets and cameras. I’ve been trying it for a while and it’s working OK so far. The one thing I’m missing is some way of viewing the whole diary in one page. At the moment I can only view one day at a time. But they have an API so I can probably make one for myself if there isn’t already a plug-in for it.

Early Hornsea Pictures

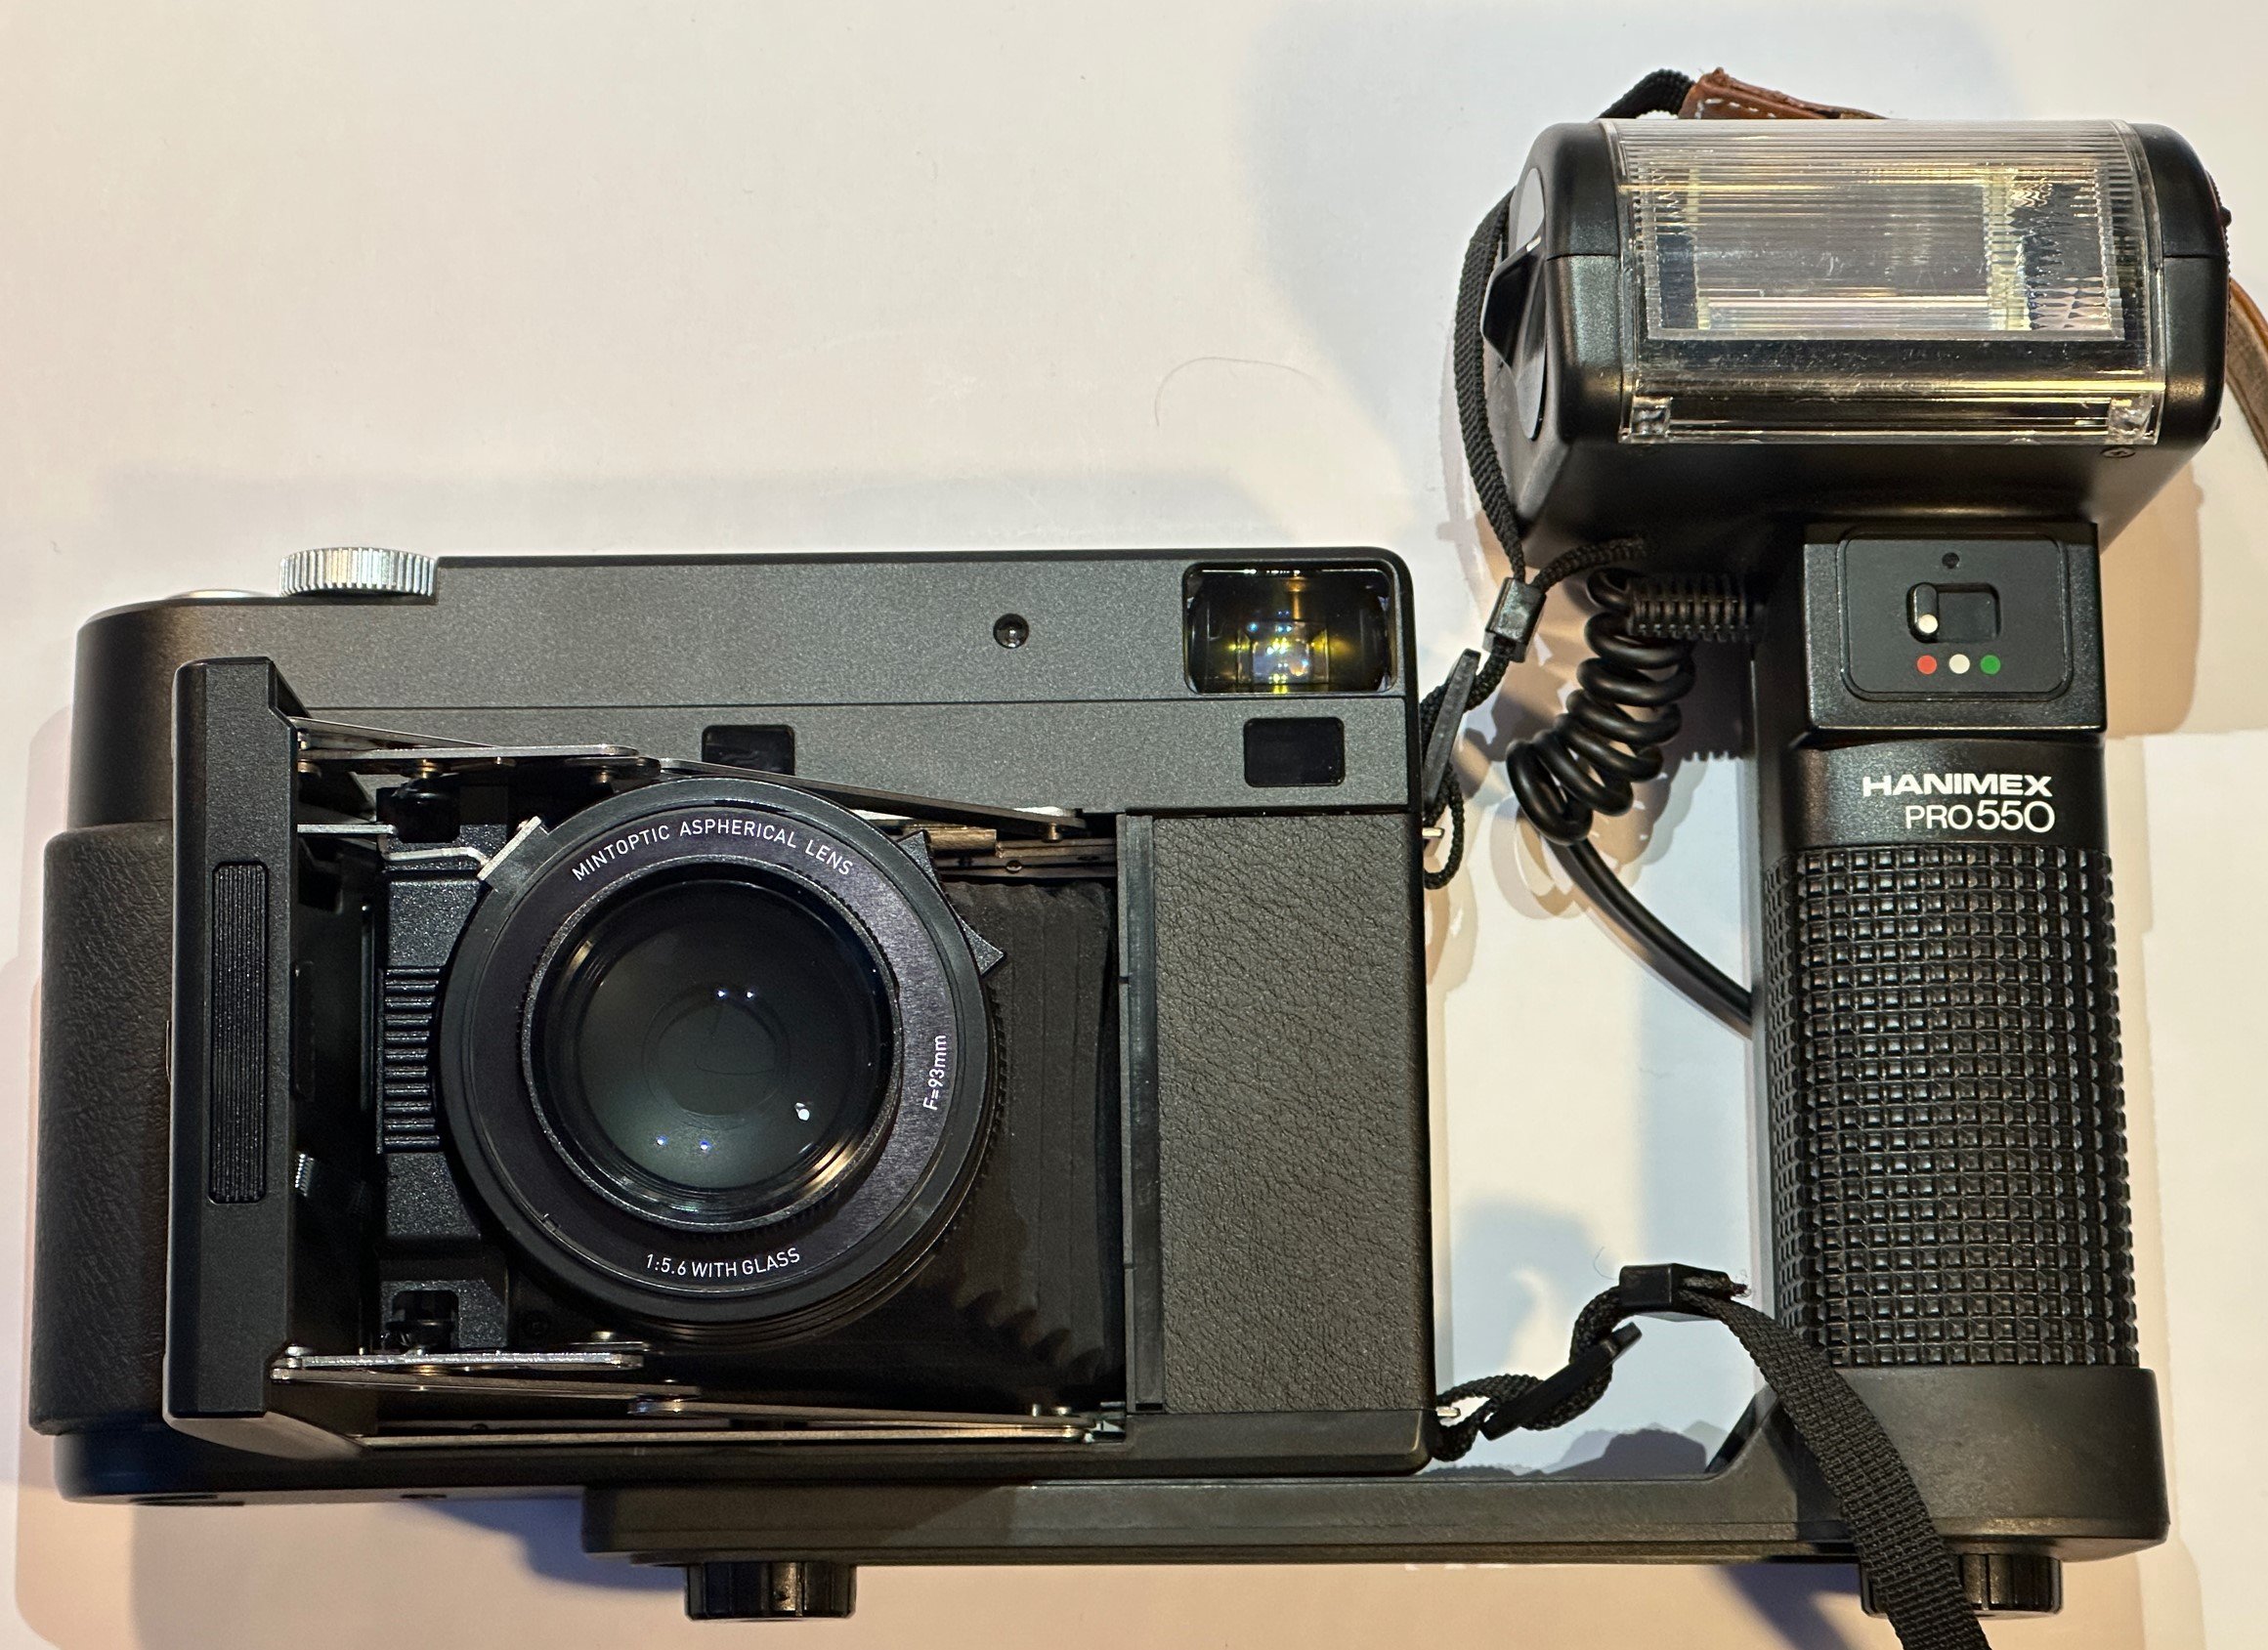
We usually go to Hornsea on New Year’s day and have a bacon butty at the Floral Hall. But this year we are a day early. Still had the butty though. And it was awesome. I’d taken along the Mint RF70, a camera I’m trying to tame. It’s going fairly well, as you can see above. One of the issues with the camera is that if you want to take pictures in daylight you have to put a filter on the front to block out some of the light. This works well enough, but I managed to get my sums wrong when working out the filter compensation and the pictures were a bit under exposed.

When I was much younger and developing my own prints I would watch them develop in the darkroom. Sometimes a perfectly exposed image would appear and then further develop into a totally black print. This meant I had over-exposed it with the enlarger. My parents would hear me shouting “Stop developing” at the top of my voice to try and slow down the process. It never worked. Sometimes you could pull the picture out of the developer tray and put it into the fixer early, but this was a game of skill I never really mastered.

I was reminded of all this when I got the above pictures out of the camera and watched them develop. At one point the foreground was perfectly exposed, then it just got darker and darker.

I don’t think I can really blame the camera for this. The film only has a limited range of light to dark. If the foreground had been brighter the sky would have gone completely white, and we were lucky in having a really nice sky. Phone photographers just take the picture and the camera sorts it out. This leads to good, if perhaps a bit unreal looking, results. Film photographers use a “graduated tint” filter which has a dark bit at the top and a light bit at the bottom. I’m going to have to get one of those for the next try. That, and practice with my sums.

Playing Yakuza Zero

Imagine if you took all the human effort involved in making a large bridge, or building a tower block and put it into making a video game. It feels like that is what Sega have done with Yakuza Zero. The game is enormous. There’s the main story of course, a tale of corruption, revenge and an awful lot of fist fights. But there are also side quests, racing games and all kinds of daftness just shoved in with all the rest. I’ve been playing it for a while and I just keep finding more and more stuff. It runs a treat on the Steam deck and being able to pick it up for a while, play it and then put it down again is really compelling. You find yourself indulging in the occasional street brawl in the commercial breaks between TV programs, or all the way through “Call the Midwife”. Strongly recommended, but definitely for grown-ups only.

Apollo Remastered

One of the Christmas presents that I bought myself (you can’t be too careful) was the Apollo Remastered book. The author took all the high quality images taken during the Apollo moon missions and scanned them. Then he made a beautiful book of them which tells the story of the great adventure. It is a huge book. It’s a coffee table book that you could put legs on and actually use as a coffee table. But you won’t do that because the pictures are so stunning. The printing and presentation does them justice too. I’d strongly advise you to get a copy. I got vivid memories of the actual missions being covered at the time, but if you’ve never seen just what we managed to achieve fifty years ago you’ll find it even more impressive.

Lithium AA Batteries

I took quite a few pictures with the Mint RF70 camera over Christmas. Most of them came out, which I was very pleased about. However, I’ve noticed another “foible” the camera has. It eats batteries. If you leave it switched off in a camera bag for a couple of weeks, when you go to use it there is a good chance its batteries will be flat. This is a bit of a pain, and rather expensive.

I wondered about using rechargeable batteries and then I ran up against another “foible”. The RF70 is very fussy about the batteries you feed it. I tried some conventional rechargeable cells and the camera didn’t even switch on. I think this is down to the design decision to only use two batteries to power it. Most cameras of this type use four which can provide twice as much power. Sometimes when you turn on the flash the batteries give up before the flash has charged, resulting in no flash and a wasted picture. And the picture ejection process sometimes sounds like the camera is about to give up the ghost. You have to make sure that the batteries you get are up to the task.

I think I’ve found a solution though. There are now people making rechargeable AA batteries based on Lithium cells. These provide a proper 1.5 volt output and they can produce up to three amps of power. They need a special charger but I figured that rechargeable batteries that can generate 1.5 volts were a good idea for other projects so I got some. They work very well. The flash fires every time and the picture ejection process sounds almost sprightly. I’m not sure how long they will last in the camera but I’ve had a set in there for a week and all is well so far. Worth a look if you want long-lasting, high power AA cells you can recharge.

Double Aibo Fun

I mentioned a while back that one of the robot dogs has a broken battery and I was getting a new one. It arrived today. Above is the battery we got. We just had to drop a couple of flat topped cells into it. They can be found here. We were able to have both dogs wandering around which was rather nice.

I took the picture with the Mint RF70 instant camera using the built-in flash. I’m quite happy with this one.

Using a Hannimex pro550 Flash with a Mint RF70

Something of a minority interest here folks. But, as I’ve said before, My Blog. Anyhoo, I finally got around to making an adapter to plug the big flash gun on the right into the funky camera on the left. I’d been a bit nervous about doing this because when you stick a plug into something you instantly have a new way of breaking it. I was worried that waggling the plug might damage the camera socket. Fortunately Switch Electronics (based in Hull) had exactly what I needed for the princely sum of 66 pence. It’s a right angle plug that fits nice and flush on the camera and doesn’t look like it will do any damage.

Note that if you do decide to use a plug like this, make sure that you fit the round rubber ring (you and see it on the left hand side of the image above) over the wire before you solder the wire onto the plug. The ring holds the case on. If, like me, you forget this important detail any people in the room with you will learn some “interesting new words” when you realise that you now have to take off the plug you have just soldered on so that the ring can be fitted. Fortunately I was able to get the ring around the plug on the other end of the cable, but you might not be so lucky.

I got the flash going and figured out how to use it. It has automatic and manual modes. When “white” is selected you get full power. Set the dial on the side to the speed of your film (remember film?) and then you can measure the required aperture against the distance your subject is away from the flash. Set it to green and you can fix the aperture (remember aperture?) and the flash will measure the light reflected from your subject and make the exposure right. Red does the same job, but at higher power so you can use a smaller aperture.

I took some pictures that came out really well. They are of people, so they won’t be appearing in the blog (company policy) but take it from me that the combination works a treat. Especially if you point the flash at the ceiling so that the light is spread out.

One final tip. Don’t look directly at the flash when testing it. This can leave you with coloured blobs in your vision for the next hour or so…..

CMD inside PowerShell

This post is for all the old-timers out there who have fond memories of the MS-DOS command prompt and have bother remembering all the new-fangled (but awfully powerful) PowerShell commands in Windows. You can get back all your command prompt goodness by with the command cmd, which starts a command processor with all the old style commands. As you can see above.

I’ve just had to use this when while deploying a web application to a Linux-powered device. I had a bunch of image files that had the extension “.jpg” which were referred to in the code as “.JPG”. The Windows filestore doesn’t mind this. But Linux does. So all my image links were broken. What I wanted to do was rename all the extensions. You can probably do this in PowerShell. But I can definitely do it in MS-DOS:

rename *.jpg *.JPG

So it was in with the old, out with the rename and the site now works. And I, not for the first time, must try to focus on greater consistency in my coding….