What can you get for £3.60? Maybe a half a pint of craft beer? Perhaps a Happy Meal? Or a magazine? Or an embedded computer with enough power to drive a video display directly?
I’ve been going on about cheap computers ever since I discovered AliExpress.com where you can buy tech straight from China at silly prices. I’ve been getting ESP32 and ESP8266 devices shipped over for a few quid and even with the recent changes to tax (we actually have to pay VAT now) they are still a very good deal. But they have to come all the way from China which takes time and you’re never quite sure what you are going to get. And if you want to use them as the basis of a product it gets tricky as ordering large numbers of devices turns out to be much harder than just buying one or two.
The new chip from Raspberry Pi is going to change a lot of this. It’s called the RP4020 and takes the Raspberry Pi expertise in hardware design into a new area. This is not a personal computer. You can’t process words on it. But you can put it inside devices and get it to control them. It runs C++ or Python code which you can create on a Raspberry PI, Windows PC, Apple Mac or Linux computer.
You can get the new chip in a variety of platform configurations. I think the best configuration available at the moment is the one sold by Raspberry Pi. It’s called the “Pico”. You can buy it for 3.60. I ordered a couple as soon as I heard about it and they arrived yesterday.
It just works and the documentation support is fantastic. You can get complete details here. These include datasheets for the chip, pinouts and specifications for the Pico configuration and full details of Python and C++ development. It took me no time at all to get the device working and my code running on it.
A while back I made a Two Button Game written in Python and using a Raspberry Pi. I wondered how easy it would be to convert it to use a Raspberry Pi Pico device. So at 1:00 pm I started and by 2:00 it was all working on the device. This is not because I’m clever. It’s because of the effort they have put into making the process smooth. These are the things I learned doing the conversion.
Creating and deploying Python programs is very quick to do. I used the Thonny program which lets you edit and deploy your code. The latest version even helps you get MicroPython onto your Pico.
You can power the device from a wide range of sources. I should be able to halve the number of batteries I have to use in my little game, and they should last a lot longer.
You have to search around for some of the code you’ll need, but the application notes are a great start. I got the code to control the NeoPixels from there.
There are some really interesting features on the new chip. It has special hardware to automatically generate sequences of pulses without the involvement of your code. It has two processors which can run at full speed together. It has a real time clock. You can use a second Pico device to read the debug signals from a first and provide hardware level debugging. it will act as a USB host, so you can hang a keyboard or a mouse off it.
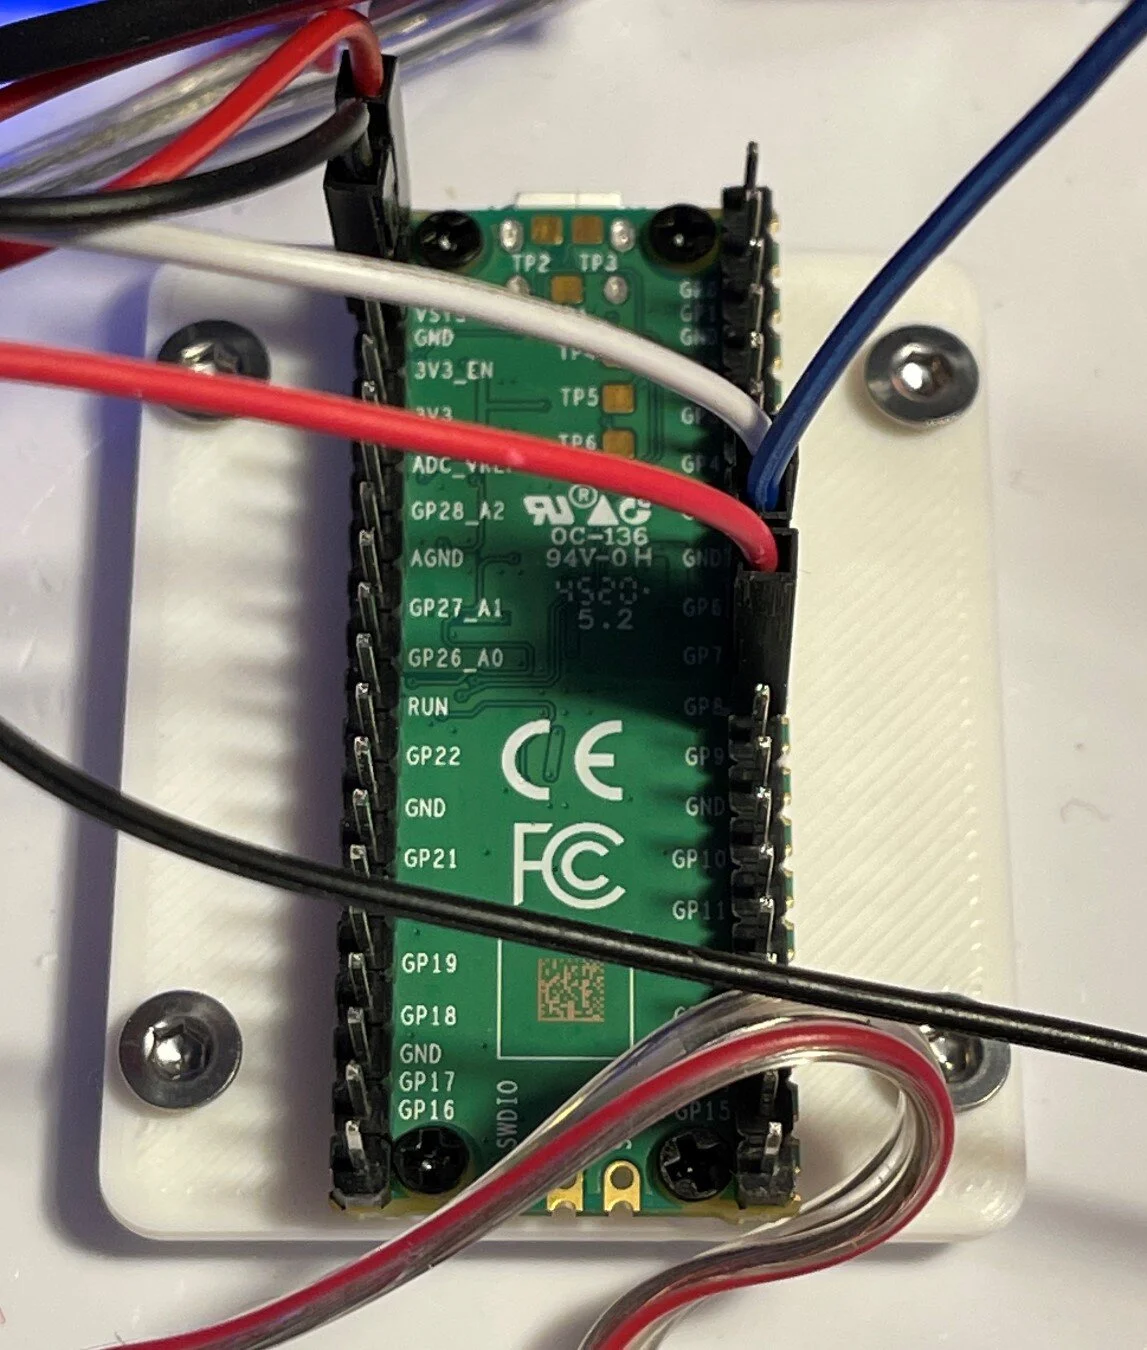
The Pico device has been designed to be easy to mount on a PCB so that it can form the “heart” of a device which needs a few more components.
This is a lovely new device for developers and hobbyists. The fact that you are buying it from a UK suppler makes using it much easier and I really like the idea of a UK company making something as gosh-darned useful as this.
From a performance perspective the Raspberry Pi device stands up very well against the ESP32 that I would normally use. The only snag (and I think it is a big one) is that there is no wireless connectivity. You can connect a Pico device via serial, USB, I2C and SPI but all these use cable. The ESP32 device that I normally use provides both Bluetooth and WiFi connectivity. I really, really, really hope that the Raspberry Pi people have a roadmap for the platform that includes popping WiFi and Bluetooth on a future Pico board. Because then it would be unbeatable.
Update: Ha. Digital dyslexia. I got the number of the chip the wrong way round in title of the original post. It’s fixed now.