Makertober Day 29: Wiring up
/
This is the completed light box, all wired up. I’ve printed a tiny little mounting plate that holds the ESP8266 device and allows it to be fitted onto the mounting pillars. I’m doing the wiring by soldering directly between the devices.

I like using solid-core wire tor connections as it is easier to work with. But you have to be careful as it puts more strain on whatever it is connected to. Above you can see what happens when things go wrong. The solder pad for DI (data in) on the pixel ring has detached from the PCB and turned this ring into scrap. Fortunately I have a few spares.
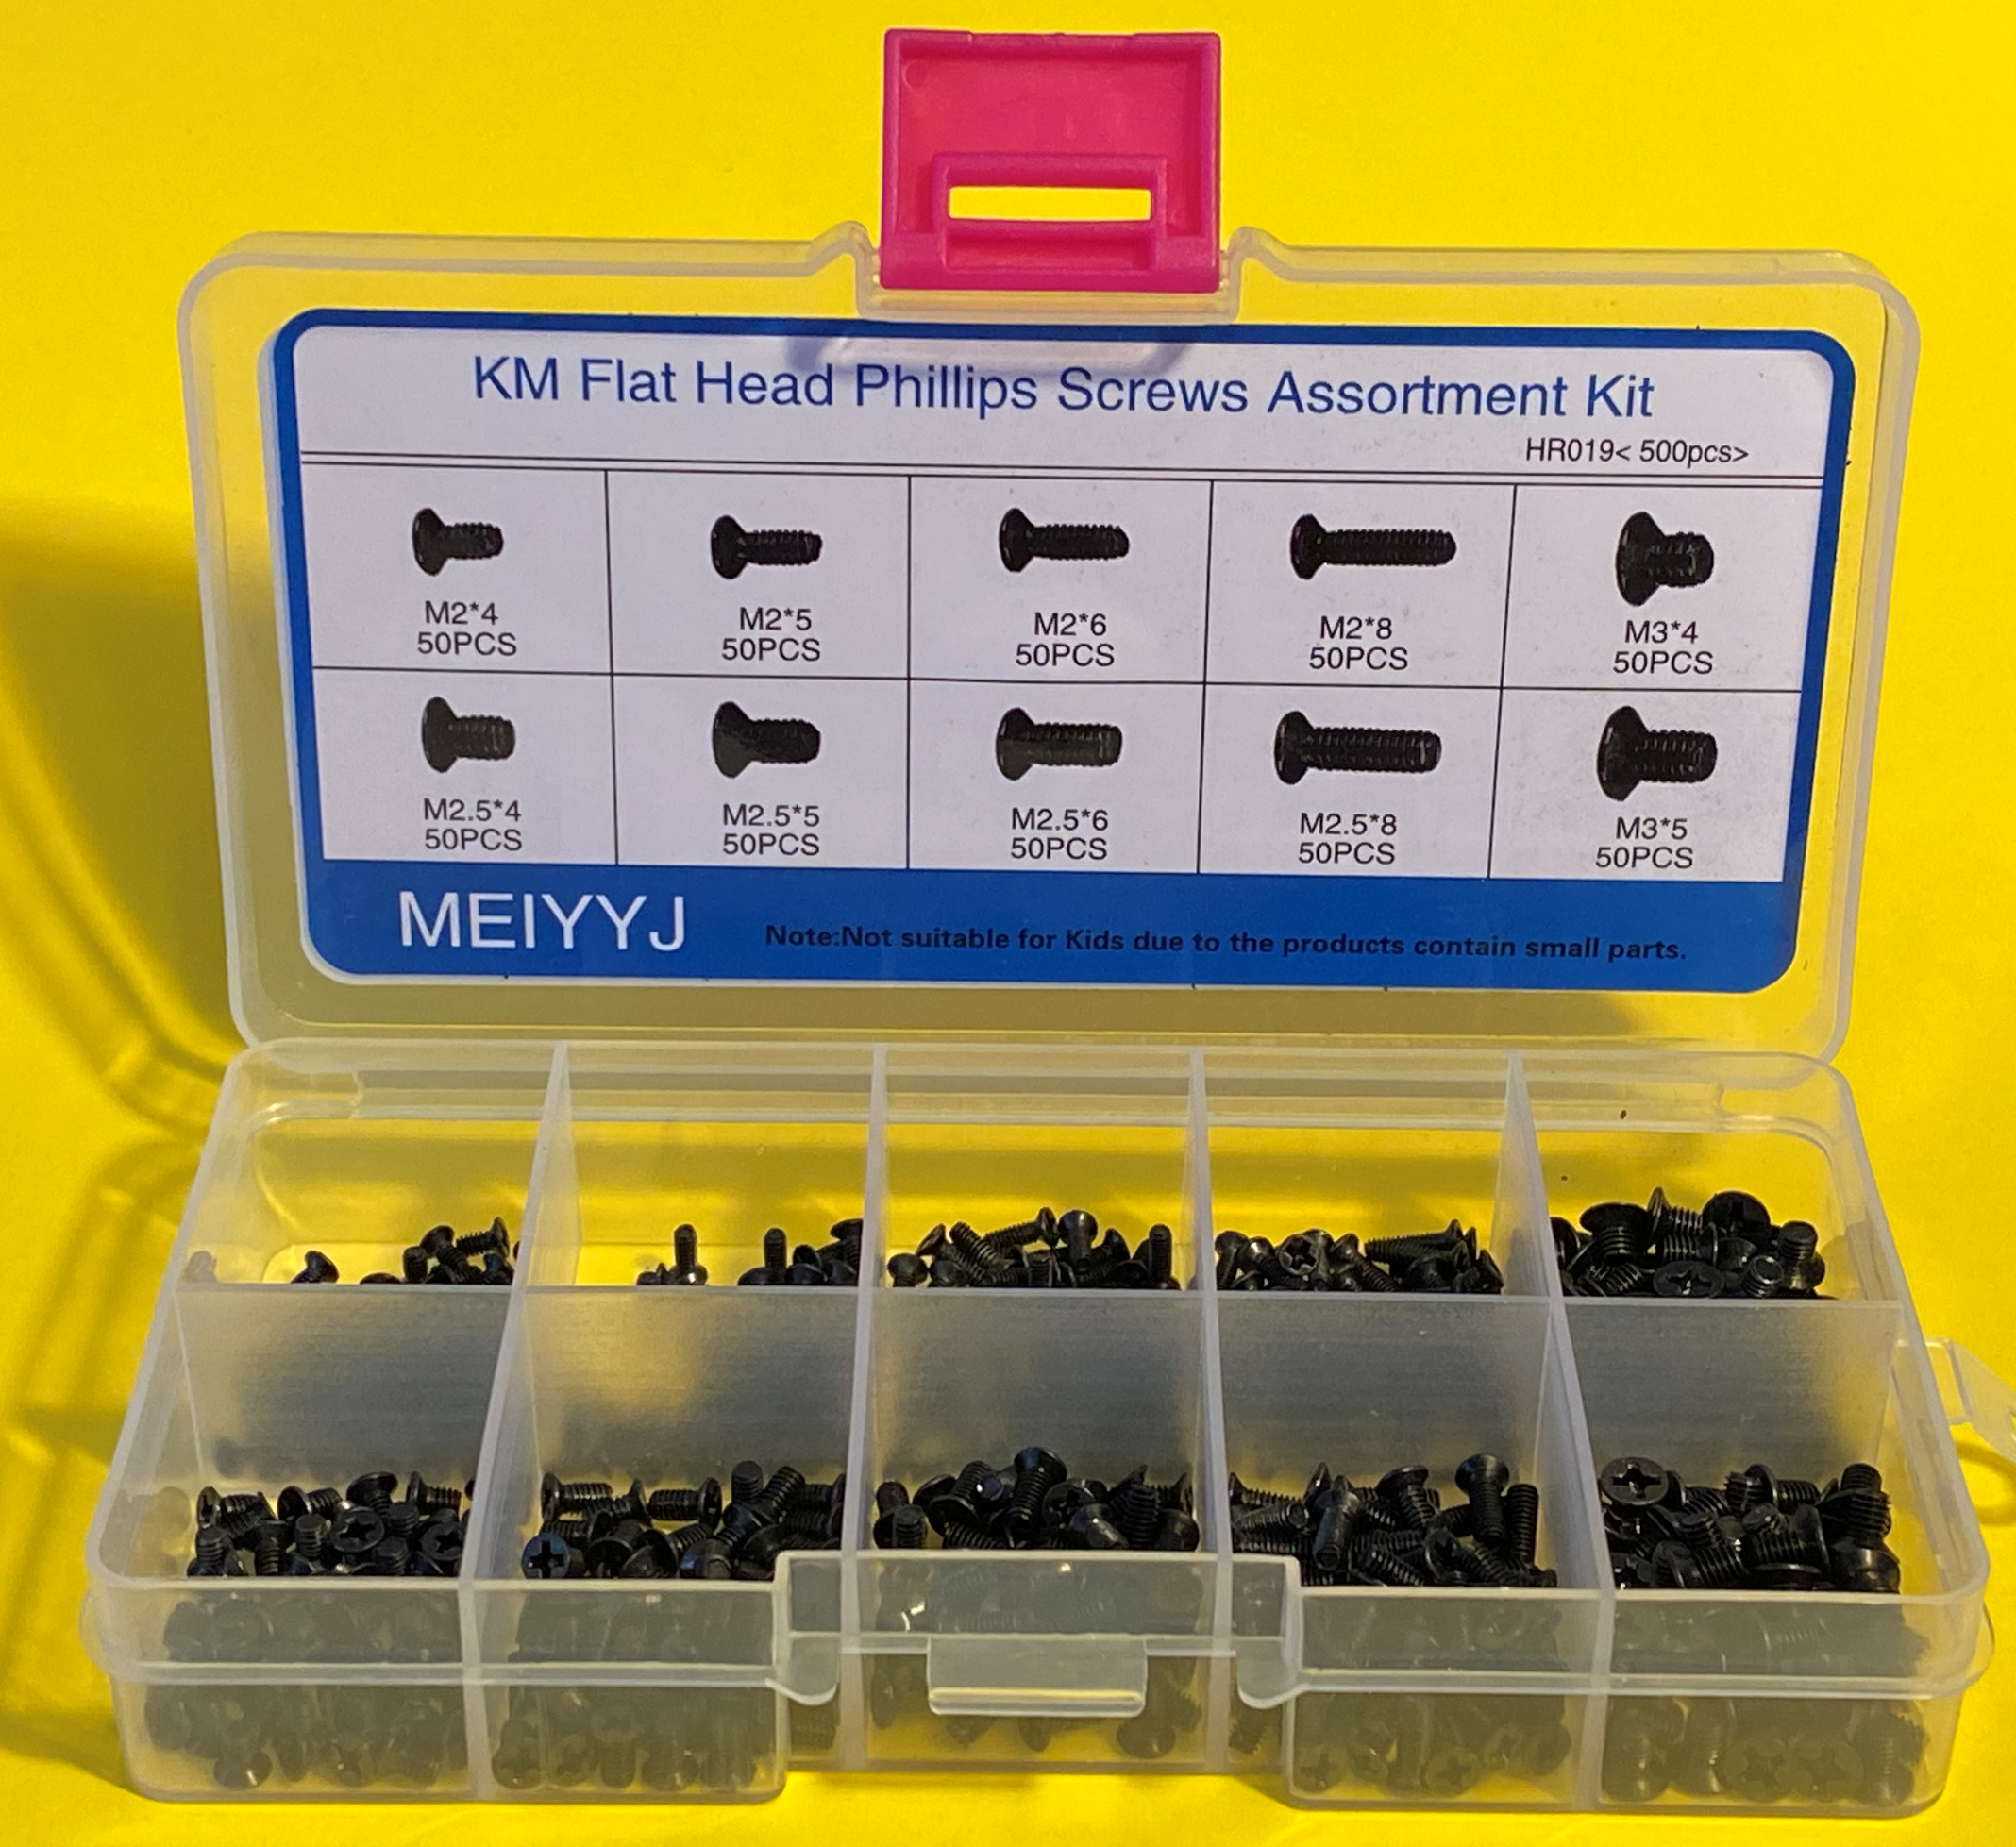
I’m fixing things together using tiny self-tapping screws. These can be hard to get hold of. I found this rather nice kit on Amazon for a reasonable price. The screws as supposed to be used when repairing laptops, but they work into 3D printed parts rather well. After a while I suppose I’ll use up all the screws of one particular size, but at least I’ll know which size to buy next time.


