Making a printer cutter
/Last time I went to the Electromagnetic Field Festival I took along a converted Polaroid camera that produced Fujifilm Instax Wide pictures. This time I’m going a bit bigger. I’m making a Raspberry Pi powered camera that uses a Canon Selphy CP400 dye sublimation printer. These printers produce super high quality prints which are around a third of the price of the Instax ones. And you can pick them up for around twenty quid on ebay. They work fine on Raspberry Pi (and Windows 11 PCs) too. The downsides. They are quite big. They run on 22 volts DC. And they are quite big.
I’m designing the camera box and I have to leave room for the printer and the battery pack. The Pi and the electronics will be at the top and I’ll have room for quite a big screen. I’m using a new design technique (to me). Rather than try and place fixing and access holes in the case that I have designed, I’ve instead created a model of the printer and all the cut-outs and mounting holes that it needs.
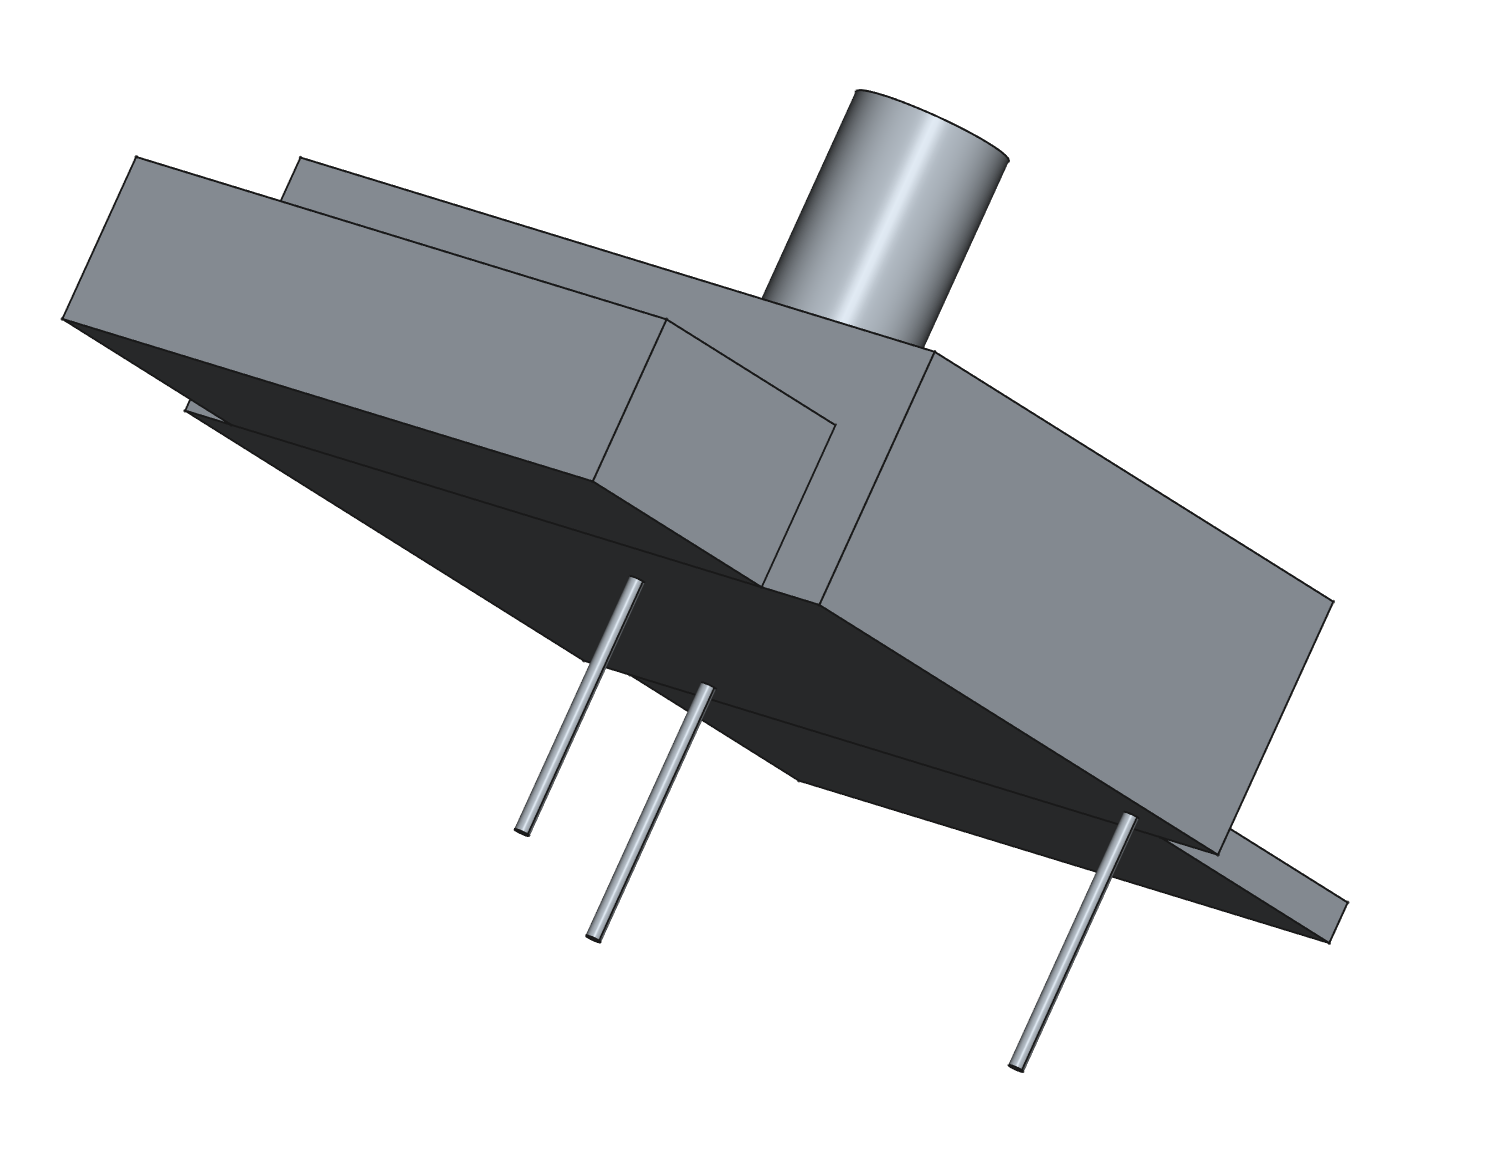
The long thin bits are the mounting holes
This is the printer cutter. I just design the box, position my model inside it and use cut to remove the printer from the box.

This is the box with the cutter cut out of it. You can just see the mounting holes at the bottom. All I have to do now is print it and hope that my model is correct….


