FreeCAD Mosaic Maker
/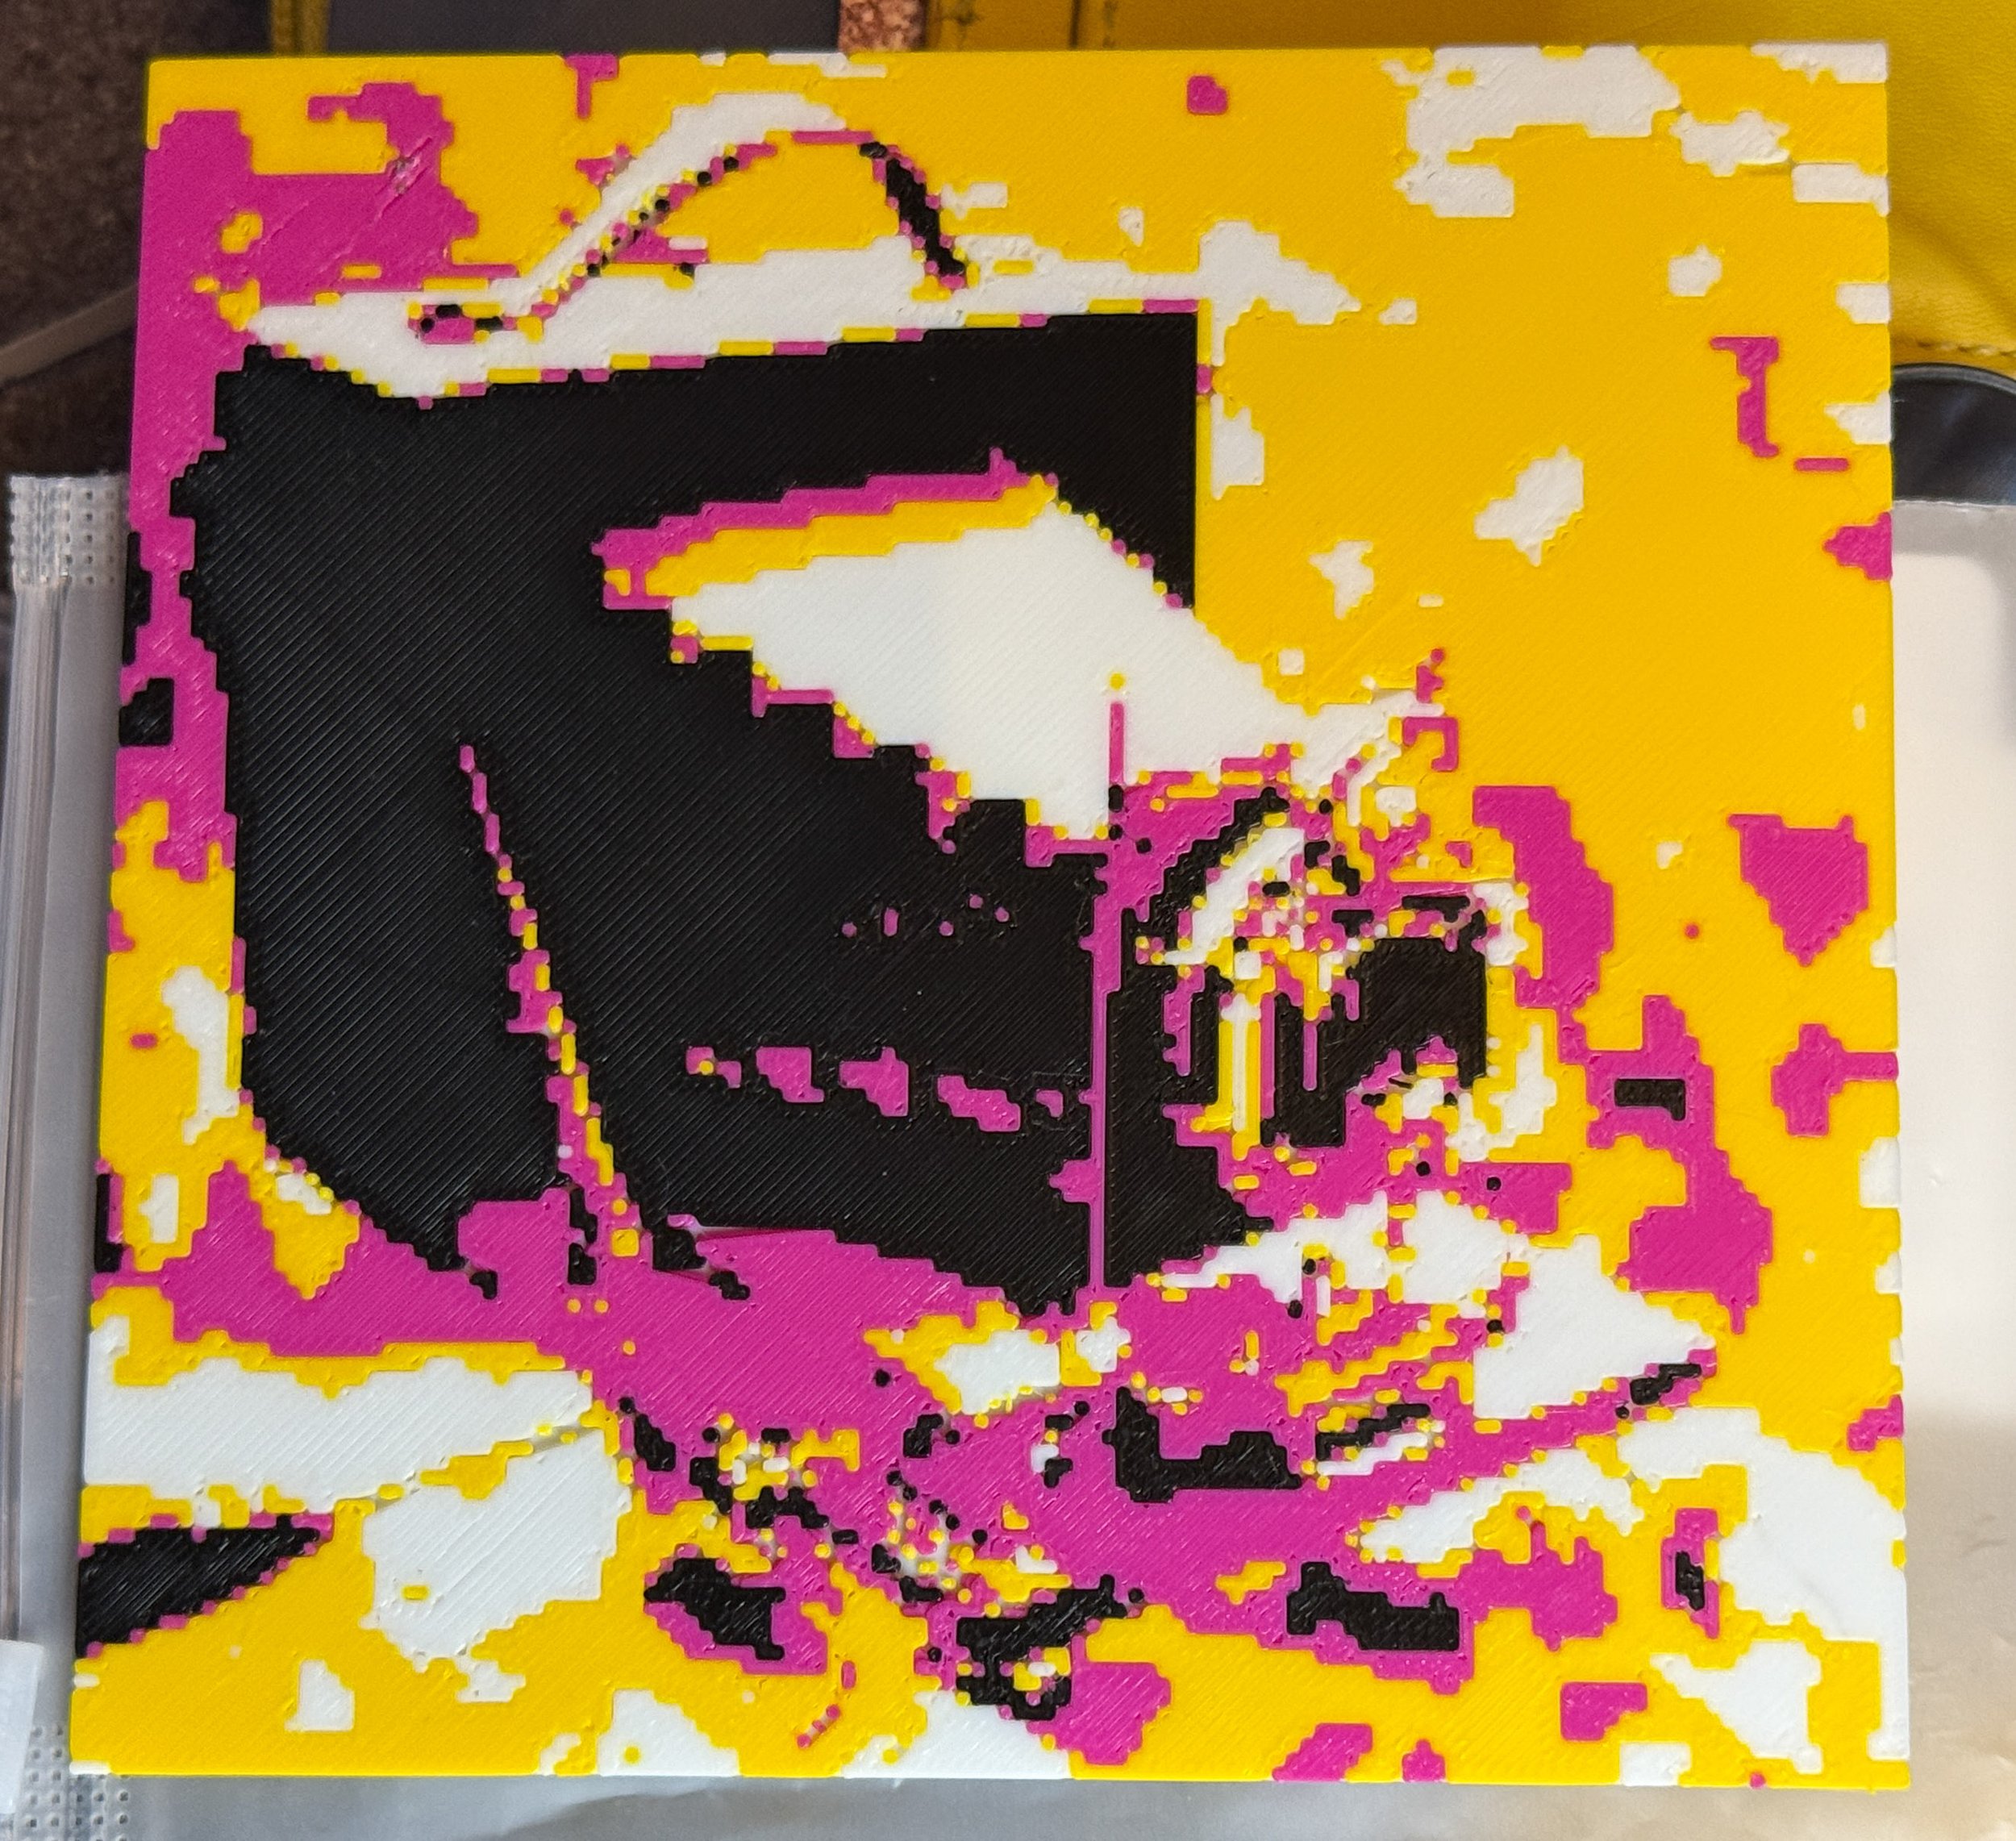
These are just the colours that happened to be in the printer. I think they worked rather well.
I’ve been playing around with Python programs in FreeCAD for a while. Today I did a bit of image processing. The little program I’ve built reads in an image, resizes it, reduces the colour depth to 4 and then drops out four STL files, one for each colour. These can then be combined in the slicer to make a low-res picture.
The pictures look better the further you are away from them. A bit like me. At the moment I’m using a resolution of 128x128 pixels. I’ve got to tidy the code up a bit, and then I’ll put it all on GitHub.