Clicky Test Keyboard
/
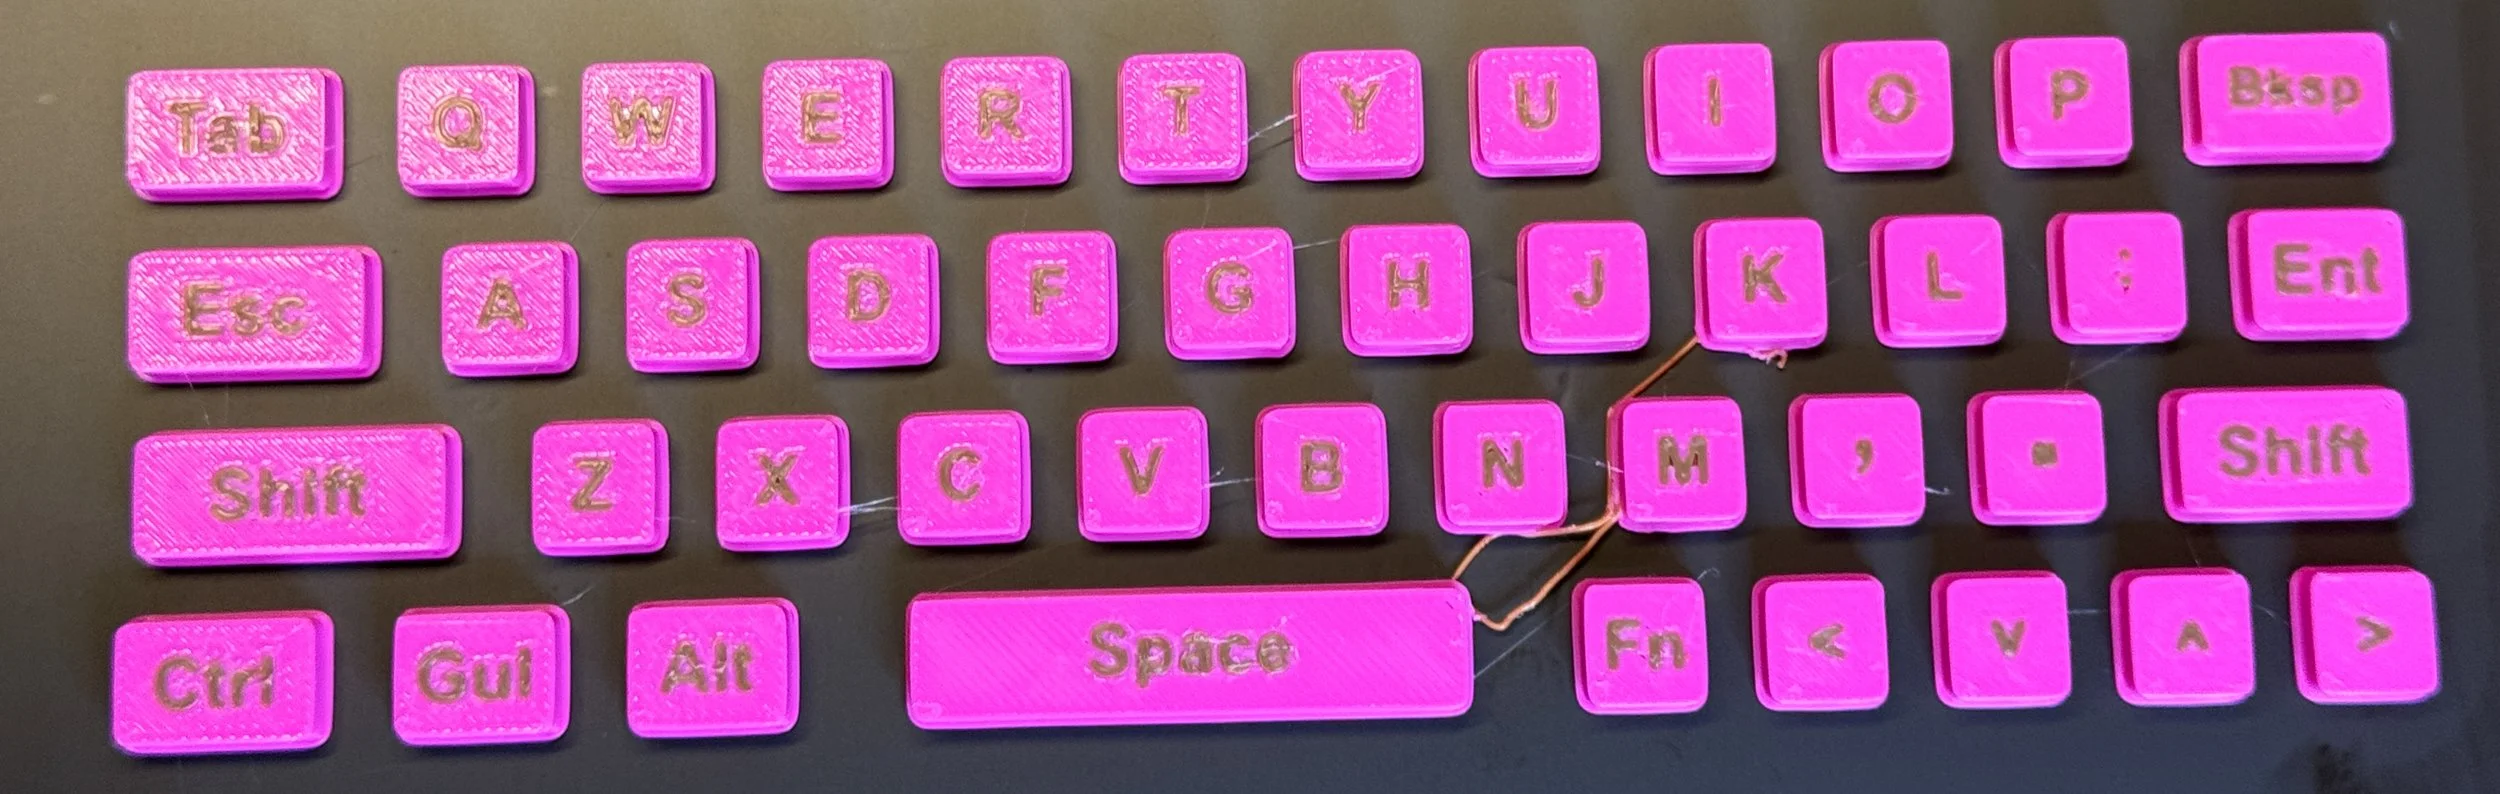
For the finished keys I’ll fill in the gaps in the legends
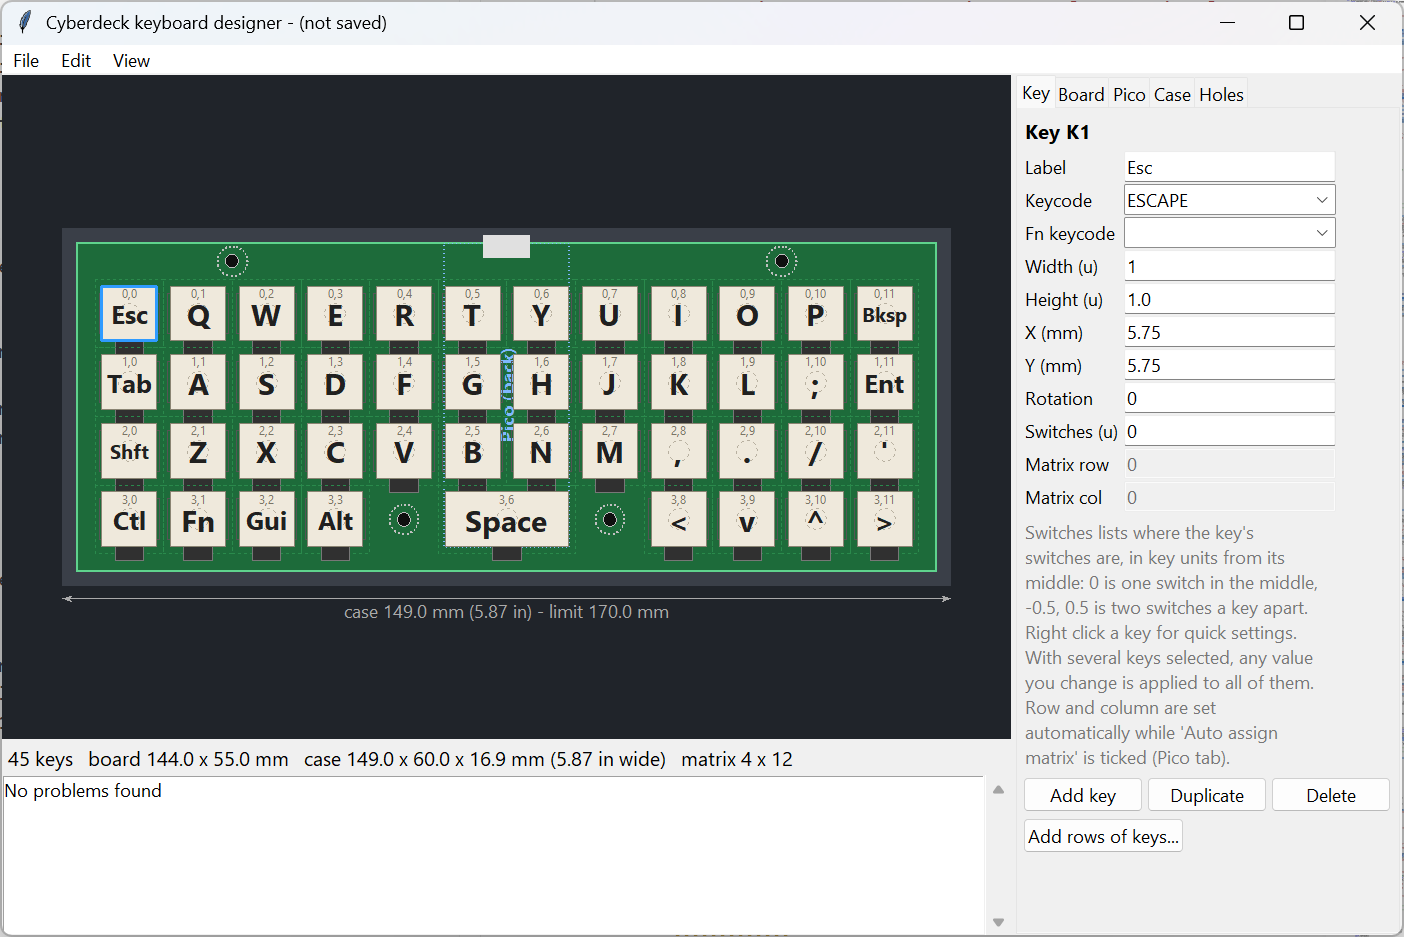
Me and Claude (well, mostly Claude) are making a Cyberdeck Keyboard. I’ve decided to use very cheap and tiny surface mount clicky switches underneath the keys. Which led to a concern. I was worried that if I put a long key (for example space bar) on top of the keyswitch the key would pivot if you pressed the edges and not trigger the switch. I wondered if it would be a good idea to mount long keys on two switches.
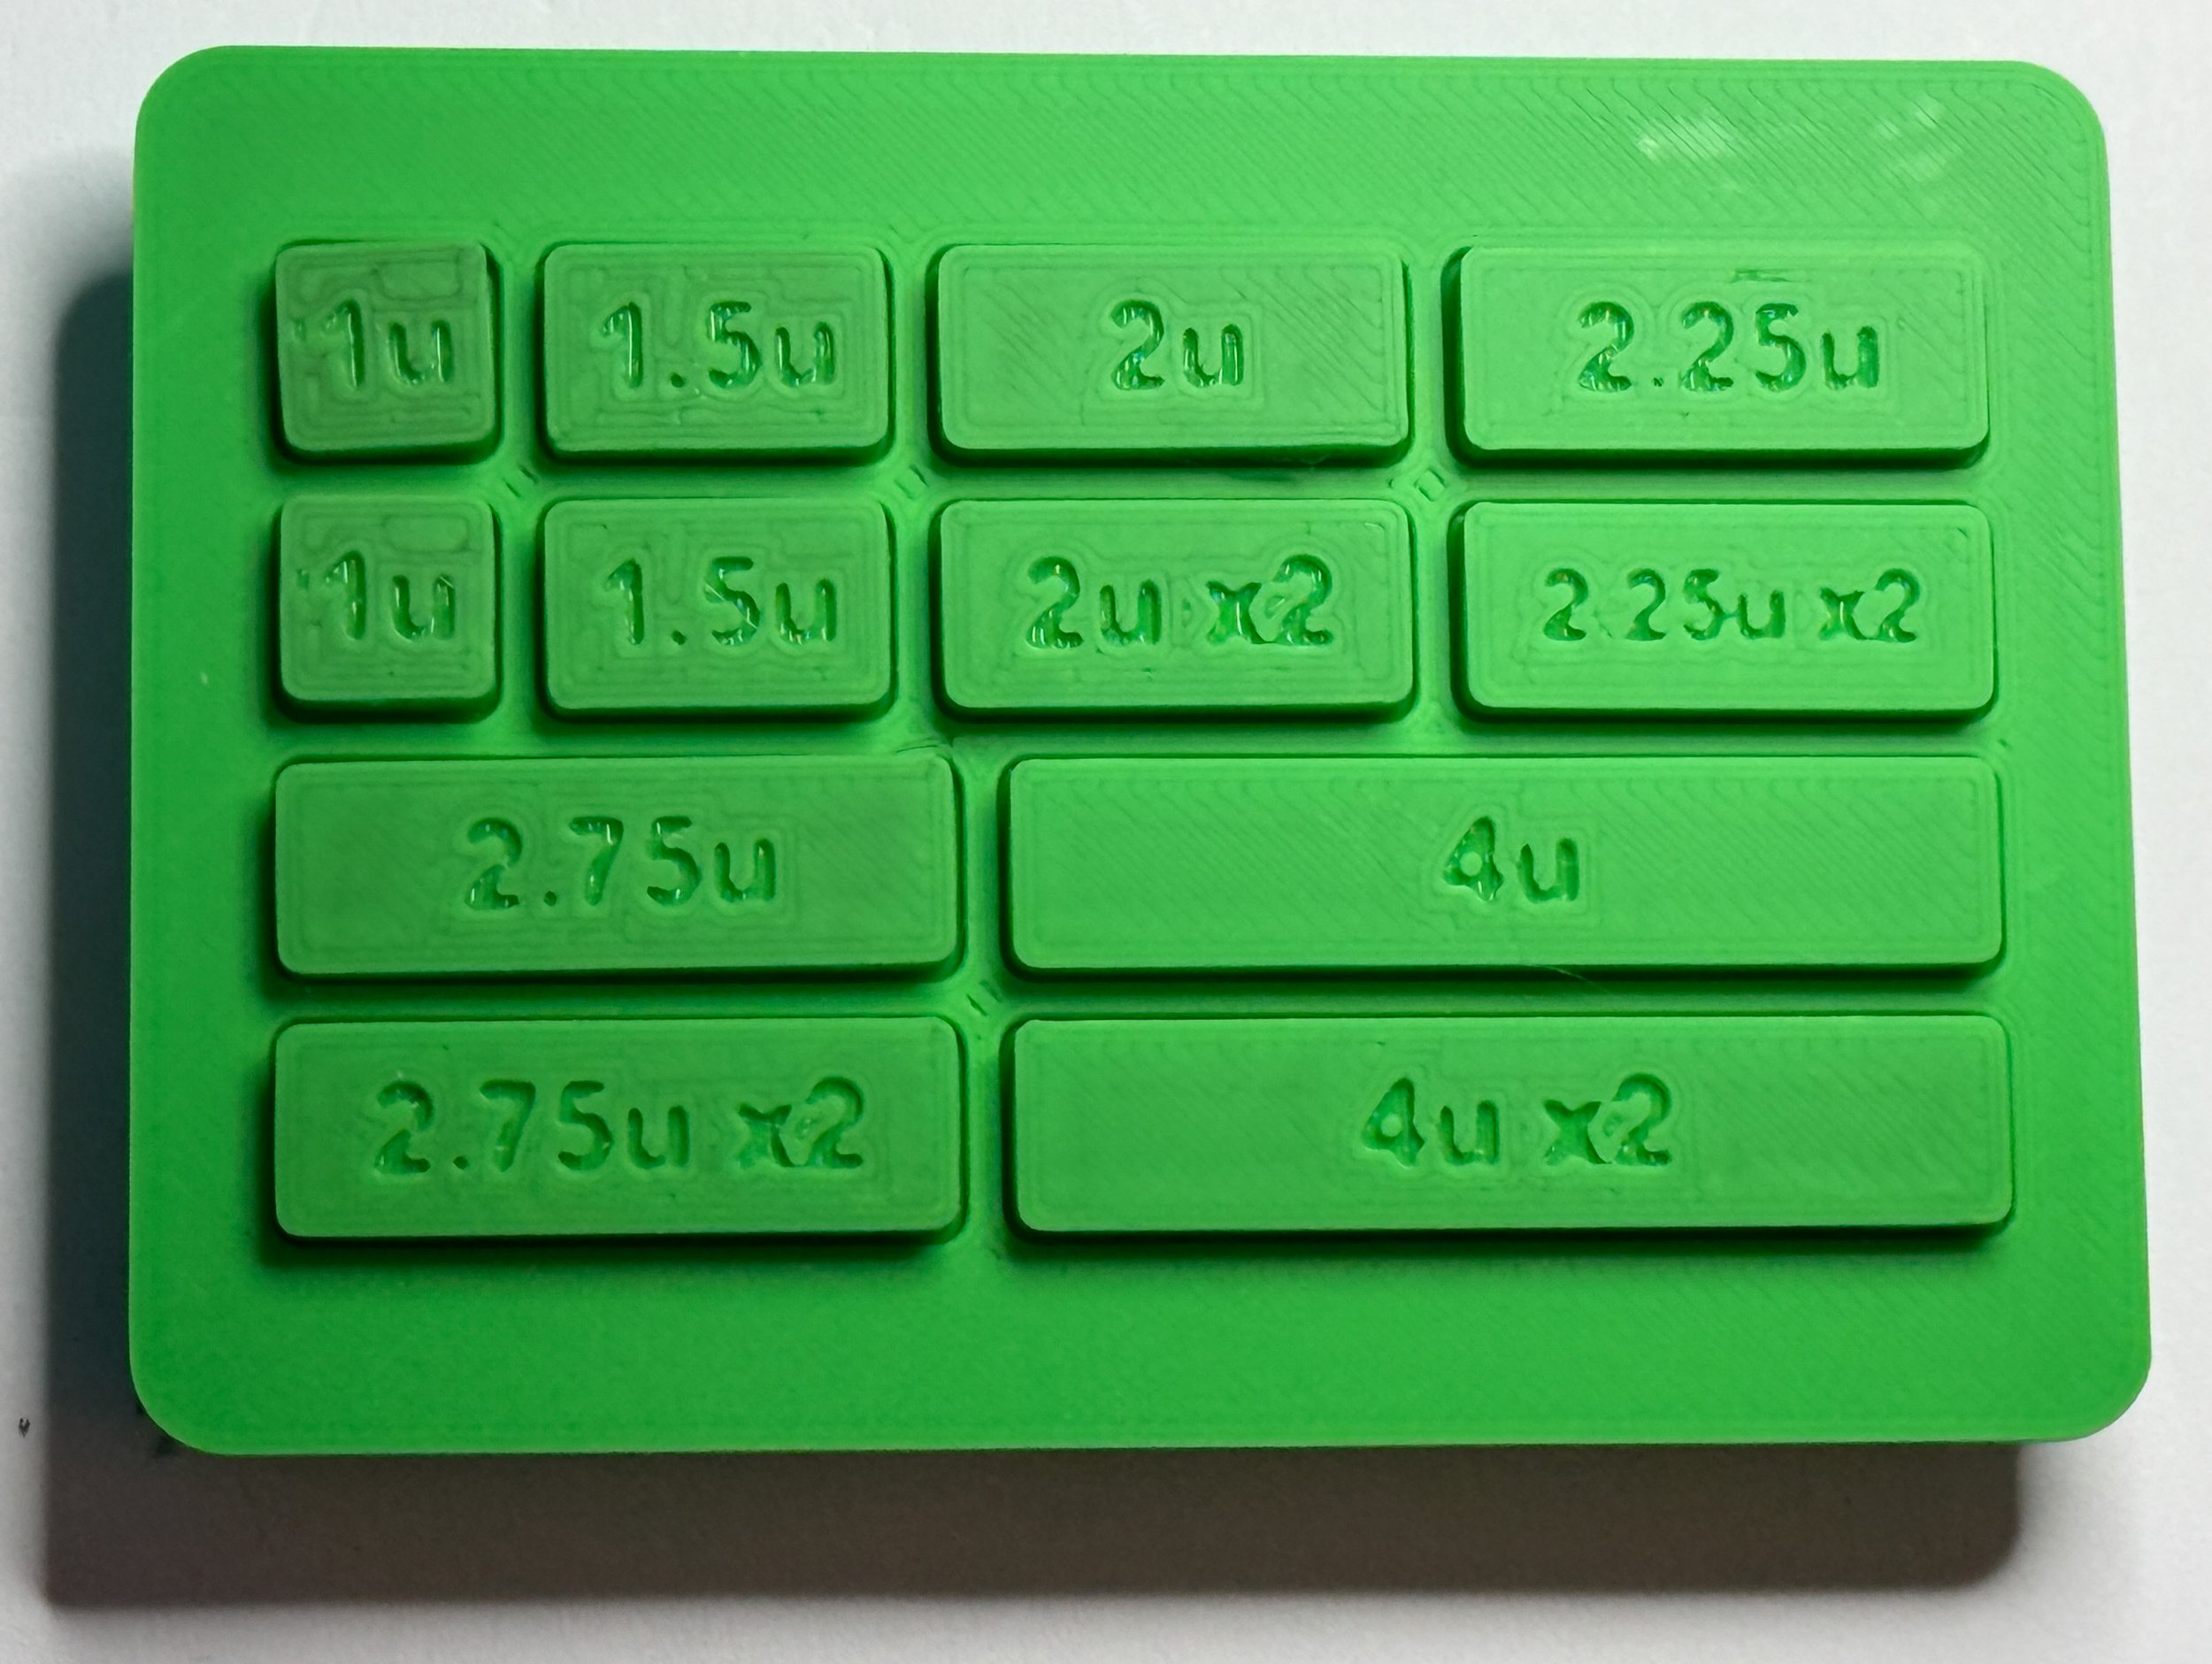
This is not the kind of thing that you can decide by just thinking about it so I asked Claude to make a mock PCB with spaces to insert the switches I’m using, and then build a test keyboard around it. You can see what I ended up with above.
There are two versions of each long key, one supported by two switches and the other supported by one. It turns out that the 4u key on a single switch works fine. The space bar tips when you press one end, but not far enough to stop the switch from registering. Using two switches actually makes things worse, as you seem to have to press both of them down to make the key work. And now I’ve got a nice little fidget toy to play with…..