Una Reborn again

newhead.png

The tiny little fan for the print head for Una the Ultimaker arrived today. You can just see it behind the grille in the above picture. I’ve rebuilt everything and I’m printing with it. Expect to see an anguished post in a couple of days about how everything has broken again.

Update: Sooner than you think. The above print failed because some of the items came loose. I’m going to clean the print bed properly and double check the level…

Una Reborn

I’ve found another use for a 3D printer. You can use it to print spare parts for your other printer which is broken. I used Edna the Ender to print out the replacement fan ducts and also the rather fancy Bowden tube holder you can see above for Una who broke recently. I’ve re-assembled the print head (again) and this time I’m much more confident that Una will be back to her old self. The main reason for my confidence is that I think I’ve solved a problem that I’ve had for ages.

If you look at the picture above you’ll see that the print head (the brass part you can just see above the orange material that I’m printing) is tightened right up against the heater block (the shiny aluminium part). Previously, for reasons that must have made sense at the time, I’ve had the nozzle hanging down from the heater, which has meant that the heat from the heater block has only a small area to travel down to the nozzle. I think the result of this has been that the nozzle has been quite a bit cooler than the heater block, to the point where I’ve had to increase the print temperature just to get molten filament through it. With this new arrangement I’m printing successfully more than 10 degrees cooler than before. And it works a treat. Una is now producing stuff that is really good, very close to the quality of Edna.

So, if you are building a printer, make sure that the nozzle is as tight up to the heater as you can get it. That way it will spread the heat around properly.

Broken Printer (again)

brokenuna2.png

I think 3D printers exist in one of two states, they are either broken or not broken yet. I thought I’d print some “Obstinate Orange” filament in Una so I swapped out the rather nice pale blue I’ve been using for a while.

Una doesn’t like “Obstinate Orange”. It seems to have blocked her print head. I think this is because when I re-assembled things last time I left a tiny gap in the path the filament takes to the heater block. This tiny gap now holds a plug which has blocked things up.

It’s annoying because Una has been printing some nice boxes and cases. Oh well, I’ve got some more replacement parts on order, I’ll see if I can put things back together in a better fashion next time.

Makertober Day 28: Printing Boxes

Some people say that you shouldn’t use your 3D printer to make boxes for things. I disagree. Sure, a box is quite large and takes ages to print. But its not as if you have to spend that time yourself. Once you’ve set the printer off you can leave it to get on with it. Although I do still find the process fascinating to watch. Above you can see the output of my design which I think is fairly tidy. I could spend some time fiddling with settings to get the print better, but this is not actually something that the user will see.

shinyside.png

The reverse side, which is where the print was built up on my glass bed, is nicely shiny.

Maketober Day 17: Making a broken printer

printerbits.png

Una my lovely 3D printer is what I call a “Schrodinger Device”. She’s got this title in honour of the celebrated “thought experiment” involving a box containing a cat and something that might, or might not, kill the cat. The idea is that right up until you open the box and take a look inside you don’t know whether the cat is dead or not. From a quantum perspective you can regard the cat as both dead and alive until you find out what has happened. The same kind of thing happens with Una. At any given time I may or may not have a working 3D printer. I only find out which is true when I try to print something. I’ve owned many such devices in the past, including a Mini Traveller that sometimes was a car and sometimes wasn’t.

Anyhoo, today when I tried to print a box for a LED panel that I’ve been playing with I discovered that Una is no longer a printer. I’ve spent most of the day proving that this fact is most definitely true. In this time I’ve replaced some bits, recalibrated others and cursed all of them. Oh well.

Still supported after all these years....

I’m not sure many companies are still providing support for eight year old products. Apple make a big song and dance about how they provide updates for their phones for “at least five years” after manufacture (which I think is a bit rubbish bearing in mind how much they cost). I find it amazing that tech companies are allowed to get away with this. Nobody else (for example car makers) is allowed to call time on their products in this way.

Anyhoo, rant over. Today I contacted Ultimaker about replacement bits for Una, my printer. I’ve found some things on Ali-Express which look like they might fit, but they have a twenty day delivery (if I’m lucky) and so I thought I’d go back to the source. They put me onto their UK dealer who had the parts I need in stock and they are in the post. Should arrive tomorrow. Awesome.

Una has fallen...

broken una.png

Una, my Ultimaker original 3D printer, has been happily printing out bits and bobs for the last week or so, although I have been needing to use higher and higher printing temperatures to get a decent flow of material through the print head. Not a thing that should be happening on the way into summer. Anyhoo, today I set her off as usual and went back to check on progress, only to discover that she had been waving her print head around for an hour or so, printing nothing.

So, I took everything to bits to discover that the filament had melted into the end of the Bowden tube (the tube that delivers the filament to the print head). This has produced a pretty solid blockage which is not going anywhere in a hurry. I think it was caused by the little PTFE fitting (the white bit in the picture above) wearing out and collapsing.

So, no more 3D printing for a while. I’m going to have to track down some spares.

Making trivets

I love the way that 3D printing lets you go from an idea to a thing really quickly. Thanks to a what seems to be a worldwide shortage of liquid soap (I wonder why that might be) we now have a soap-powered cleanliness routine. This has led to a need for soap dishes. We’ve re-purposed a bunch of little dishes, but we have the problem of the soap getting wet and icky (and dissolving) in the dish when it gets wet.

We needed something to keep the soap out of the water that runs off it after use. A kind of “soap trivet” that fits in the bottom of the soap dish. A few minutes with OpenSCAD and I had my design. A little while later we had our printed trivets. And now Una can go back to making PPE visors.

If you have a need for a soap trivet, you can find the OpenSCAD code here.

Printing Visors for Covid-19

I noticed that Paul was printing out visor holders for health workers. I thought I’d like to have a go and he was kind enough to send me his design of choice. Of course Una (my 3D printer) promptly decided to play up massively. At one stage I resorted to shouting “I’m trying to do something good here!” very loudly at her. That didn’t work and so I replaced the print nozzle for one that actually had a hole in it.

This improved matters considerably, and after a couple of hours I had my first prototype. You are supposed to use A4 plastic binder covers but, not surprisingly, these are a bit hard to get hold of at the moment.

I’ve ordered a bunch, but for now I’m making do with some transparency film that I had lying around for printing out overhead projector slides (remember them). I’ve also ordered some proper length elastic bands.

The finished article looks OK to me. I’m going to wear it for a while just to see how long it lasts. Now all I need to find is someone who wants a mask like this. I’m not saying it is perfect, but it beats the heck out of nothing…..

If you have such a need, let me know

Winning and losing with the led cube

It turns out that sometimes the only way to find out how to do something is to try and do it. That’s what I’ve been doing today. I’m building a cube out of LED panels. And today I ran out of reasons not to start assembling the parts. Above you can see one of the led panels that are going to be the faces of my cube. I’ve removed the original chassis from the back of the panel and fitted one that I printed yesterday. The new chassis is slimmer and has bevelled edges that let the sides fit closely together.

My printed panel fits exactly (more power to you Una the Ultimaker). I just had to remove the teeny tiny screws that secure the panel to the original chassis and then refit them into the the newly printed chassis. This is a fraught business. The screws engage with really tiny holes in the panel circuit board. If the screws miss their holes they tend to cut through tracks on the panel (that’s one panel broken). If you try to line up the panel with the chassis by pushing a pin through the hole in the pcb board this can catch on the leds on the front of the panel and remove them (that’s two panels broken)….

I managed to fix one broken panel by scraping the paint off and then re-making the connection with a blob of solder. The other panel has three LEDs on one edge which don’t light up red. Oh well. I ordered one extra panel in case of problems like this and I can still use my “broken” one in a picture frame as I just have to crop out that three pixel column from the side. On the whole, I’m going to call this progress…

If you want to see the work in progress I’ll be taking all my bits to the Hardware Meetup tomorrow. You can sign up here.

Untitled Goose Printing

If you’ve got an Xbox Game Pass you play Untitled Goose Game for free. And you should. You take the role of an annoying goose with a mission to cause havoc. The pace is nice and gentle and the animation and drawing is really well done.

And number one son has found a design on Thingiverse to print our very own goose models. You can see my first effort above. I need to work on the layering a bit but overall I’m very pleased with the results. You can fit a magnet into the beak so that your goose can hold little metal objects.

The design supplied in for the white, yellow/orange and black parts. We’ve found that ordinary “superglue” (cyano-acrylate) does a good job of holding the parts together.

My goose has a slightly rakish stance because he fell off the desk and broke his foot off which I had to glue back.

3D Printer Tip - use good quality filament

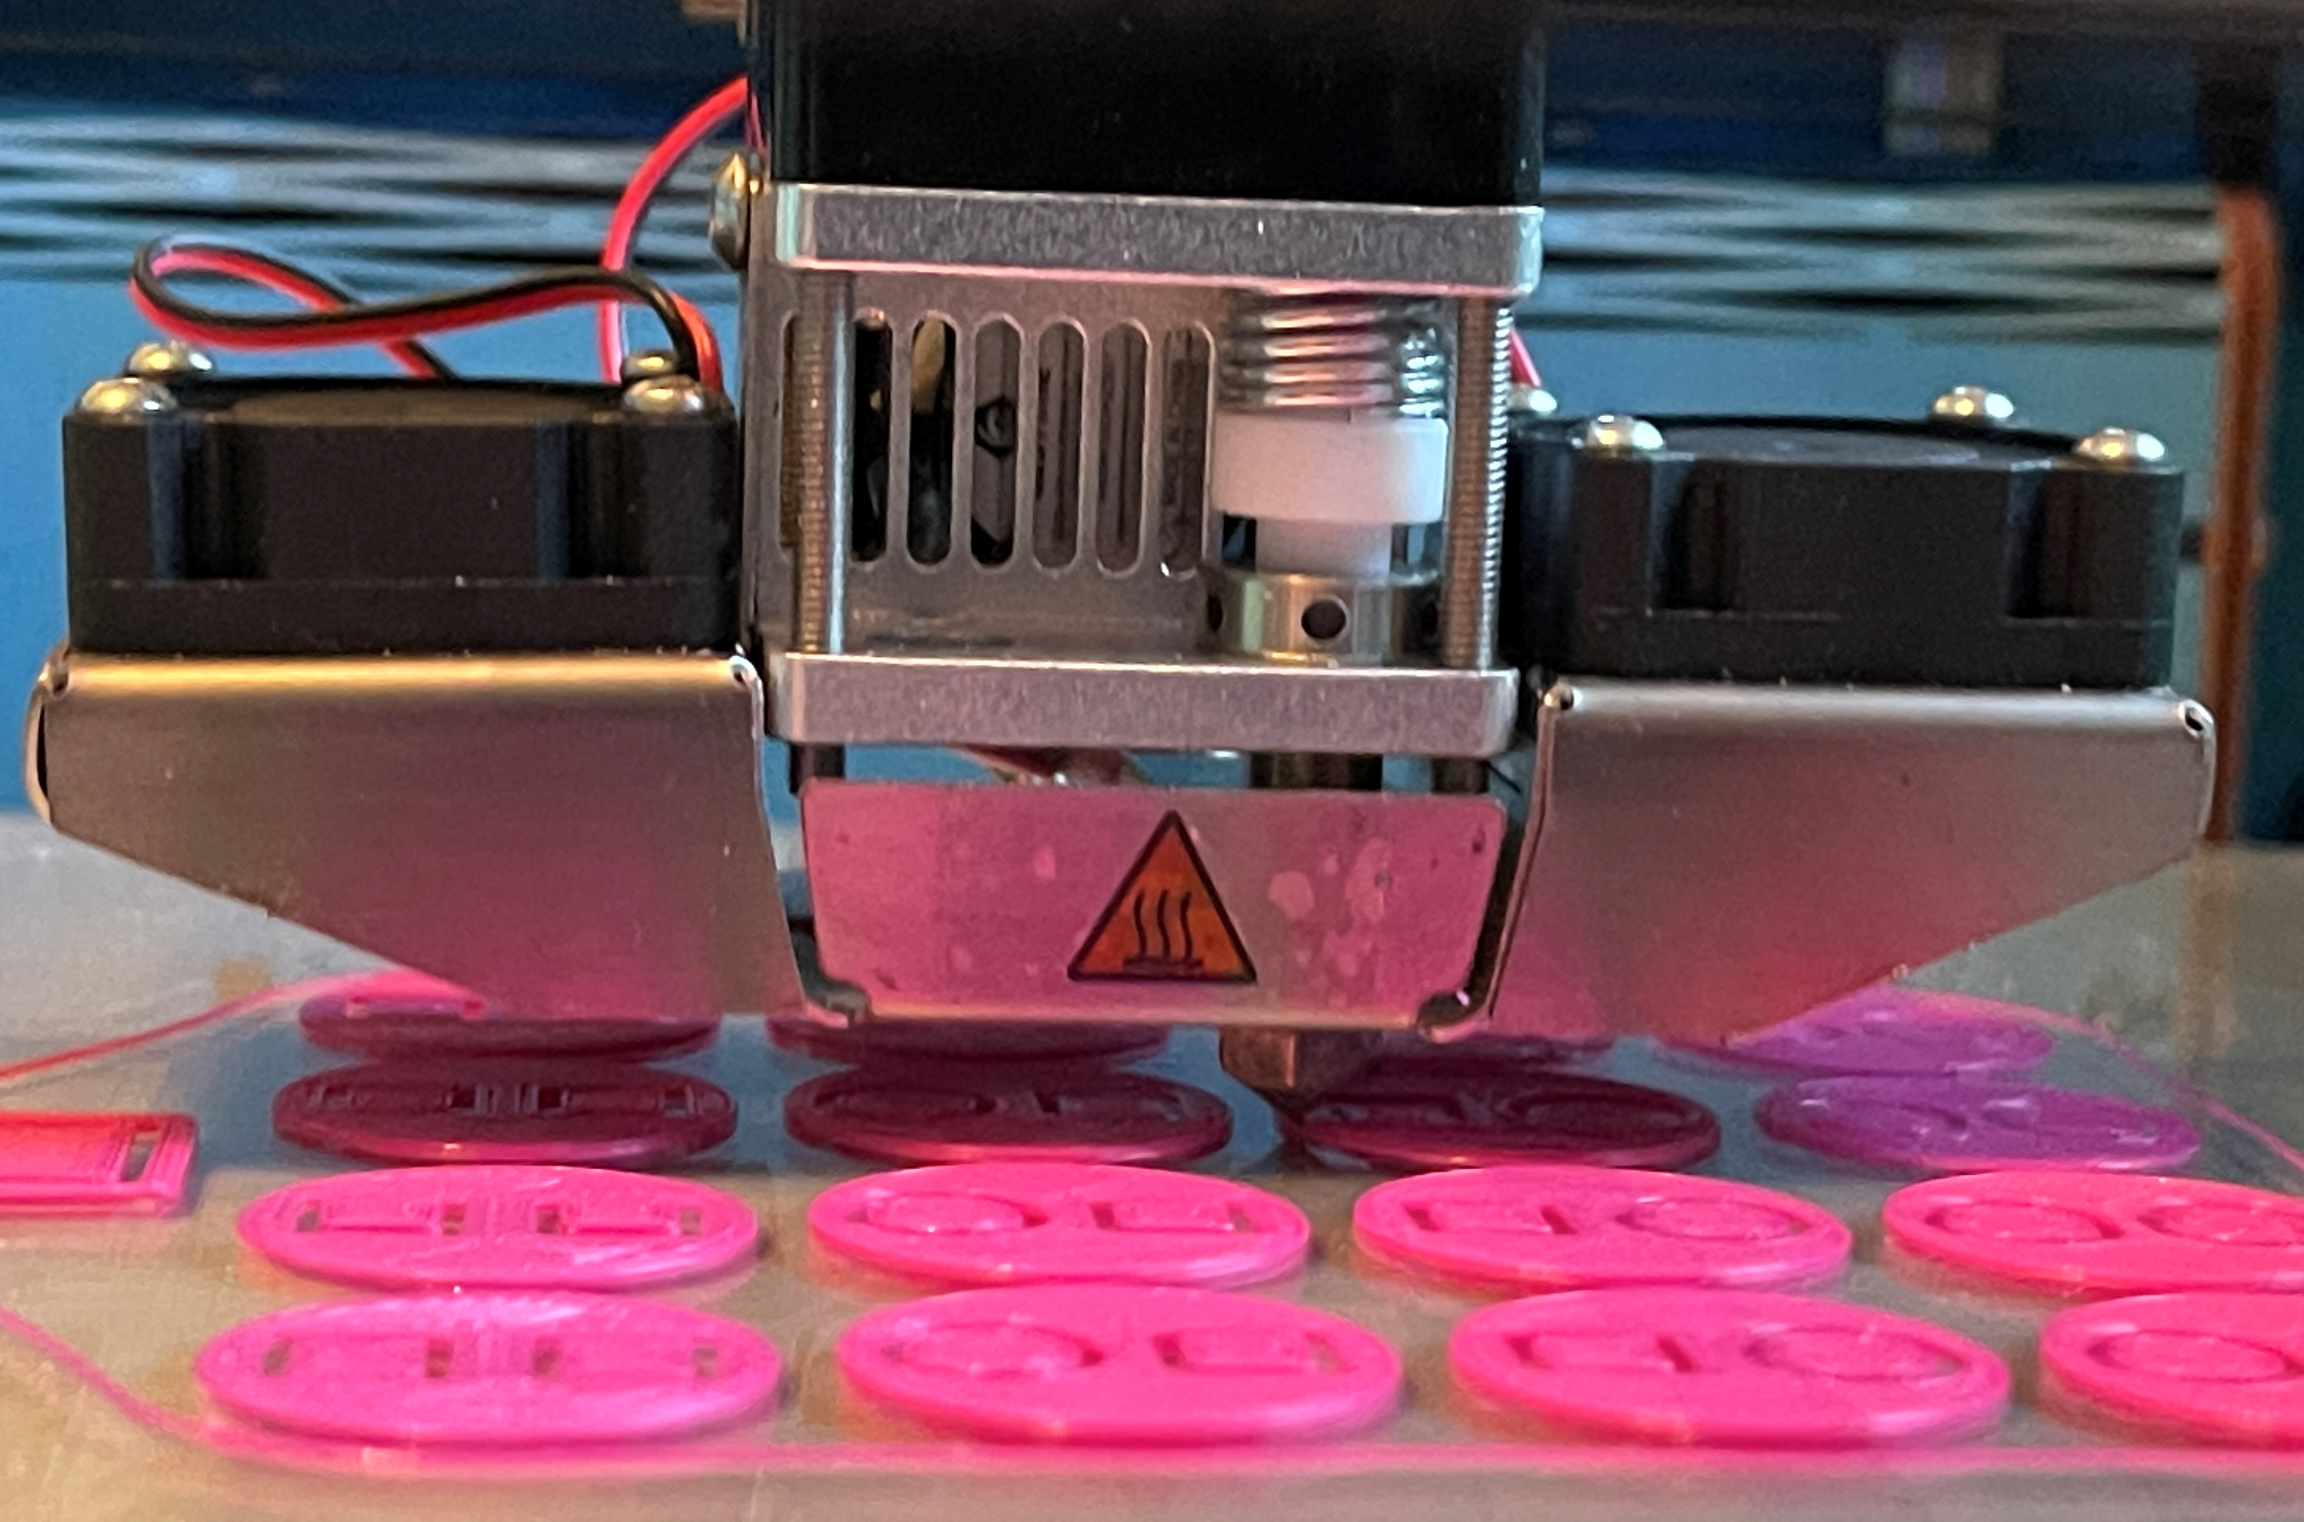
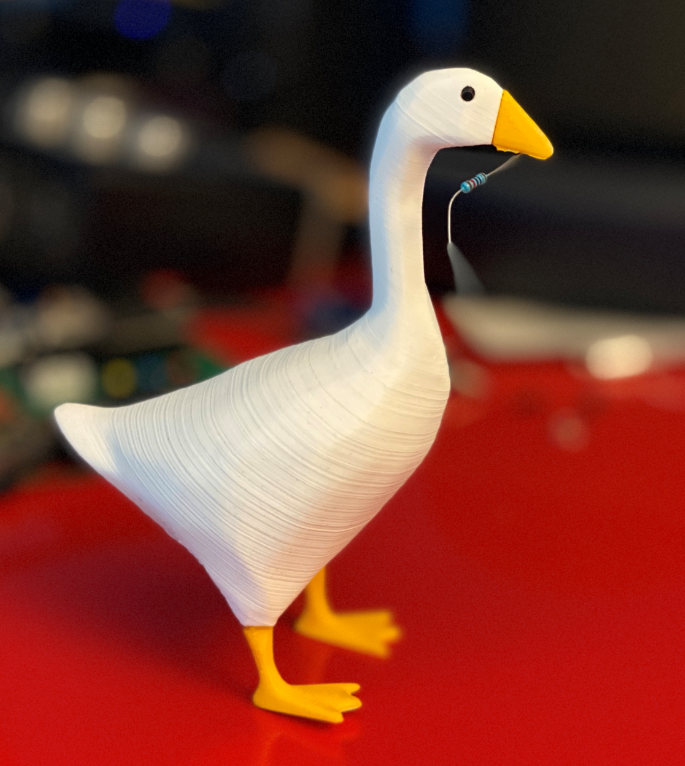
I remember a while ago someone saying that the average 3D printer can produce output with the quality of “the toys that you can find in a Christmas Cracker”. Well, we are making our own crackers this year (just for fun) and I’ve found a nice set of animal shapes that we can use. I dropped the designs into Cura and sent it over to Octoprint for printing by Una, my venerable old Ultimaker One. She’s seven years old now, but still prints really well.

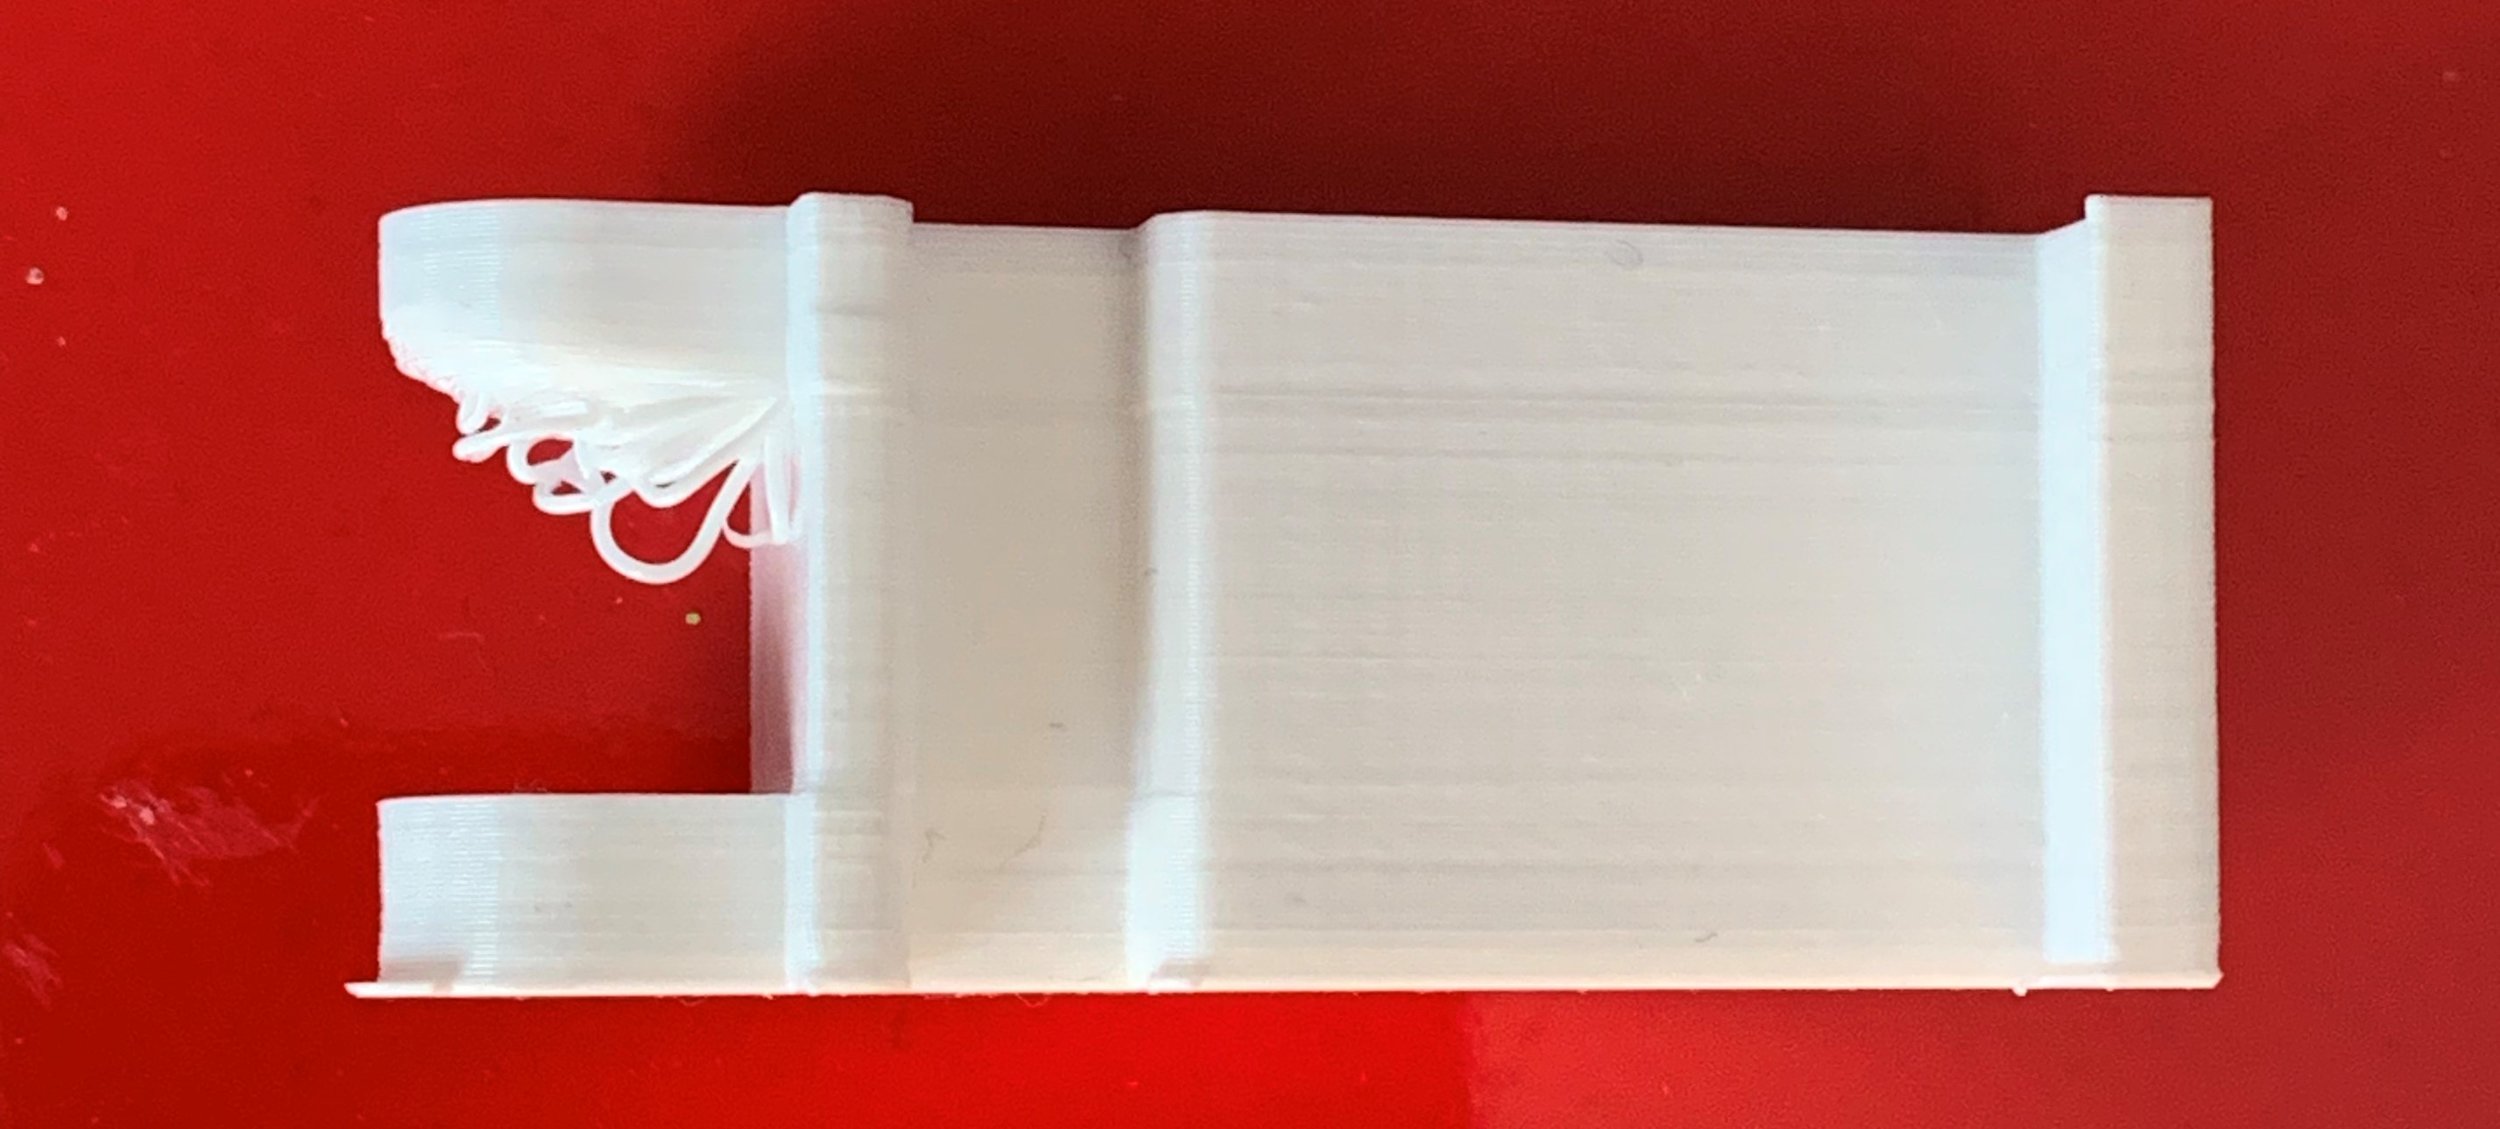
I think one reason for the quality of the output is that I’ve stopped buying cheap filament. A few years ago I went through a phase of being impressed by 1Kg reels of printable materials available for only a fiver. I tried a few and the quality varied a lot. And some had the habit of snapping off during feeding, which meant for loads of fun getting the broken bits out of the print head.

I now use this stuff. It’s not cheap, but it is not stupidly expensive either. It is consistent, adheres well and the colours look good. And it comes on nice spools. Bearing in mind the time it takes to print stuff, I’m unlikely to use a hugely expensive amount of it.

Awesome Overhang fun

So I’m printing some camera clips on Una, my Ultimaker (seven years old this year). I forgot to ask for support for the print. I needed support because the top half of the clip just sticks out into the air. If I’d asked for support the gap on the left of the picture above would have been filled with removable printed bits that support the “ledge” that is being printed.

However, when the print finished I was impressed that even with the lack of support I’d got something that is probably usable. You can see the dangling loops of filament at the bottom of the ledge but after a few layers they had bunched together enough to get enough material to complete the print.

I’m not proud of my inability to specify support when a print needs it, but I’m very proud of the way that Una coped without it.

Slow and Steady Prints the Best

What failure looks like…

I’m doing some 3D printing to make cases for air quality sensors. I know that 3D printing is one of the slowest way to make a case and I’m going into Hull Makerspace to play with their laser cutter this week to see if I can make stuff much more quickly, but I happen to have a 3D printer and it seems sensible to use it. However, it has not been plain sailing….

I’m using some new filament, and when you do that you have to learn the right temperatures to work with it and how friendly it is. The new stuff has not been very friendly. Mainly because it didn’t want to stick to the print bed. The print bed is the surface upon which the printed object is laid down by the print head.

When 3D printing the most important stage of the print is putting the very first layer on the print bed. If this doesn’t stick, everything else is going to end up a like a ball of wool (see above). And I couldn’t get the new filament to stick properly. Even after spending ages adjusting the bed level and height, changing temperatures and adding adhesive I’d still get terrible results.

I’ve found that the key to success is to print the first layer very slowly, giving it time to take hold. The snag is that slow printing takes ages. Fortunately the latest versions of printing tools have come to my rescue. The latest version of Cura (the magical tool that I use to convert 3D models into printer commands) lets you set the speed of the first layer print.

There are so many print settings now that the settings process also contains a search function. If you search for “speed” you can find the initial layer print speed settings as shown on the left.

If I use the settings shown I get quite astonishing levels of print adhesion. In fact I can do away with glue completely and print onto smooth glass, which gives a fantastic finish.

I’ve now gone from having a problem getting the print to stick to having a problem getting the printed piece off the printer. But I’m very happy with that.

Creating 3D Printed Text Masks

I’ve been refining my light printing technology, based on the “Do it for Josh” light (which is still available by the way). The first version used a printed mask and transparent letter inserts that were stuck inside it. It worked OK but it was a pain to assemble and the letter inserts kept falling out.

So I’ve designed a new version in which the letters and the masks are all printed in one. The clever (I think) bit is that I print the first few layers using transparent filament and then switch to solid during the print. I quite like the effect, and it means that I don’t have to assemble anything.

If you’ve got a 3D printer you might like to experiment with changing filament during the printing process, most printer firmwares have an option to do this and you can get some quite nice effects.

Hot Fingers

I’ve been doing a lot of 3D printing lately. What with josh lights and everything. Today I thought I’d replace the print nozzle on Una, my 3D printer. Turned out that hardest part of the process was finding the replacements that I’d rather sensibly bought a while back. I looked where they should have been and didn’t find them. This triggered a huge hunt all over the house, loft and garage. All to no avail. So in the end I resorted to going tack to where they should have been and used the ancient old trick of looking properly. And of course they were there, tucked in the bottom of the drawer. Idiot me. But, on the bright side I now know where lots of things are that aren’t 3D printer nozzles.

Replacing the nozzle on a 3D printer is made much more exciting that it might be by the way that you have to do it when the print head has been heated to 200 degrees centigrade. Fortunately I’ve done this before, and consequently no longer have any nerves in my fingers so, in no time at all, the old head was off and the new head on. I think the prints look better, which is a good thing.