Gotta love coloured wires
/
This is the wiring for my PICO chord keyboard. I made the artistic decision to use coloured wires, and I’m pleased that I did. Although I don’t think that the electricity cares that much.
This is the wiring for my PICO chord keyboard. I made the artistic decision to use coloured wires, and I’m pleased that I did. Although I don’t think that the electricity cares that much.
When you put your ideas out on the internets and in magazines it is always nice to see someone actually build one. “viragored” has not just built a device though, they’ve also designed their own case because I forgot to publish the design files. I’ve put my designs on GitHub now. You can find them here. But I think I like that the new one is better. I like the idea of using “push pins” to hold components in place rather than screws.
Pimoroni do come up with good names for their products. Their PICO Interstate 75 looks very interesting. It plugs straight into the back of a HUB-75 based LED panel. These are the ones that we’ve been using to make a LED cube. They are the kind of panels you see on the side of buildings displaying brightly coloured graphics. The Interstate 75 is powered by an RP2040 chip (the same as the one on the Raspberry Pi PICO). This is a really good choice for driving led panels because it has special hardware that can be used to generate the pulse sequences that are used to make the display light up. It also has two processor cores, so you can use one to drive the display and the other to generate the image.
I’ve ordered one for myself for Christmas. And one for number one son. With a bit of luck they’ll arrive in time for us to play with them on the big day…
To celebrate the PICO MIDI Cheese box being featured in this month's MagPi magazine I've updated the GitHub repository for the project to include video links and more construction details. You can find it all here.
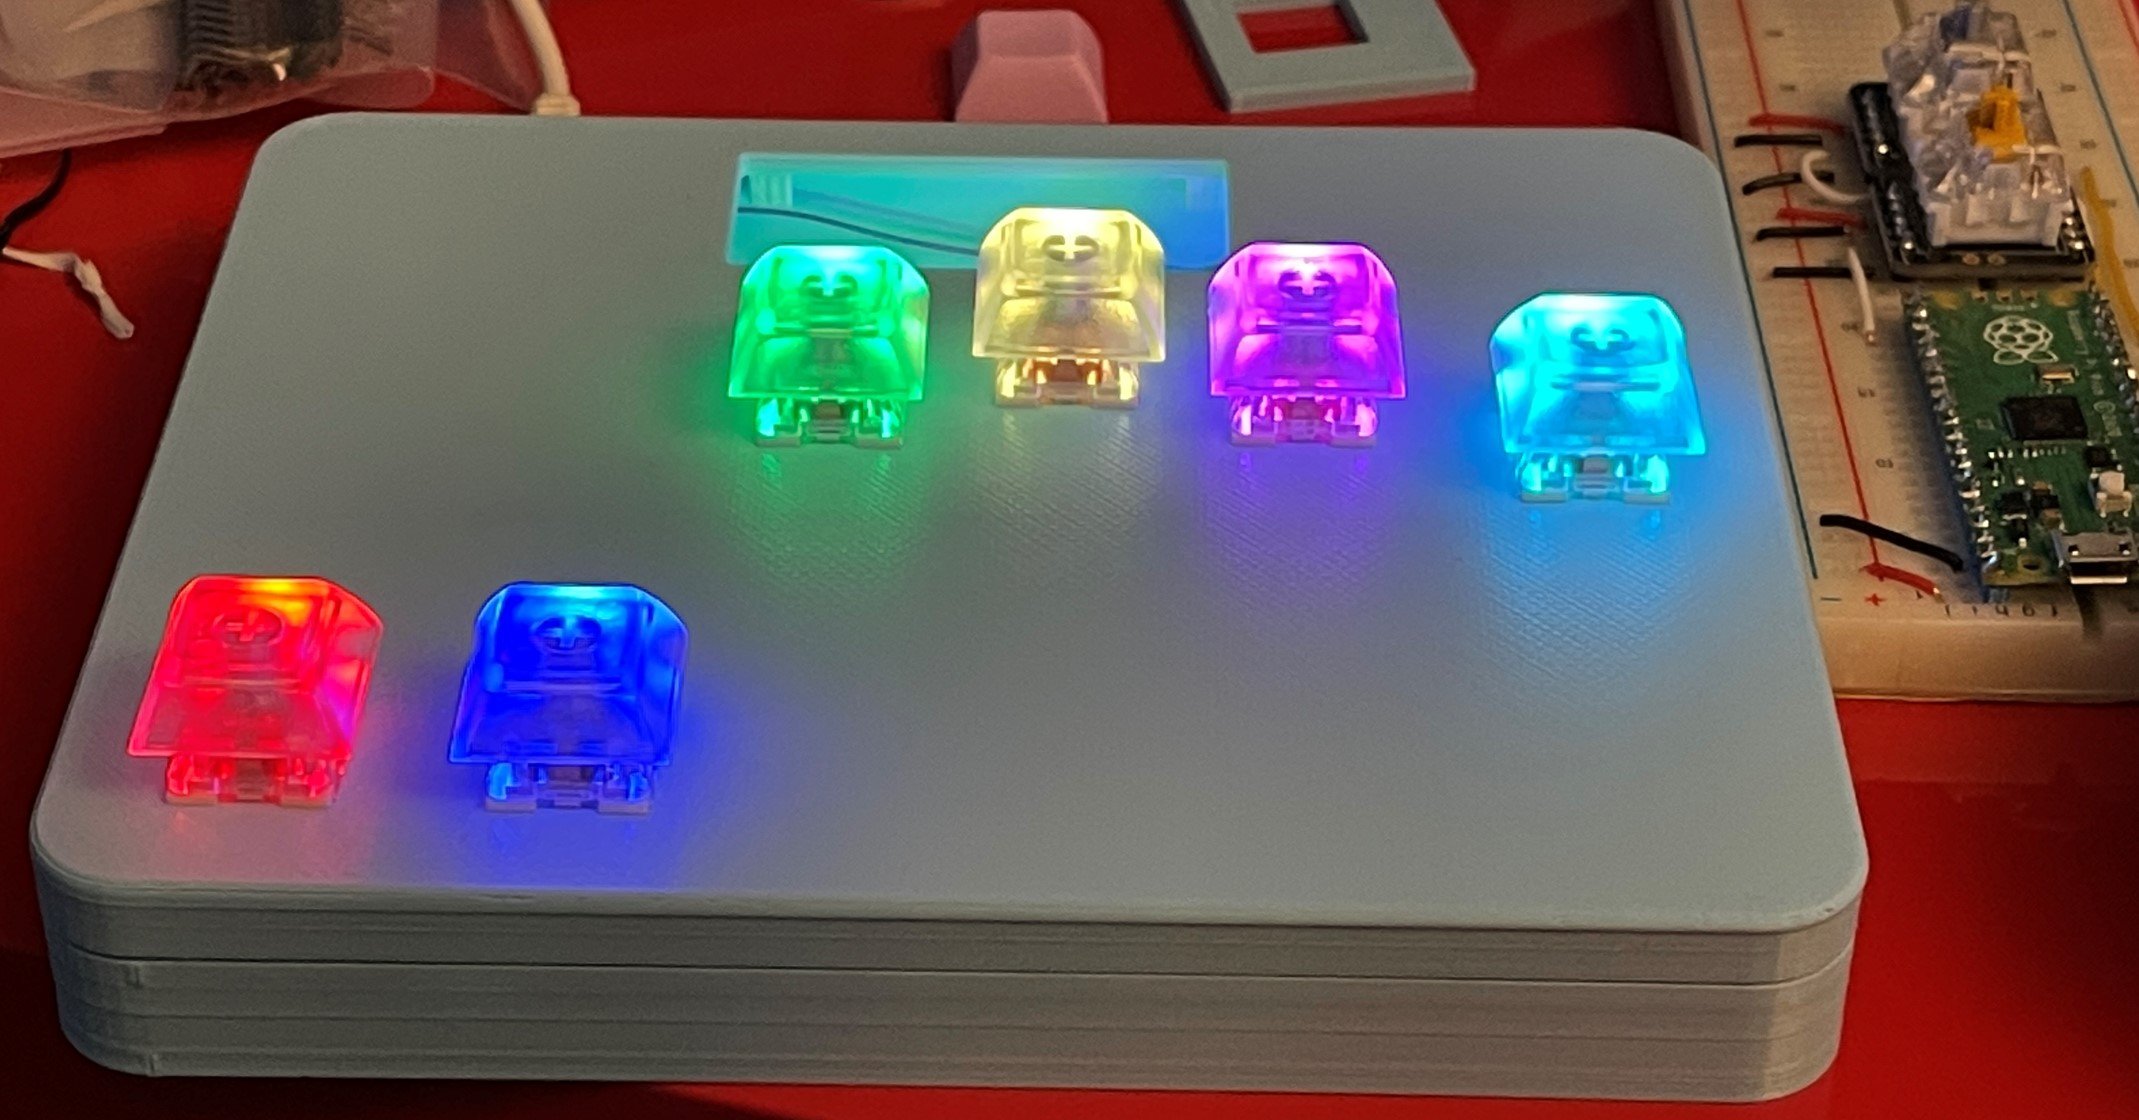
My latest device is now taking shape. I love the colours in these keys. It’s a chord keyboard based on the original Microwriter keyboard. I’ve got some code running now, in fact I typed this text with it. Next we need a display and a game to teach you how to make the letter shapes. Such fun.
A few weeks ago I had a great time talking about making music with the Raspberry Pi PICO and Pure Data at the Developer Developer Developer Conference. All the videos are now online. You can find them on the conference YouTube channel here.
If you want to watch my video (and why would you not) you can click on the link above.
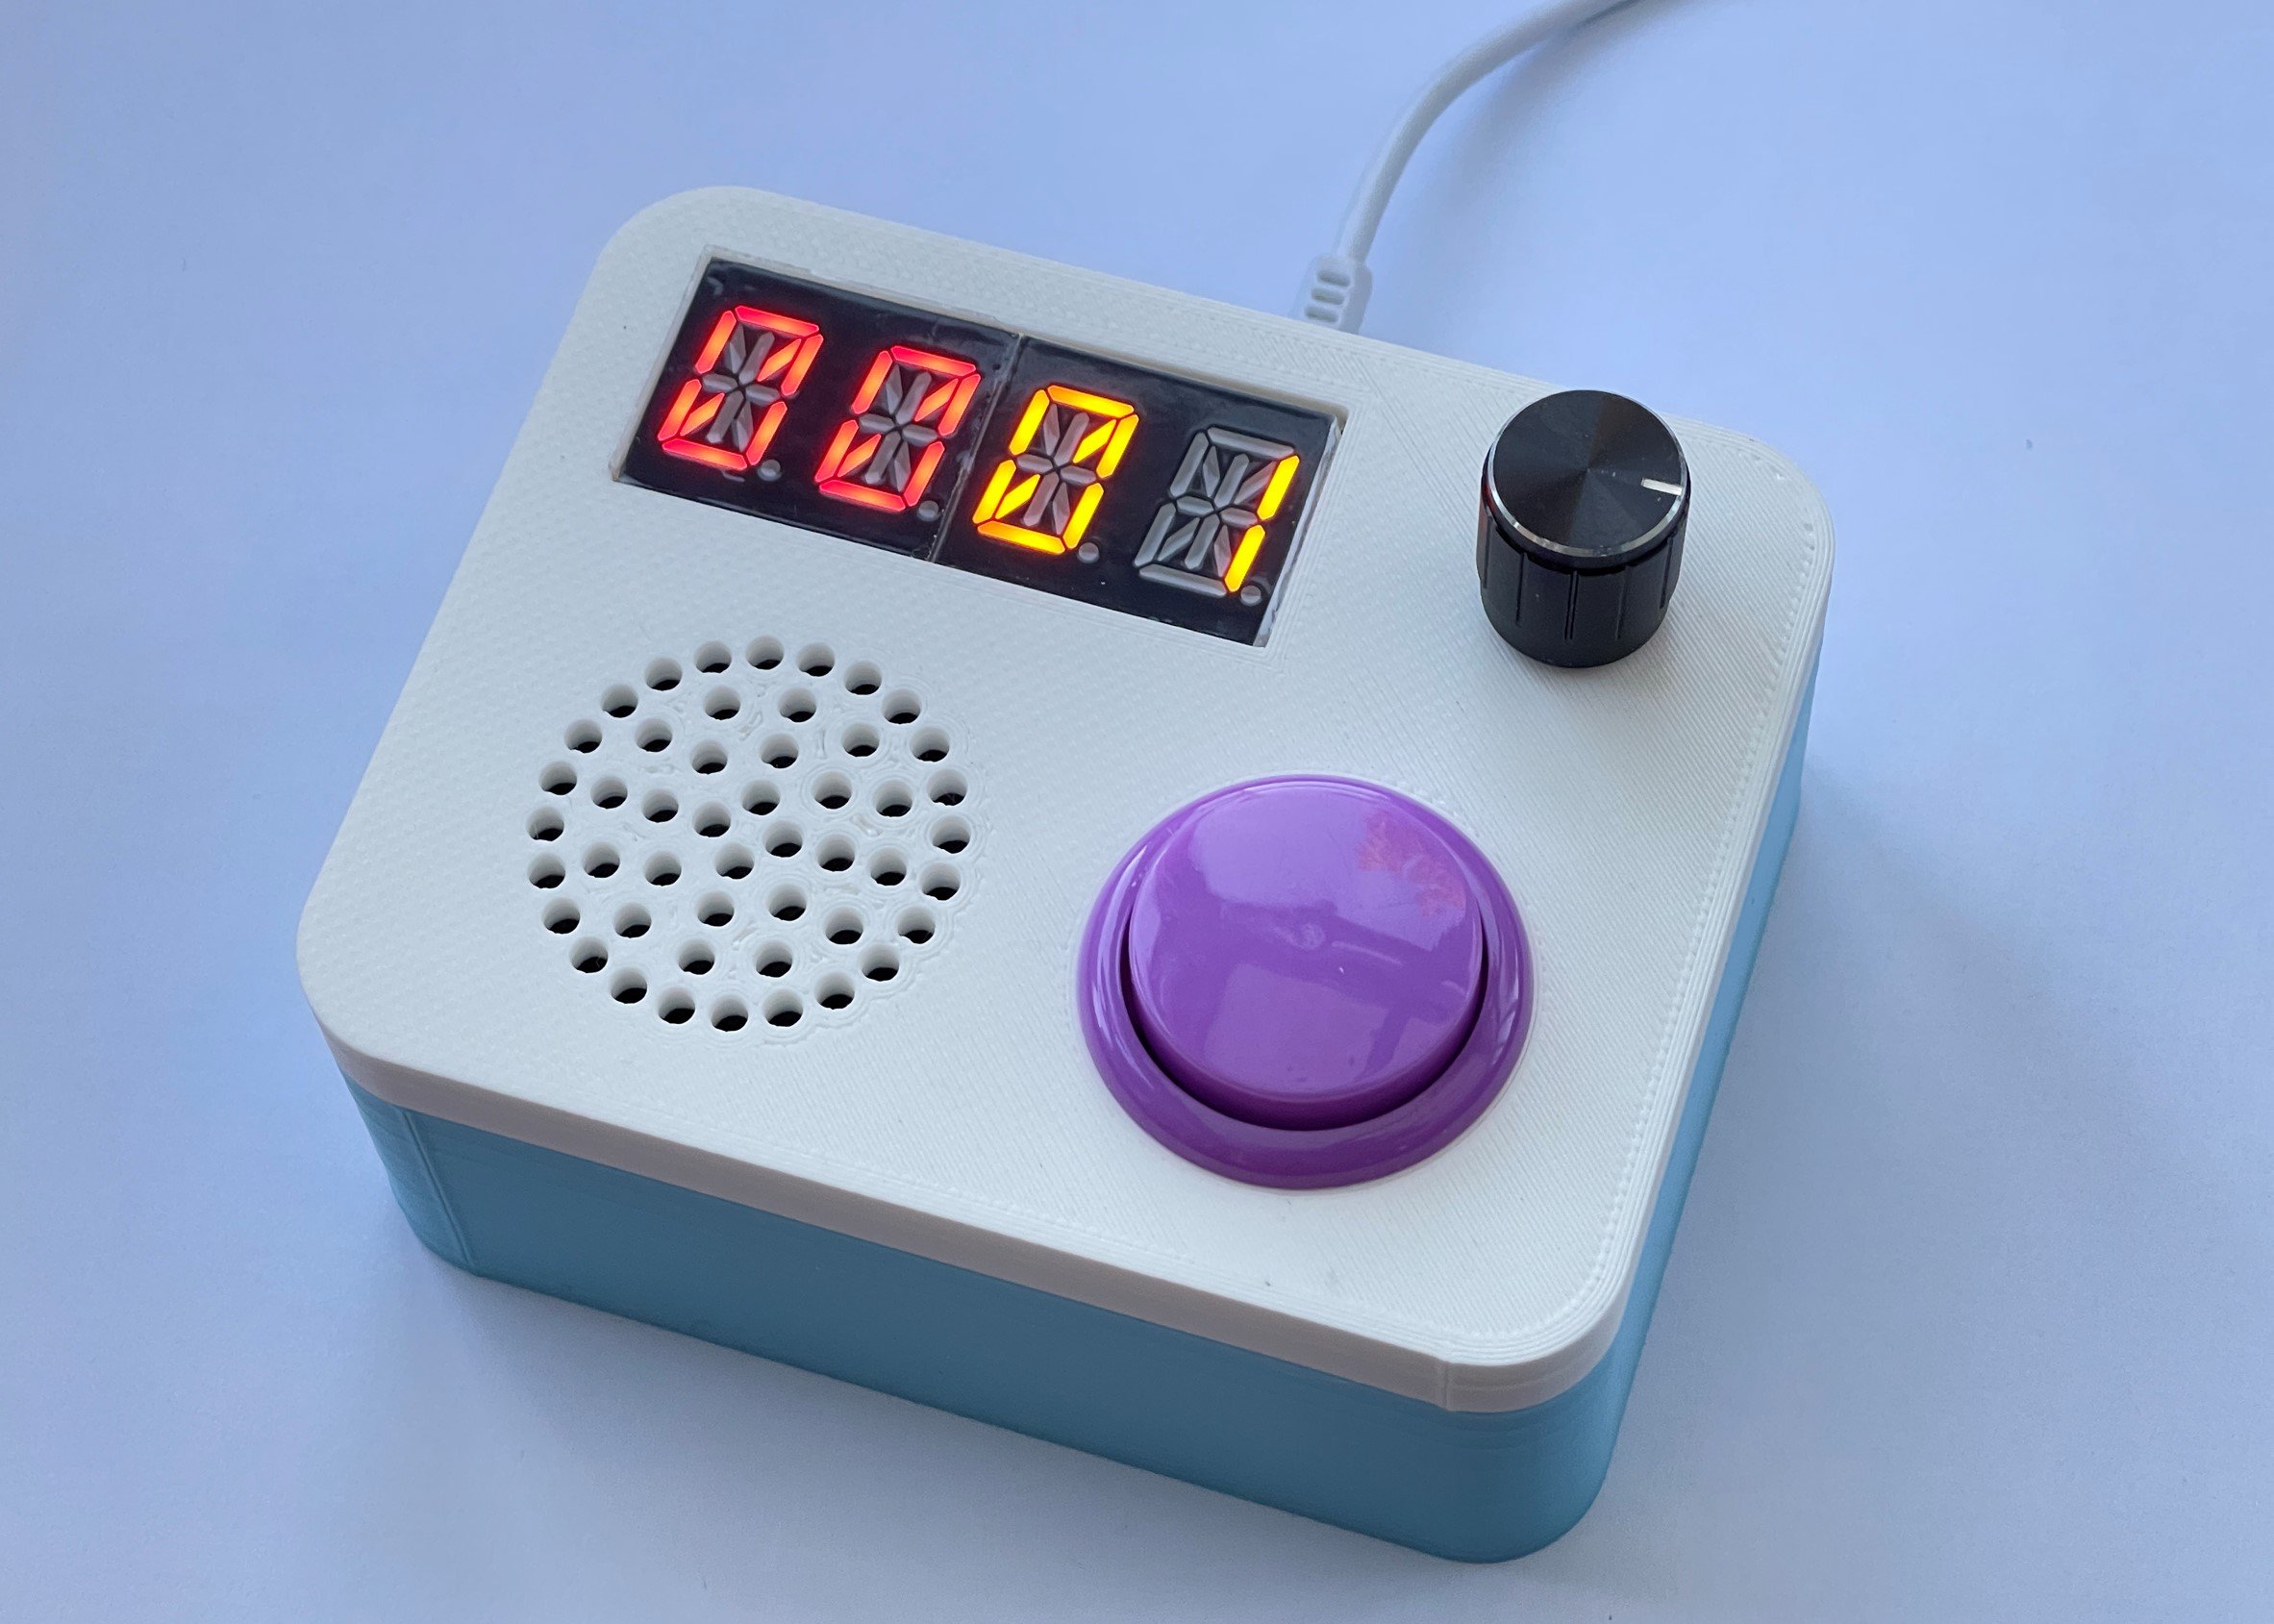
Every now and then I make something that I’m really rather pleased with. I’ve just about finished the Pomodoro timer and it I like how it has turned out. You twist the knob on the right to set the time. Then you set the mode (whether you want time announcements or not) and then you press in the knob to start the clock.
If you press the big purple button the timer announces the time remaining or used, depending on how you set it up. The sound quality is OK too. The speaker packs a surprising amount of punch. With a bit of luck the project will be in the next issue of HackSpace magazine.
I’ve started on the hardware for my Pomodoro timer. I thought I’d build the circuit on a breadboard before I wired up the finished version in the case. I started off trying to do everything super neat. Then I discovered that some of the connections did not lend themselves to neatness, so I ended up just adding all the wires that would make it work.
I think it is called a breadboard because people look at it and go “crumbs”…….
Hackspace Magazine has just published another one of my articles. You can find out all how to make a Crackers MIDI controller powered by a Raspberry Pi PICO and then use it in a Pure Data synth. It was great fun to write, you can read it here.
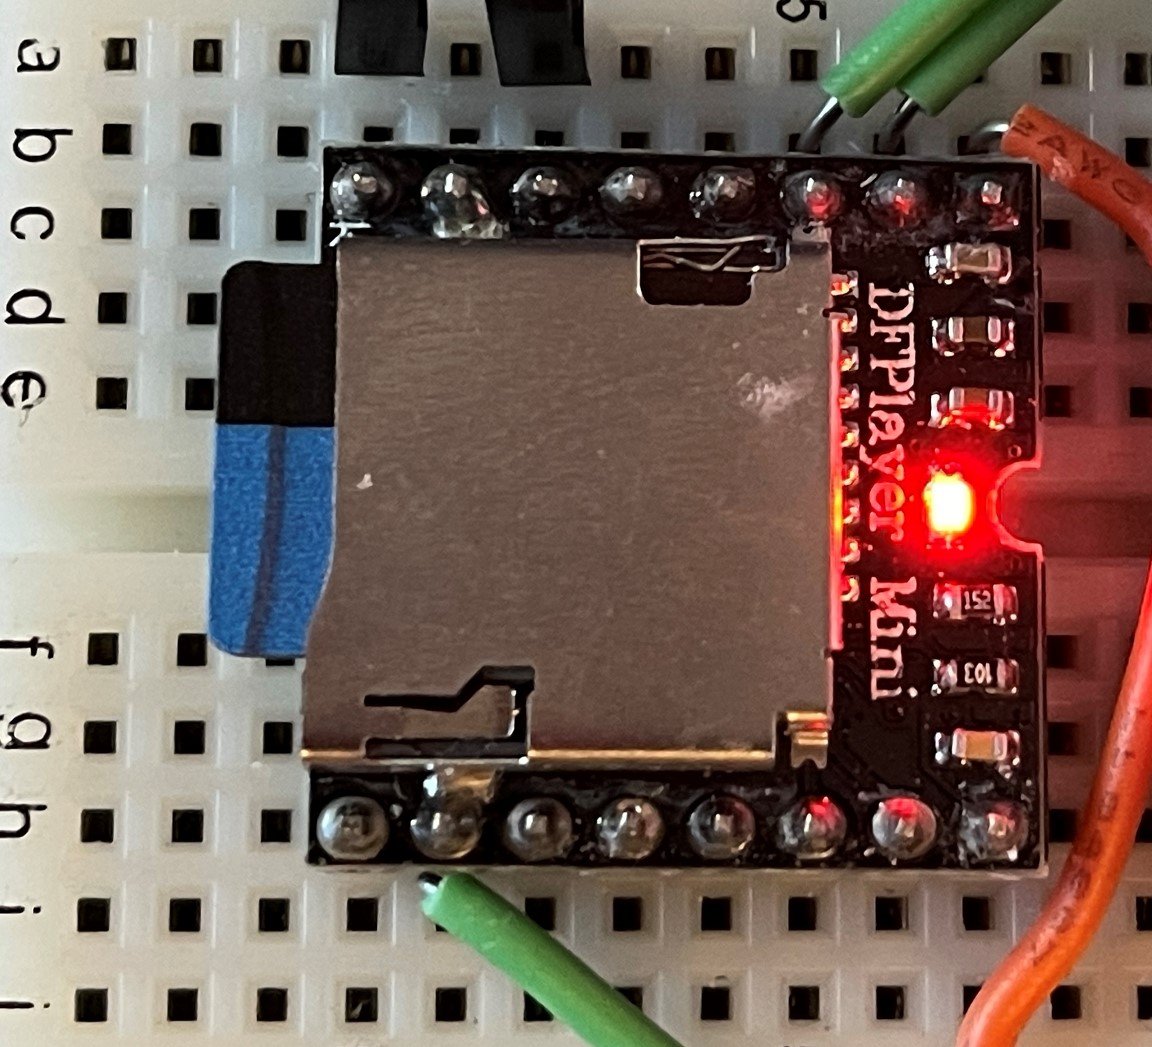
The DFPlayer Mini is an amazing device. Particularly as you can pick one up for around a pound on AliExpress. It will pull mp3 files off a MicroSD card (which is the most expensive part of the system) and play them for you. It outputs good quality stereo and even includes an amplifier that will drive a pair of speakers up to useful levels.
I’m using it in a device that I’m building. I’ve got a Raspberry Pi PICO triggering the audio playback over a serial connection. I loaded an MP3 file onto the SD card for testing. I used the track Fireflies from Owl City for no particular reason. The music started playing, which pleased me. Then, around 20 seconds in the drums and the bass kicked in and the whole thing crashed. Which did not please me.
It’s a power supply thing of course. I was powering it from a USB port on my PC which is a bit weak. I switched to a different port and it worked fine. There’s an important lesson here that I’ve mentioned before. If you’re making something and it starts to misbehave try a different power source.
After another fun day of coding (I really know how to enjoy myself) the “Crackers Controller” now lives. You can adjust settings by turning the encoders and the value is displayed on the pixel ring. If you press the encoder in you can switch to another setting value (above we have “blue” and “yellow” settings. The settings are sent out as MIDI control change messages. The controller works with the MIDI cheesebox you can see on the left, which will provide the note input. Now I need to write the Pure Data patch that will make all the sounds.
I’m building a partner device for the “PICO Midi CheeseBox”. This gives four rotary controllers with pixel ring feedback displays which you’ll be able to use to control MIDI playback. It’s called the “Crackers PICO Midi controller”. Why? Take a look inside..
The wiring is a bit crazy, but it worked first time. I’ve got a new build technique called “making the design and writing the drivers before I build the device”. You can see the circuit diagram and the Circuit Python code creates controller instances for each of the four inputs.
The controller will be making an appearance in a future HackSpace magazine, when I’m going to be using it to control a Pure Data synthesizer.
I needed some header pins for connecting PICO devices to the outside world. I found these on Amazon. They should make the innards of my devices look colourful, which I find rather pleasing.
The Adafruit Feather and the Raspberry Pi PICO are boards based on the RP2040 processor from the Raspberry Pi people. They are obviously different (for a start one is black and the other green) but what other differences are worth knowing about?
Both of them are programmed in exactly the same way. The biggest difference is that you use a usb-c cable to connect to the Feather and a micro-usb cable for the PICO. You can write C++ or Python. Both have connections for hardware debugging. On the Feather you can solder a socket on to connect the debugger, on the PICO you add some pins.
Both of the devices use the same chip, the RP2040, which has 264K of internal memory for code and data storage. If you install Circuit Python or MicroPython you end up with around 200K of free memory as reported by my tiny memory size reporting program:
import gc
print("Memory free:",gc.mem_free())
Loading a 500 line Python program left me with a reported 130K or so free so there is scope for these devices to run quite chunky amounts of code.
Both devices use an EEPROM (or ‘flash’) memory chip to store program code and data. If you use Circuit Python they appear as external usb storage devices where you can drop the files. Above you an see what Windows thinks of a PICO (called CheesBox - oops) and a FEATHER. Note that the Feather has much more storage space. This is because the Feather device has an 8Mb flash chip, while the PICO only has 2M.
This doesn’t affect the largest program size you can run - that’s down to the program memory size, but if you want your application to use graphics and sound samples or other data resources then the Feather is the way to go.
Both devices have lots of pins for connecting things. Things to know:
The Feather has four analogue inputs, the PICO only has three.
The Feather has a STEMMA QT connector that you can use with lots of I2C devices sold by AdaFruit and others. It also has an on-board Neopixel and an on-board led.
The Feather can be used with a rechargeable lithium ion battery. It has a connecter and circuit to control charging.
The Feather has both a BOOTSEL and a RESET button. The PICO only has a BOOTSEL button. You use the BOOTSEL button to boot a device into firmware loading mode after a reset. You don’t need to use this very often, you only do it when you want to load new firmware into the device. In other words, if you are using Python you use this once to install the Python firmware. However, having a RESET button makes this easier. For the PICO you have to hold the button down when you apply power, there is no other form of reset. For the Feather you can just hold down BOOTSEL and press RESET.
With the PICO you get the PICO, nothing else. If you want to add pins or sockets you'll have to add them. With the Feather you get solder pins for the device, whether you need them or not.
Both these devices are very well supported. The AdaFruit Feather system has loads of devices you can stack on top (or underneath) a Feather board. The PICO hasn't been around as long, but there are now a huge range of additions for that too.
This is where the PICO comes in ahead of the Feather. It costs around £3.50 ($4.00) per device, against £12:00 ($12:00) for the Feather. Having said that, both are stupidly cheap for what you get.
These are amazing devices. For me I see the PICO as a Ford Focus and the Feather as a BMW. Both do the same job, but the Feather has extra features that make it easier to use (a reset button, an on-board neopixel and QT). If you really need lots of local storage, four analogue inputs or on-board charging, the Feather is the way to go. Otherwise, I'd pick the PICO on price.
The Raspberry Pi PICO is turning into a “consumable” device for me. They are small and cheap enough to spread all over the place, have a huge pin count and, best of all, you can program them in Python. I’ve just bought another batch.
I seem to have written 500 lines of Python which is now running inside a Raspberry Pi PICO. I’ve no real idea how much space this occupies on the device, all I can say is that it works really well. I’m using the Thonny IDE which has a setting for Circuit Python and works a treat.
I’m building a MIDI keyboard device (that’s what the box here is for). One of the great things about this is that the when you use the Adafruit adafruit_bus_device and adafruit_midi libraries from here you have a MIDI device that works with MIDI applications on your PC (I’m using Pure Data), but you also retain the serial port connection from the PC to the device. So you can write Python to send MIDI messages at the same time as use the console for talking to your program. Very useful and rather fun. And I’m loving writing Python again.
Now have a working box with lights and buttons. It is quite pleasing of itself. But what does it do?
I’ve printed a part with the right sized holes, fitted the switches and the pixel ring and wired it up. And it lives (or at least lights up red). Now I have some software to write.
I’ve got another Raspberry Pi PICO powered project (that’s a lot of alliteration) in the works. To celebrate this I visited my box designer program (otherwise known as 2,500 lines of ‘technical debt’) and added the PICO platform to it. Then I printed it out and it works fine. This is the smallest box you can make, it just has a hole for cables and a slot for the USB connector. I can now add the PICO to other device designs and it should just work. I’ve put the design on Thingiverse, you can find it here.
It has been really nice to see how the folks at AdaFruit have got behind the Raspberry Pi Pico device. They’ve just released a set of 3D printable designs that you can use to make cases , some of which fit onto Lego parts.
This is the flip side of the fitting. It looks a bit of a mess because it was all printed on top of support material. However, it does work. The circles get a good grip on the pins. You can find these, and the other designs, on the AdaFruit site here.
Rob Miles is technology author and educator who spent many years as a lecturer in Computer Science at the University of Hull. He is also a Microsoft Developer Technologies MVP. He is into technology, teaching and photography. He is the author of the World Famous C# Yellow Book and almost as handsome as he thinks he is.
Begin to Code with JavaScript is now available for purchase and download. You can find it here